Mastering Turkey Brining: The Ultimate Guide to a Succulent, Flavorful Bird
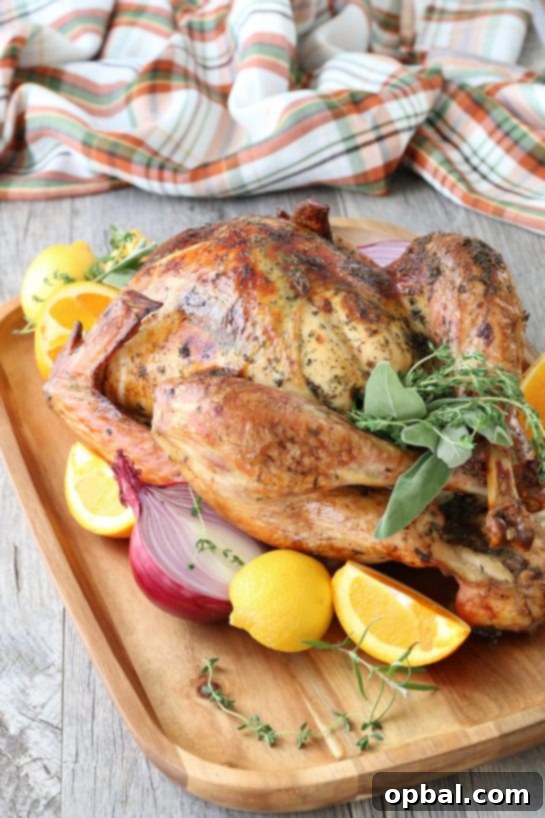
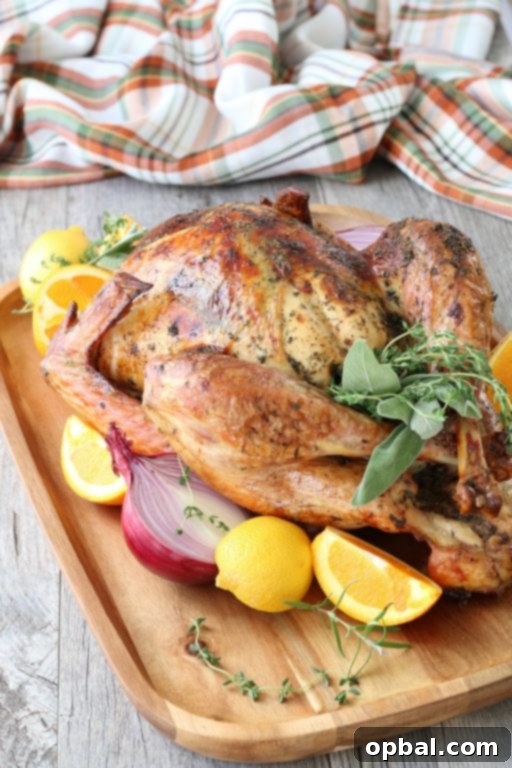
Preparing a show-stopping turkey for your holiday feast or any special occasion can be a daunting task. The quest for a truly moist and flavorful bird often leads to disappointment, with many turkeys turning out dry and bland. However, there’s a simple yet incredibly effective technique that guarantees a succulent, perfectly seasoned turkey every single time: brining. In this comprehensive guide, we’ll demystify the art of how to brine a turkey, providing you with a foolproof turkey brine recipe, essential tips on how long to brine, and an understanding of why this method will transform your turkey into the best one you’ve ever tasted.
Before diving into the specifics of our proven turkey brine recipe and the brining process, it’s crucial to understand the importance of planning ahead. Brining a turkey is not a last-minute endeavor; it requires at least 24 hours for the magic to happen, in addition to the time needed for thawing. The thawing process itself is often the most time-consuming part of preparing any turkey, so careful scheduling is key to a stress-free cooking experience. We’ll walk you through the entire timeline, ensuring your turkey is ready for its grand debut.
The Essential Turkey Brining Timeline for a Flawless Feast
To ensure your perfect, juicy turkey is ready on time for your family gathering or special event, meticulously following a timeline is essential. Here’s a detailed breakdown of when to start each step:
- 4 Days Before Cooking: Begin the Thawing Process. A frozen turkey needs ample time to thaw safely in the refrigerator. A general rule of thumb is one day of thawing for every four pounds of turkey. For instance, a 16-pound turkey will require approximately four days. Plan accordingly to ensure your turkey is fully thawed before brining.
- 2 Days Before Cooking: Prepare Your Turkey Brine. While the turkey is thawing, you can prepare your brine mixture. This allows the brine to cool completely, which is vital for food safety and the best results. A well-chilled brine is crucial before introducing it to the turkey.
- 1 Day Before Cooking: Start the Brining Process. Following our detailed recipe below, immerse your turkey in the prepared brine. This is the 24-hour period where the turkey absorbs moisture and flavor, setting the stage for an incredibly succulent meal.
Adhering to this timeline will alleviate stress and guarantee a perfectly prepared turkey, allowing you more time to enjoy the celebration.
Why Brining a Turkey is a Culinary Game-Changer
Many home cooks dread serving a dry, uninspired turkey. Turkey meat, particularly the breast, is inherently lean and can easily dry out during the cooking process. On its own, it can also lack the deep, rich flavor that makes a memorable holiday meal. This is precisely where brining steps in as the perfect culinary solution, transforming a potentially bland bird into a deeply flavorful and incredibly moist centerpiece.
At its core, brining is the process of soaking meat in a saltwater solution, often infused with aromatics and seasonings, before cooking. This simple act triggers a fascinating scientific process within the turkey’s muscle fibers:
- Osmosis and Moisture Retention: The salt in the brine solution helps to loosen and unravel the muscle proteins in the turkey. This allows the muscle fibers to absorb and hold onto more moisture than they normally would. During cooking, even as some natural moisture is lost, the brined turkey retains significantly more water, resulting in a remarkably juicy and tender texture. It acts like an internal safety net against drying out, especially crucial for white meat.
- Flavor Infusion from Within: Beyond moisture, brining also imbues the turkey with flavor from the inside out. As the saltwater solution permeates the meat, it carries with it the delightful essences of any added herbs, spices, and aromatics. This means every bite of your turkey, not just the surface, will be bursting with savory, aromatic goodness, creating a more complex and satisfying flavor profile than simple seasoning alone could achieve.
By adding moisture and natural flavoring throughout the meat, brining essentially “pre-seasons” and “pre-moisturizes” your turkey, guaranteeing a superior result that will impress even the most discerning palates. It’s the secret weapon for a truly memorable holiday bird.
Essential Ingredients & Equipment for Your Turkey Brine
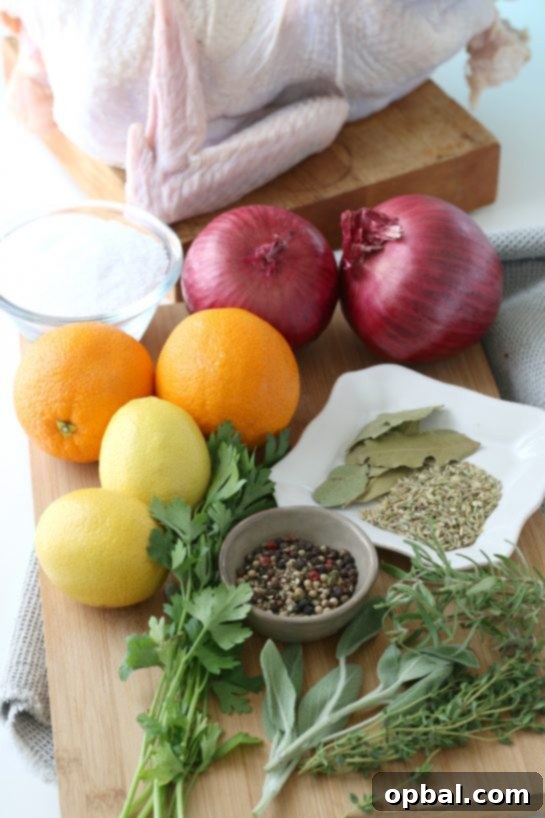
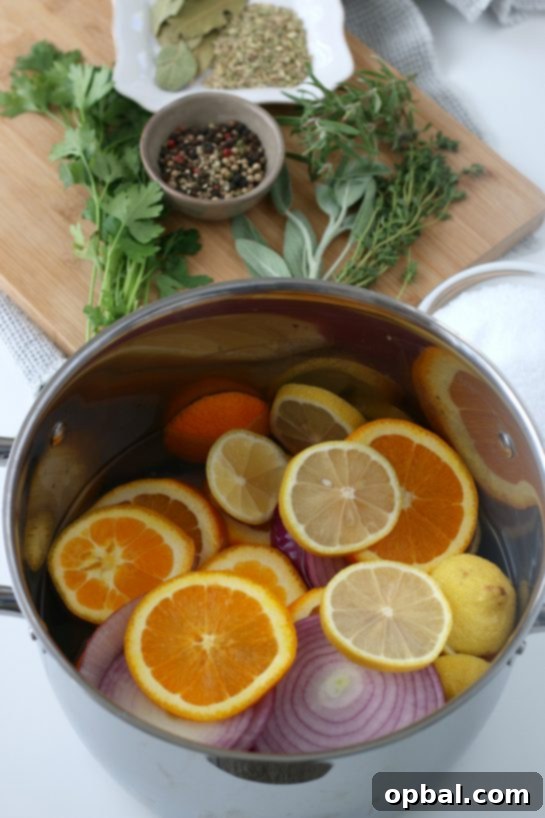
Crafting the perfect turkey brine requires a thoughtful selection of ingredients and the right equipment to ensure both success and food safety. Our recipe for turkey brine is designed to impart a deep, herbaceous flavor that complements the natural taste of the turkey, resulting in an exceptionally flavorful roasted bird. Here’s what you’ll need:
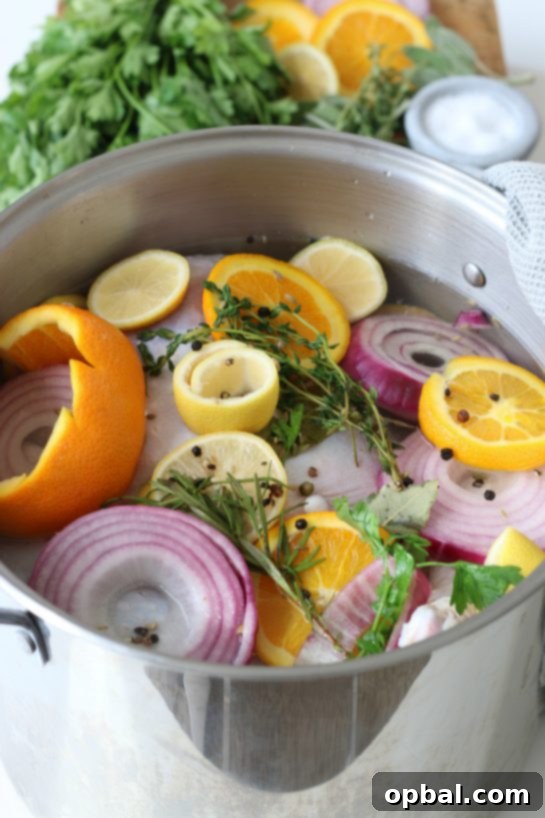
Ingredients for the Best Turkey Brine:
- 1 Whole Turkey, giblets removed: The star of our show! Ensure your turkey is completely thawed and the neck and giblets are removed from the cavity before brining.
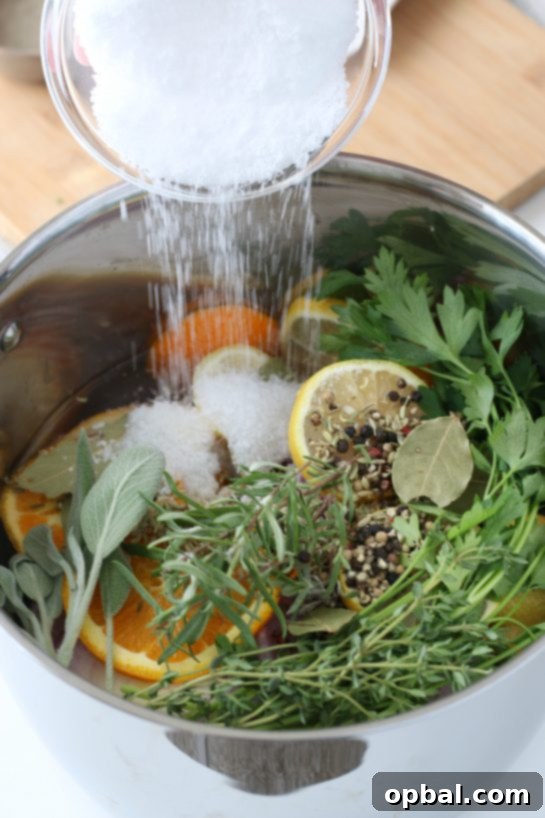
- 1 Cup Kosher Salt: The cornerstone of any effective brine. Kosher salt is preferred over table salt due to its coarser grain and lack of iodine, which can impart a metallic taste. It facilitates the osmosis process, drawing moisture and flavor into the meat.
- 4 Quarts (16 cups) Cold Water, divided: The base of our brine. Using cold water is crucial for food safety and for quickly cooling the initial heated mixture.
- 6 Bay Leaves: These aromatic leaves add a subtle, savory, and slightly peppery note, contributing to the overall complexity of the brine.
- 2 Tablespoons Whole Black Peppercorns: Provides a gentle heat and pungent aroma that enhances the savory profile of the turkey.
- Fresh Thyme: A classic poultry herb, fresh thyme offers an earthy, slightly minty flavor that is indispensable for a traditional turkey taste.
- Fresh Rosemary: With its distinct piney and slightly lemony notes, fresh rosemary adds a robust, aromatic depth that pairs wonderfully with turkey.
- Fresh Sage: Sage is synonymous with holiday poultry, offering a warm, earthy, and slightly peppery flavor that truly elevates the brine.
- 2 Medium Red Onions, quartered: Onions contribute a sweet and savory base flavor to the brine, mellowing beautifully during the brining process.
- 1 Tablespoon Fennel Seeds: These liquorice-like seeds add a unique, subtle sweetness and aromatic complexity that makes this brine truly special.
Essential Equipment:
- Very Large Pot (at least 5 quarts, ideally 10 gallons or more): You’ll need a container large enough to fully submerge your turkey in the brine. A stockpot, a clean cooler, or a large food-grade bucket can work.
- Plastic Brining Bag or Roasting Bag (optional but highly recommended): These bags make cleanup easier and ensure the brine is fully contained, preventing cross-contamination in your refrigerator. Look for extra-large, sturdy bags designed for turkeys.
- Medium Saucepan: For dissolving the salt and infusing the initial part of the brine with herbs and spices.
- Measuring Cups and Spoons: For accurate ingredient measurements.
- Whisk or Spoon: For stirring and ensuring the salt dissolves completely.
- Refrigerator Space: You’ll need sufficient space to store the large pot with the brining turkey for 24 hours.
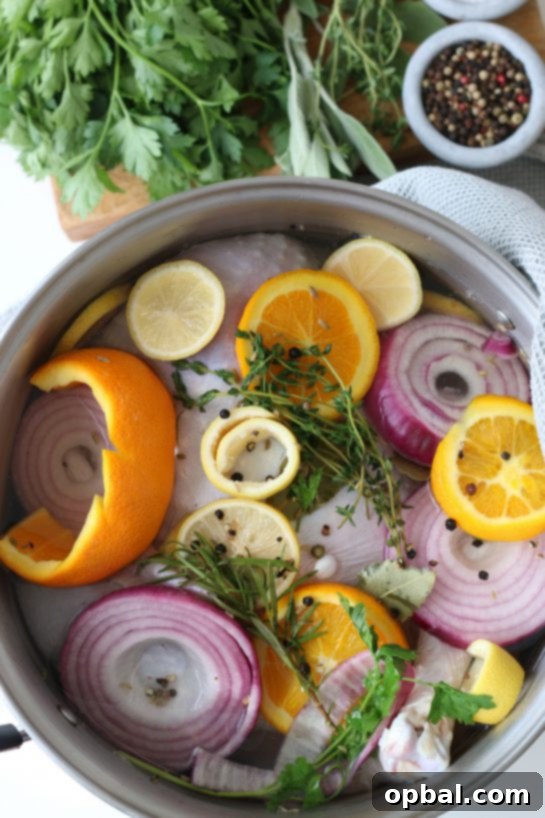
Step-by-Step: Crafting Your Perfect Turkey Brine & Brining Process
Follow these detailed instructions to prepare your flavorful turkey brine and ensure your bird is perfectly seasoned and ready for roasting.
- Prepare Your Brining Container: Choose a very large pot (at least 5 quarts, ideally larger to easily accommodate the turkey and brine). For easier cleanup and to prevent leaks, line the pot with a plastic brining bag or a heavy-duty roasting bag. Ensure the bag is large enough to hold both the turkey and the full volume of brine without overflowing once sealed.
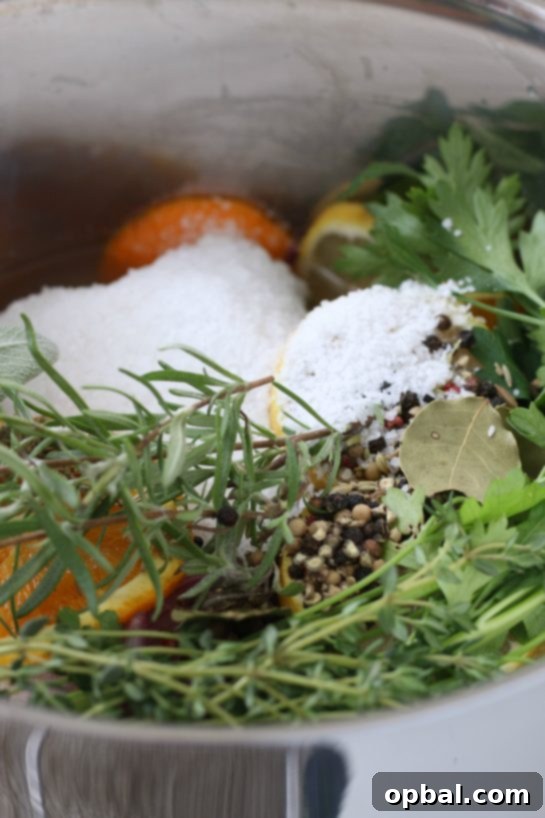
- Create the Flavor Concentrate: In a medium saucepan, combine 4 cups of the cold water with the kosher salt, bay leaves, whole black peppercorns, fresh thyme, fresh rosemary, fresh sage, quartered red onions, and fennel seeds. Bring this mixture to a gentle simmer over medium heat, stirring continuously until the salt is completely dissolved. This step helps to extract and weld the flavors of the aromatics.
- Cool the Brine Mixture: Once the salt is fully dissolved and the mixture has simmered briefly, remove the saucepan from the heat. It is absolutely crucial to cool this concentrated brine mixture thoroughly. Allow it to cool for at least 15-20 minutes on the counter, then place it in the refrigerator or an ice bath until it reaches room temperature or colder. Never add hot brine directly to your turkey, as this can begin to cook the meat prematurely and compromise food safety.
- Place Turkey in Bag: Carefully place your fully thawed and giblet-removed turkey into the brining bag inside your large pot.
- Add the Cooled Salt & Herb Mixture: Once completely cool, pour the concentrated salt and herb mixture over the turkey in the bag.
- Submerge the Turkey with Remaining Water: Now, add the remaining 12 cups (3 quarts) of cold water to the bag. Ensure the turkey is completely submerged in the brine solution. If your turkey isn’t fully covered, add more cold water (or even some ice to help keep it cold) until it is. The turkey must be entirely immersed for even brining.
- Seal and Chill: Carefully tie the brining bag closed, expelling as much air as possible to ensure maximum contact between the turkey and the brine. Place the pot, with the brining turkey, into your refrigerator. Chill for a full 24 hours. Halfway through, about 12 hours in, gently flip the turkey in the brine (if feasible) to ensure even distribution of the brine and consistent flavor absorption.
- Remove from Brine and Prepare for Roasting: Approximately 1 hour before you are ready to begin the roasting process, carefully remove the turkey from the brine solution. Discard the brine. Rinse the turkey thoroughly, both inside and out, under cold running water. This step is crucial to remove excess salt from the surface, preventing your turkey from being too salty.
- Pat Dry and Rest: After rinsing, pat the turkey thoroughly dry with paper towels, both inside and out. A dry skin is essential for achieving that beautifully crispy, golden-brown exterior when roasted. Place the rinsed and dried turkey into your roasting pan. Let it stand at room temperature for up to 1 hour before you begin roasting. This helps the turkey cook more evenly and prevents it from shocking when it enters the hot oven.
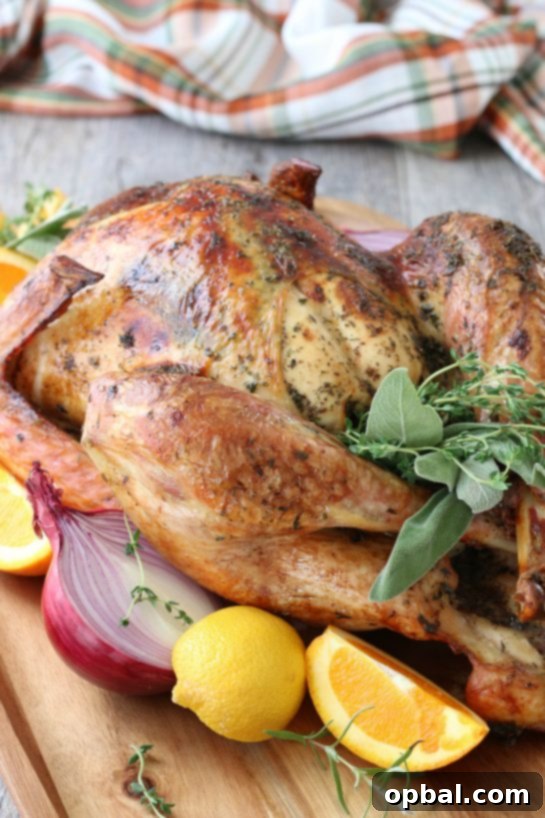
Pro Tips for the Ultimate Brined Turkey Experience
Achieving the perfect, juicy turkey goes beyond just the brine recipe. These expert tips will elevate your brining experience and ensure a truly exceptional result:
- Opt for a Fresh, Unenhanced Turkey: If possible, choose a fresh turkey that hasn’t been pre-injected with a salt solution. Many commercially frozen turkeys are “pre-brined” or injected with a sodium solution to enhance moisture. While these can still be brined, they won’t absorb as much of your custom brine’s flavor or moisture as a truly fresh, unenhanced bird. Brining a fresh turkey yields an unparalleled depth of flavor and juiciness. Always check the label for “Contains up to X% of a solution” to ensure you’re getting a natural bird.
- Prioritize Food Safety with Brine Containment: Raw poultry juices can harbor bacteria. It is paramount to keep the turkey and brine completely contained to prevent cross-contamination in your refrigerator. Use extra-large, heavy-duty brining bags (often 10-gallon size or specifically designed for turkeys) or a roasting bag that can be securely tied. Ensure the bag is free of punctures. If using a cooler, make sure it’s meticulously cleaned and disinfected before and after use, and keep the turkey submerged in a brining bag inside the cooler with plenty of ice to maintain a temperature below 40°F (4°C).
- Prepare Your Refrigerator: Before you even start making the brine, clear out a shelf in your refrigerator to accommodate the large pot or cooler containing the brining turkey. You’ll thank yourself for this foresight when you’re trying to slide a heavy, sloshing pot into a crowded fridge! Move shelves, make space – an organized fridge makes the process much smoother.
- Efficient Rinsing and Cleanup: When it’s time to remove the turkey from the brine, prepare your sink in advance. Clean and sanitize your kitchen sink thoroughly. This allows you to easily remove the turkey from the bag, drain the liquid directly, and rinse the turkey without splashing raw turkey juices onto your counters or other surfaces. Immediate cleanup of the sink and surrounding area is crucial to prevent the spread of germs.
- Thorough Disinfection is Key: After handling raw turkey and its brine, disinfect all surfaces, utensils, and cutting boards that came into contact with it. Use a bleach solution or an antibacterial cleaner to ensure your kitchen remains hygienic, especially during busy holiday cooking. Food safety is always the top priority.
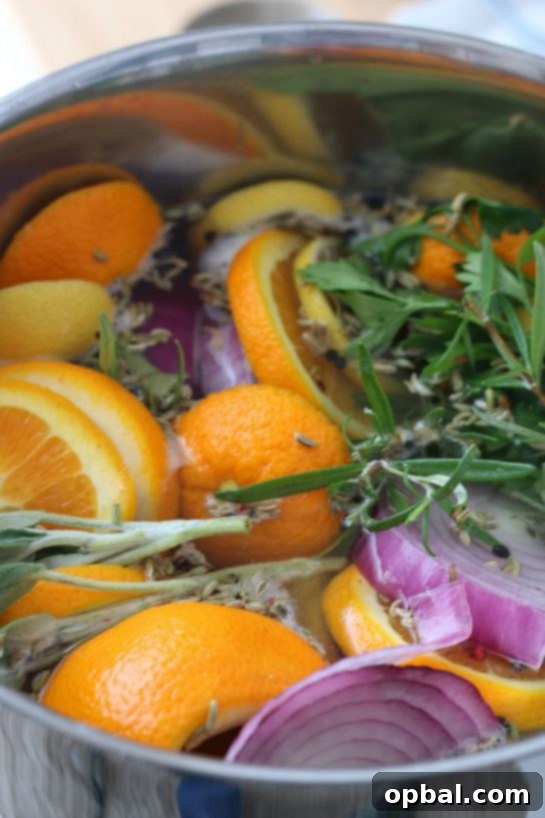
- Consider Aromatics Beyond the Recipe: Feel free to experiment with additional aromatics in your brine. Halved oranges, lemons, or apples can add a lovely subtle fruitiness. A few smashed garlic cloves, slices of ginger, or even a cinnamon stick can introduce intriguing layers of flavor, depending on your desired outcome.
- Don’t Skip the Resting Period: After roasting, allow your brined turkey to rest for at least 20-30 minutes before carving. This critical step allows the juices to redistribute throughout the meat, ensuring every slice is as moist and flavorful as possible. Carving too soon will result in juices running out, leading to a drier turkey.
- Make Accompaniments Ahead: To simplify your holiday meal prep, consider making essential accompaniments like gravy and mashed potatoes in advance. For a delicious pairing, try my No-Drippings Turkey Gravy, which you can easily prepare ahead. My garlic smashed potatoes also make an excellent side dish for your flavorful turkey.
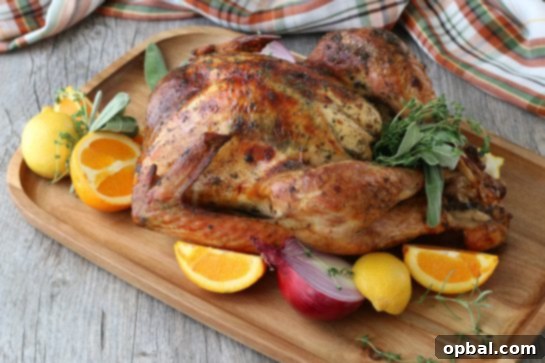
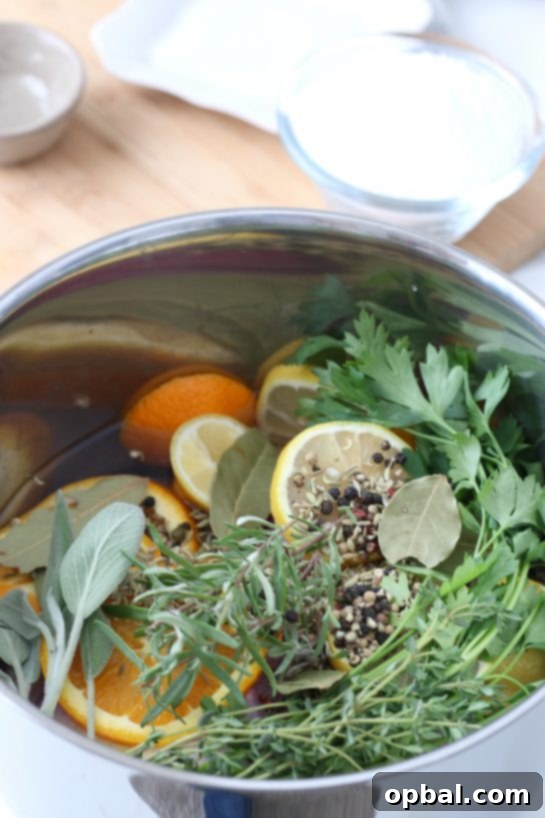
By following these detailed instructions and incorporating these invaluable tips, you are well on your way to preparing a turkey that will be the highlight of your next gathering. Brining truly is the secret to an incredibly moist, deeply flavorful, and unforgettable holiday turkey. Enjoy the satisfaction of serving a truly perfect bird!
And when the feasting is done, don’t let those delicious turkey leftovers go to waste! Be sure to try my comforting Turkey Fiesta Soup for a delightful post-holiday meal.
Recipe Card: How to Brine a Turkey
How to Brine a Turkey
Recipe Type: Dinner | Cuisine: American | Author: Ashley
Prep time: 20 mins | Cook time: 24 hours | Total time: 24 hours 20 mins
Serves: 10
Discover how to brine a turkey for the juiciest, most flavorful bird you’ve ever tasted! This guide covers our top-rated turkey brine recipe, ideal brining times, and the reasons why brining transforms your holiday turkey.
Ingredients
- 1 whole turkey, giblets removed
- 1 cup kosher salt
- 4 quarts (16 cups) cold water, divided
- 6 bay leaves
- 2 tablespoons whole black peppercorns
- Fresh thyme
- Fresh rosemary
- Fresh sage
- 2 medium red onions
- 1 tablespoon fennel seeds
Instructions
- Line a very large pot (at least 5 quarts) with a plastic brining or roasting bag.
- In a medium saucepan, bring 4 cups water with salt, bay leaves, and spices to a simmer, stirring until salt is dissolved.
- Cool the brine mixture for at least 5 minutes (or until completely cool).
- Place your turkey into the bag.
- Add the cooled salt mixture to the turkey bag.
- Then pour the remaining water over the turkey; be sure the turkey is completely submerged. Add more water if necessary to fully submerge.
- Tie the bag closed securely.
- Place the pot in the refrigerator and chill for 24 hours, flipping the turkey once to ensure even brining.
- Remove turkey from brine 1 hour before you are ready to roast. Rinse thoroughly with cold water, pat dry inside and out.
- Place turkey in roasting pan and let stand up to 1 hour at room temperature before roasting.