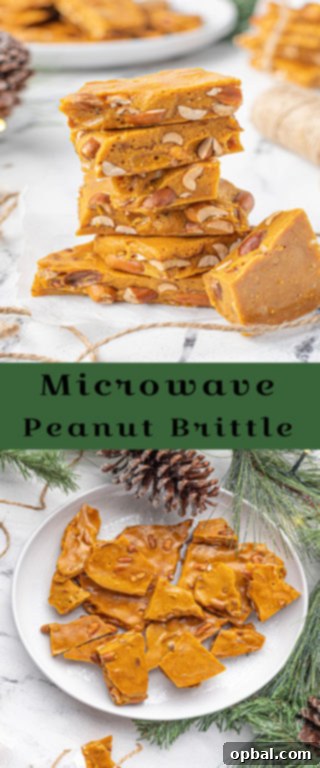
Easy Microwave Peanut Brittle: Your Ultimate Guide to a Perfect Holiday Treat
The air is crisp, holiday lights twinkle, and the scent of festive baking fills the home. This time of year reignites a special kind of magic, and for many, that magic culminates in the joy of homemade treats. Today, we’re diving into a beloved classic that promises both comfort and delight: Microwave Peanut Brittle. This isn’t just any brittle; it’s a golden, crunchy, sweet-and-salty masterpiece that’s incredibly easy to make, even if you’re new to candy crafting.
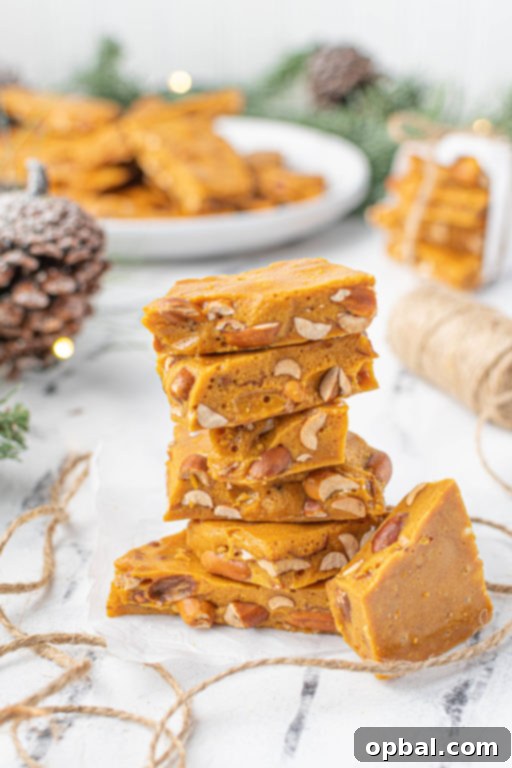
There’s something wonderfully nostalgic about peanut brittle. It harks back to simpler times, to recipes passed down through generations, often conjuring images of grandmothers lovingly stirring pots on the stovetop. While this particular recipe uses the modern convenience of a microwave, it embodies that same spirit of warmth and tradition. So, if making this sweet treat thrusts us into “grandma territory,” then consider us fully embraced! It’s a delightful role to play, especially when it involves creating such deliciousness.
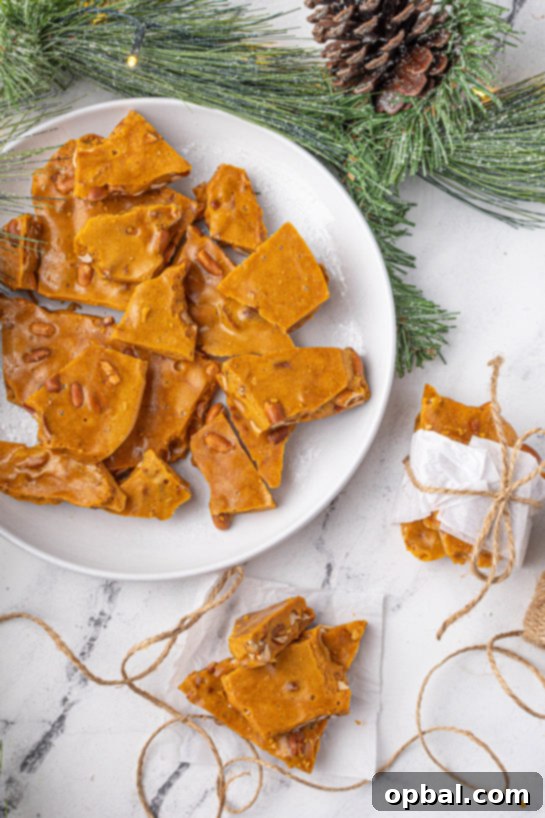
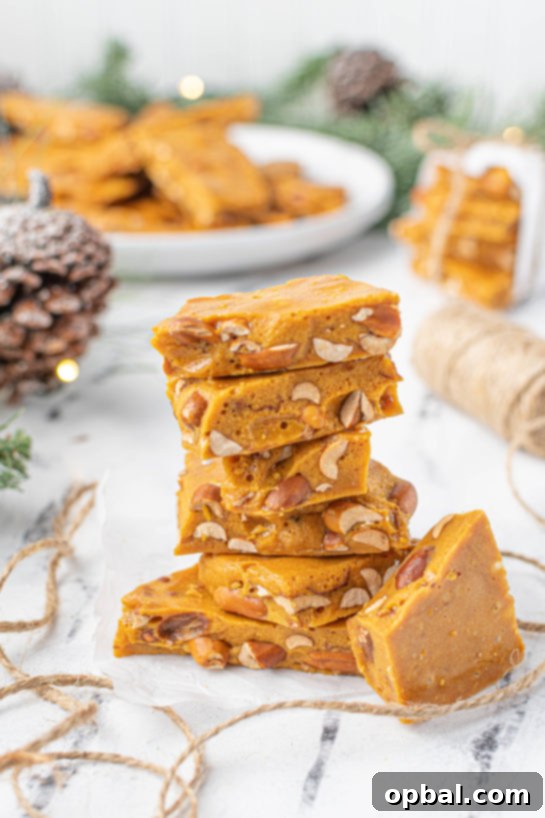
For me, brittle, along with Graham Cracker Toffee, evokes the sweet, comforting essence of grandmothers. It’s the kind of candy that feels like a warm hug, a reminder of family gatherings and holiday cheer. If this is what being a “grandma” tastes like, sign me up right away!
Why Microwave Peanut Brittle is a Game-Changer
Traditional brittle recipes often require careful handling of hot sugar on the stovetop, demanding constant attention and precise temperature control. While rewarding, this can be intimidating for novice candy makers or those short on time. This microwave version, however, transforms the process into an incredibly accessible and straightforward experience without compromising on flavor or texture.
The microwave method significantly reduces the active cooking time and simplifies the process of achieving the perfect hard crack stage. It’s ideal for busy holiday schedules, allowing you to whip up a batch of impressive homemade candy with minimal fuss. Plus, it minimizes the risk of scorching, making it a safer and less stressful option for everyone. This ease makes it a fantastic recipe to share with aspiring young bakers (with adult supervision, of course!).
The Irresistible Appeal of Homemade Peanut Brittle
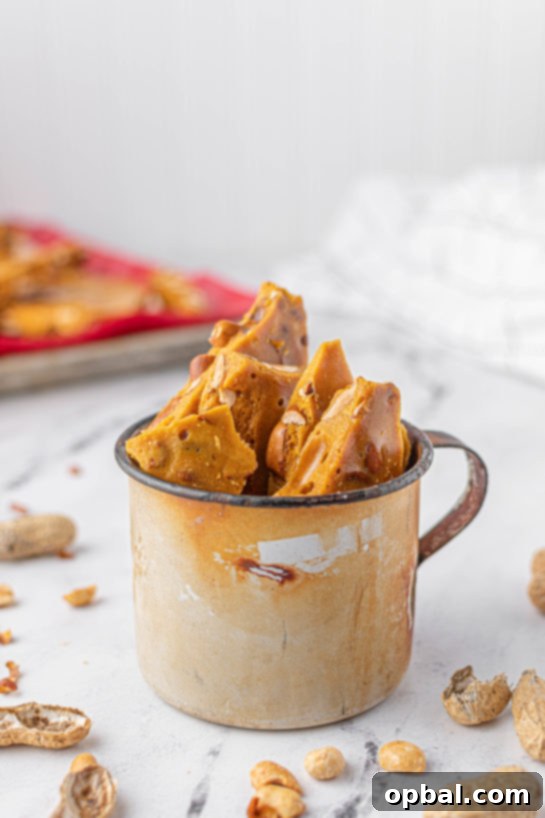
What is it about peanut brittle that makes it so universally adored? It’s a symphony of textures and tastes. Each bite delivers a satisfying, unmistakable crunch as the thin, glassy candy shatters, revealing pockets of perfectly roasted peanuts. The flavor profile is equally captivating: a delightful dance between the intense sweetness of caramelized sugar and the savory depth of roasted peanuts, often with a hint of salt to elevate every note.
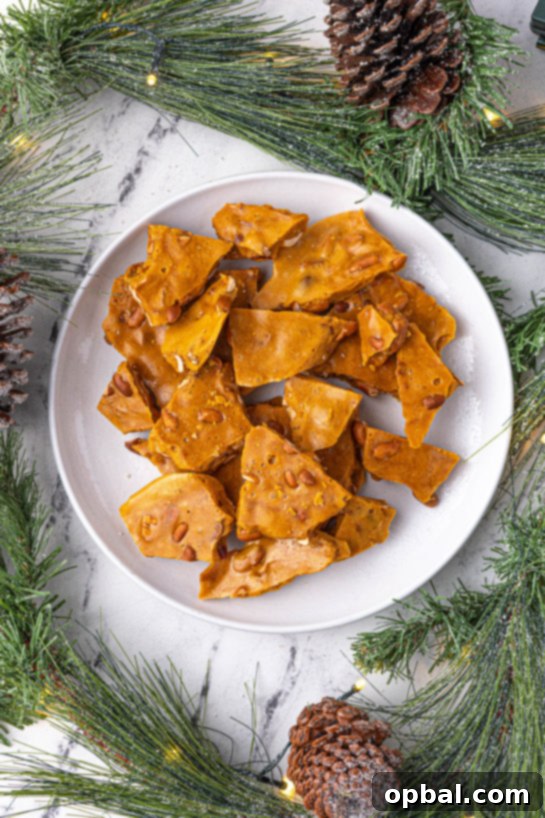
This golden confection boasts a beautiful sheen that catches the light, making it as visually appealing as it is delicious. Whether enjoyed as a personal indulgence with a cup of coffee, shared among family, or presented as a thoughtful gift, homemade peanut brittle never fails to impress. It’s a timeless treat that brings smiles and satisfaction, embodying the very spirit of holiday generosity and joy.
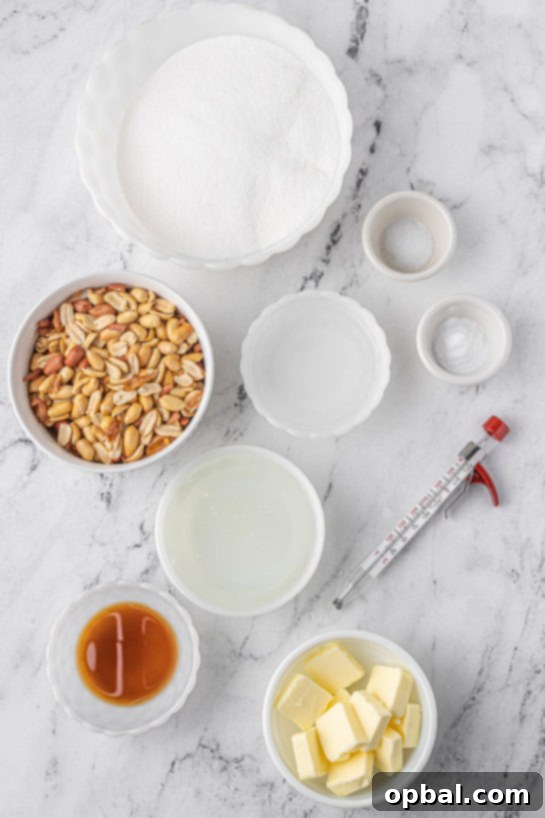
Essential Ingredients for Your Perfect Brittle
Making excellent peanut brittle relies on understanding the role of each ingredient. Here’s a closer look at what goes into this magical candy:
- Sugar (Granulated): The primary building block, providing the sweetness and structure of the candy.
- Light Corn Syrup: Crucial for preventing sugar crystallization. It helps the sugar dissolve smoothly and remain fluid during cooking, resulting in a clear, glassy brittle instead of a grainy one.
- Water: Helps dissolve the sugar and corn syrup, allowing them to heat evenly. It evaporates during cooking, leaving behind the concentrated sugar mixture.
- Salt: A small but mighty ingredient that balances the intense sweetness and enhances the overall flavor profile, highlighting the nutty notes of the peanuts.
- Unsalted Butter (Softened & Cubed): Adds richness, a lovely buttery flavor, and helps the brittle spread more easily. Using unsalted butter gives you control over the final salt content.
- Vanilla Extract: Introduces a warm, aromatic depth that complements the sugar and peanuts beautifully. Add it towards the end to preserve its delicate flavor.
- Unsalted Roasted Peanuts: The star of the show! Using pre-roasted peanuts saves a step and ensures a deeper, more robust flavor compared to raw peanuts. If you only have salted, you might slightly reduce the added salt in the recipe.
- Baking Soda: The secret ingredient for that signature airy, crunchy texture. When added to the hot sugar mixture, it reacts to create tiny carbon dioxide bubbles, which are then trapped as the candy cools, making it light and easy to break.
Step-by-Step Guide to Crafting Your Microwave Peanut Brittle
Creating this delicious candy in your microwave is surprisingly simple, but a few key steps and tips will ensure perfect results every time. Follow along closely!
1. Preparation is Key
Before you even start mixing, prepare your baking sheet. A good non-stick cooking spray generously applied or, even better, a silicone baking mat will make removing your brittle a breeze. Ensure your mat covers the entire surface of the baking sheet to prevent any sticky edges. Once ready, set it aside.
2. Initial Mixture & Microwave
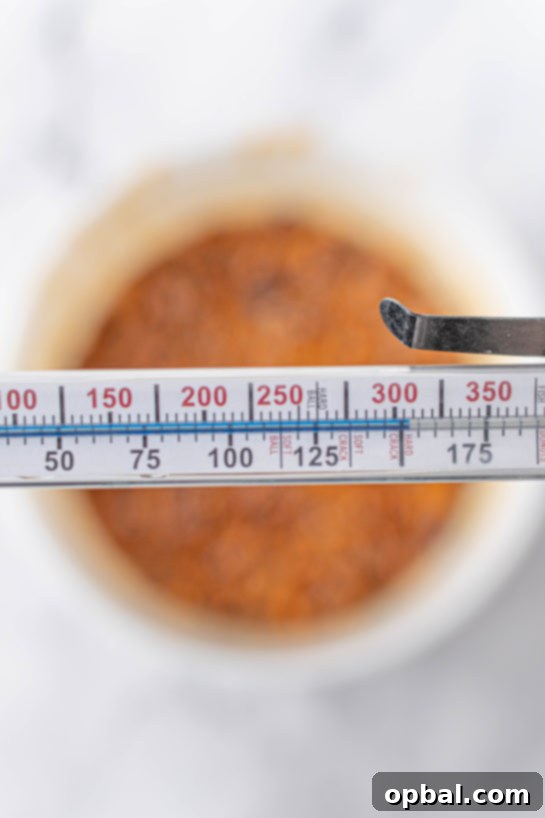
In a large, microwave-safe bowl (choose one significantly larger than you think you’ll need, as the mixture will bubble up!), combine your sugar, light corn syrup, water, and salt. Stir gently to combine. Place the bowl in the microwave and cook on high power, stirring every two minutes. This ensures even heating and helps the sugar dissolve without crystallizing. The goal here is to reach 250°F (121°C) on a candy thermometer. Be very careful as the mixture gets hot; it will bubble vigorously, and hot sugar can cause serious burns.
3. Adding Butter & Vanilla
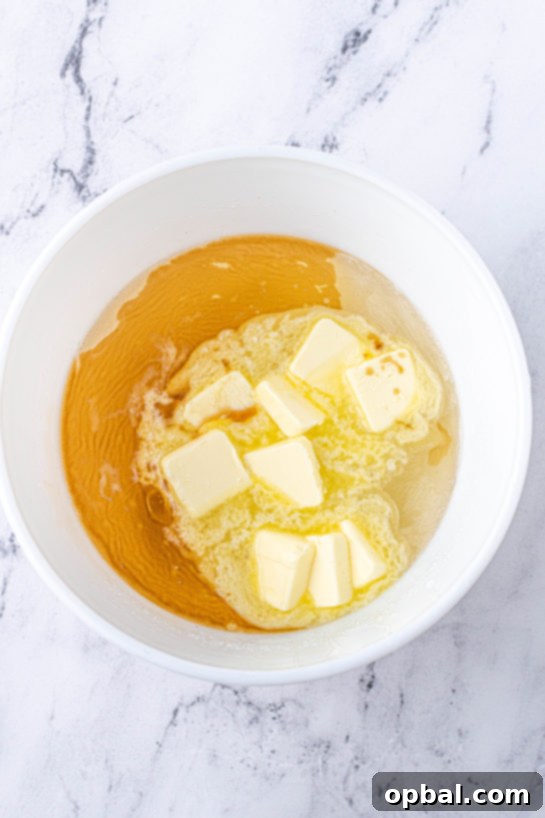
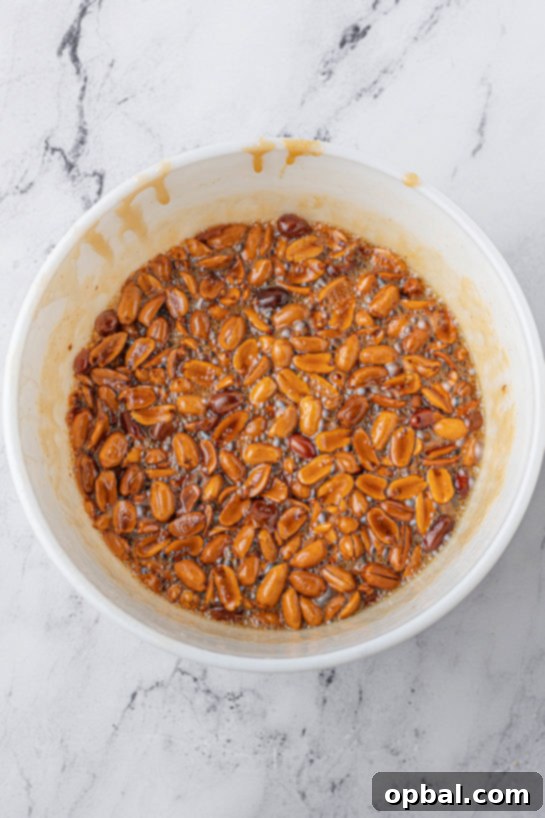
Once your mixture hits 250°F, carefully remove it from the microwave. Immediately add the softened, cubed butter and the vanilla extract. Stir until the butter is fully melted and incorporated. Again, exercise extreme caution as the addition of cooler butter can cause the hot mixture to bubble and splatter. Ensure everything is well combined before proceeding.
4. Peanuts In!
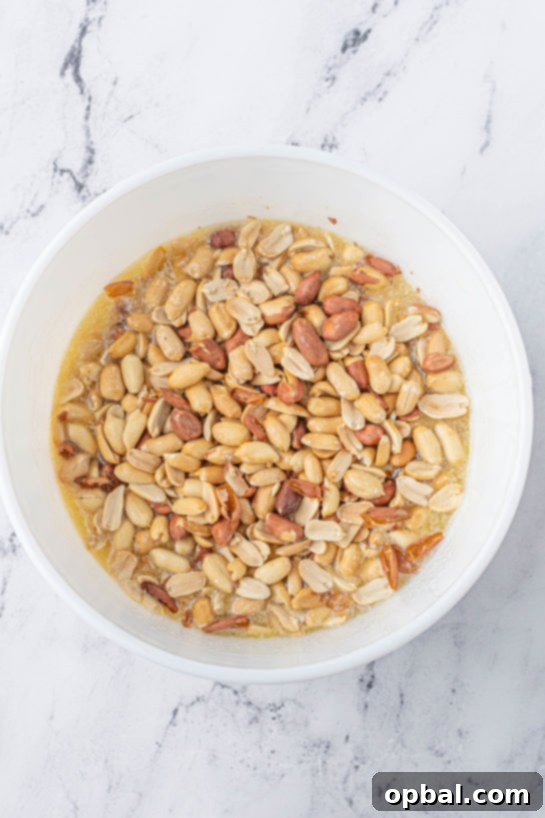
Next, stir in your roasted peanuts. Make sure they are evenly distributed throughout the sugar mixture. This step prepares the brittle for its final heating stage.
5. Second Microwave & Final Temperature
Return the bowl to the microwave and continue cooking on high, stirring every 2 minutes. This time, you’re aiming for a higher temperature: 300°F (149°C), which is the hard crack stage. This temperature is crucial for the brittle’s crisp texture. Don’t rush this step, and rely on your candy thermometer for accuracy.
6. The Baking Soda Magic
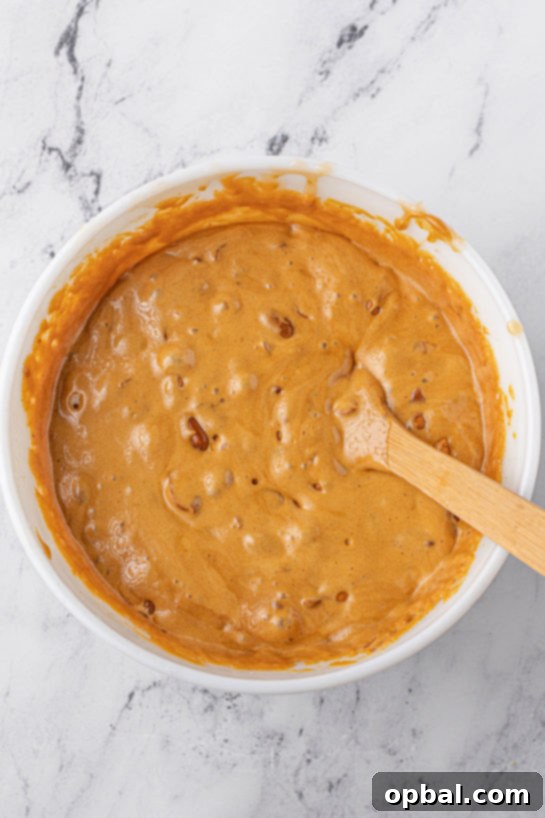
Once the mixture reaches precisely 300°F, quickly remove it from the microwave. This is where the magic happens! Immediately stir in the baking soda using a sturdy spatula. You’ll notice the mixture becoming foamy and lighter in color – this is the baking soda reacting and creating air pockets, which gives brittle its characteristic airy, crunchy texture. Stir vigorously until the baking soda is completely incorporated.
7. Spreading with Speed
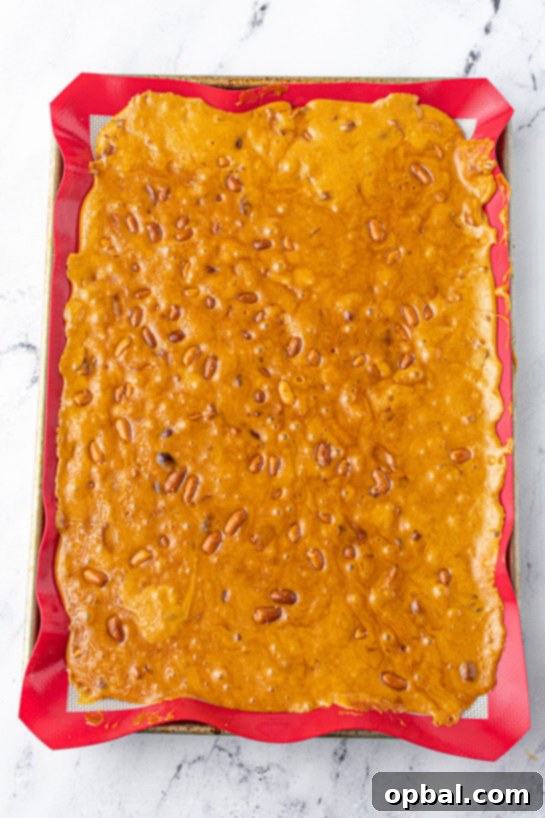
As soon as the baking soda is fully mixed, pour the brittle mixture onto your prepared baking sheet. Working quickly, use your spatula to spread the mixture evenly to the edges of the pan. The brittle will start to set almost immediately, so speed is essential for achieving a thin, uniform sheet. The thinner it is, the crisper your brittle will be.
8. Cooling Patience & Breaking Apart
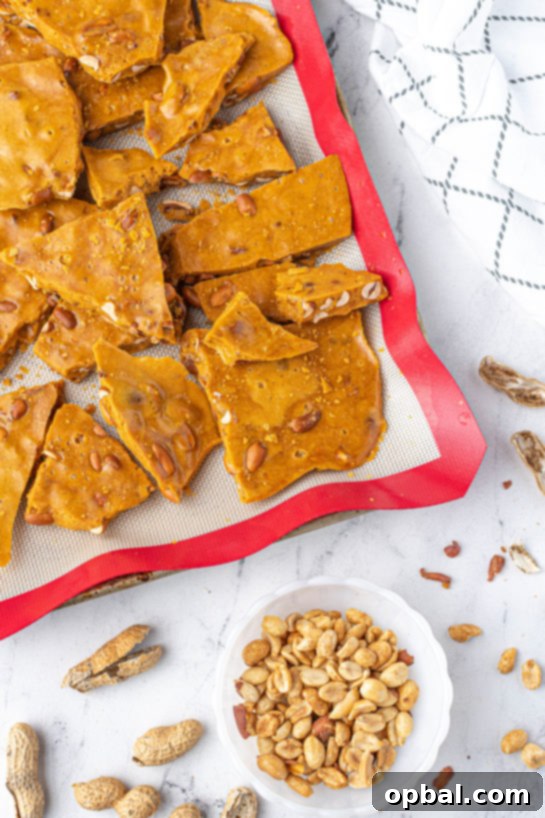
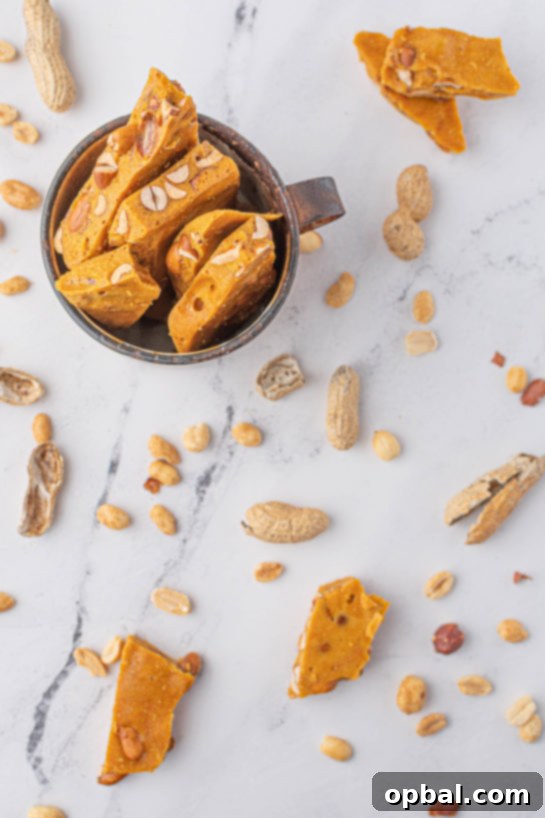
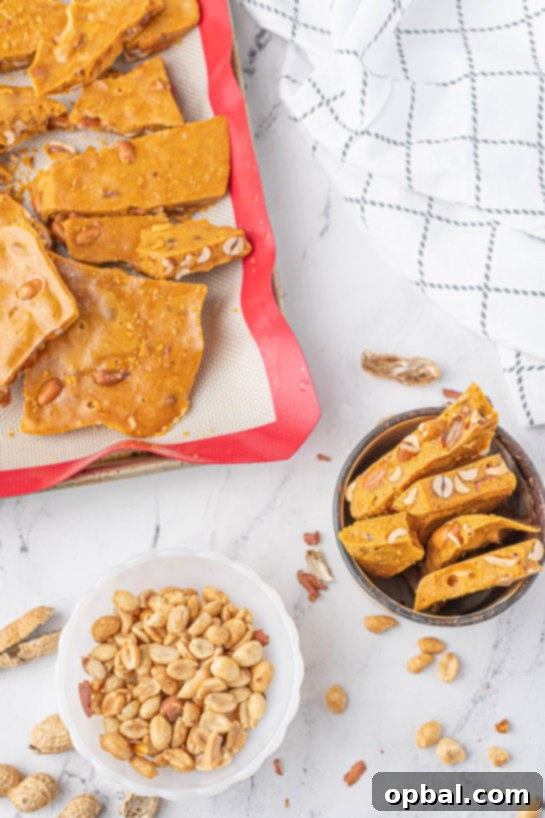
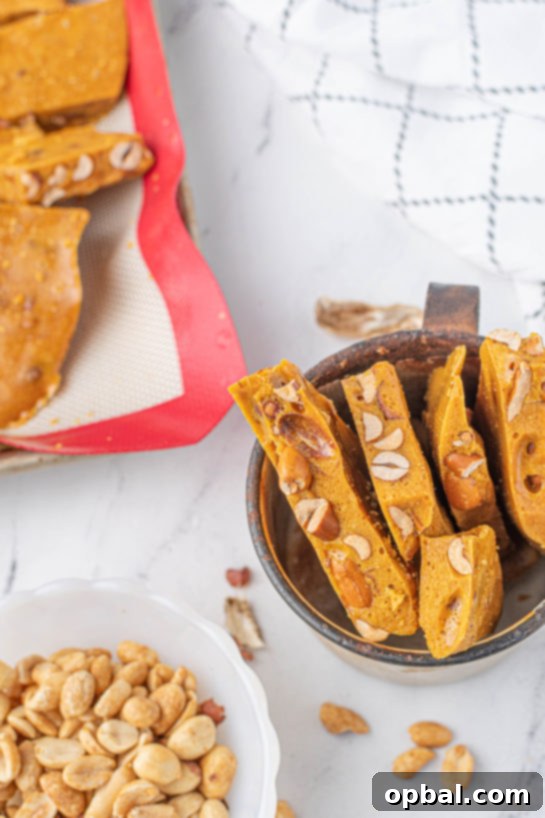
Allow the brittle to cool completely, which typically takes about 20-30 minutes, or until it is firm and hard to the touch. Once cooled, it should easily lift off the silicone mat or prepared baking sheet. Then comes the satisfying part: break the large sheet into irregular, bite-sized pieces. Enjoy!
Pro Tips for Brittle Perfection
- Don’t Over Stir (Early On): While periodic stirring is good during the first microwave phase, excessive stirring can introduce air bubbles and cause the sugar to crystallize, resulting in grainy brittle.
- Use a Reliable Candy Thermometer: This is arguably the most crucial tool. Eye-balling the temperature is a recipe for disaster. Invest in a good thermometer and calibrate it if necessary.
- Safety First: Hot sugar can reach extremely high temperatures and cause severe burns. Always wear oven mitts, use a sturdy, long-handled spatula, and keep children and pets away from the cooking area.
- Work Fast: Once the baking soda is added, the clock is ticking. The brittle will start to set very quickly, so have your prepared pan ready and spread it out as swiftly as possible.
- Humidity Matters: Brittle is sensitive to humidity. Avoid making it on very humid days, as this can cause it to become sticky. Store it properly to maintain its crunch.
Creative Variations for Your Brittle
While classic peanut brittle is perfection, don’t hesitate to experiment with variations to suit your taste or occasion:
- Nut Variations: Swap out peanuts for other nuts like pecans, almonds, cashews, or even a mix of your favorites. Each nut will lend a unique flavor and texture.
- Chocolate Drizzle: Once the brittle is completely cool and broken into pieces, melt some chocolate chips (milk, dark, or white) and drizzle it over the brittle for an extra layer of indulgence.
- Sea Salt Flakes: For an elevated sweet and salty experience, sprinkle a pinch of flaky sea salt over the brittle just after you pour it onto the baking sheet, before it fully sets.
- Spiced Brittle: Add a pinch of cinnamon, nutmeg, or even a tiny dash of cayenne pepper (for a kick!) along with the salt in the initial mixture to infuse a warm, spicy note.
The Art of Gifting Homemade Brittle
I have to admit, I never used to make my own gifts. But this microwave peanut brittle changes everything! Paired with a creamy chocolate fudge, it makes an absolutely wonderful edible gift for the holidays. Homemade gifts carry a special charm – they show thought, effort, and love, something that store-bought items often lack.
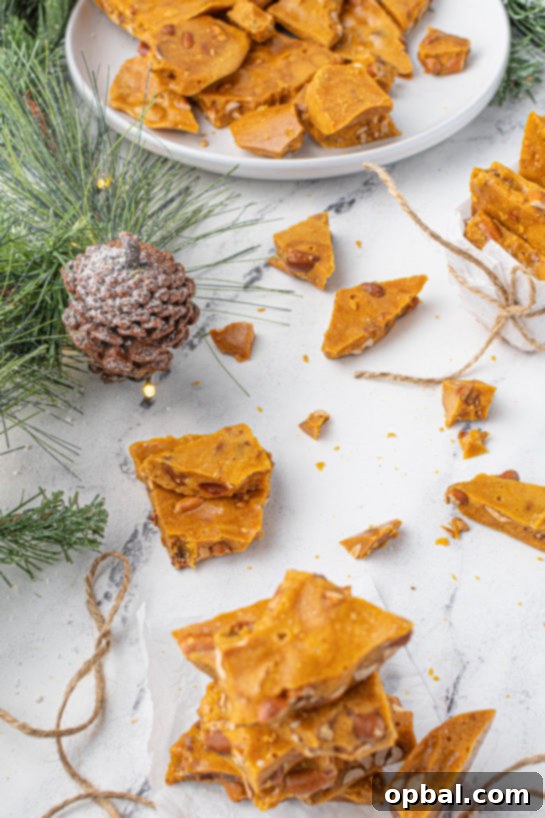
Imagine presenting a beautifully packaged bag or tin of this crunchy, golden brittle to friends, family, teachers, or neighbors. It’s a versatile gift that’s always appreciated. You can easily package pieces in cellophane bags tied with festive ribbons, or arrange them in decorative tins for an elegant presentation. Add a small, handwritten tag with a personal message to make it even more special. While I may not be gifted in crafts, I can certainly whip up a delicious edible treat, and this brittle is at the top of my list!
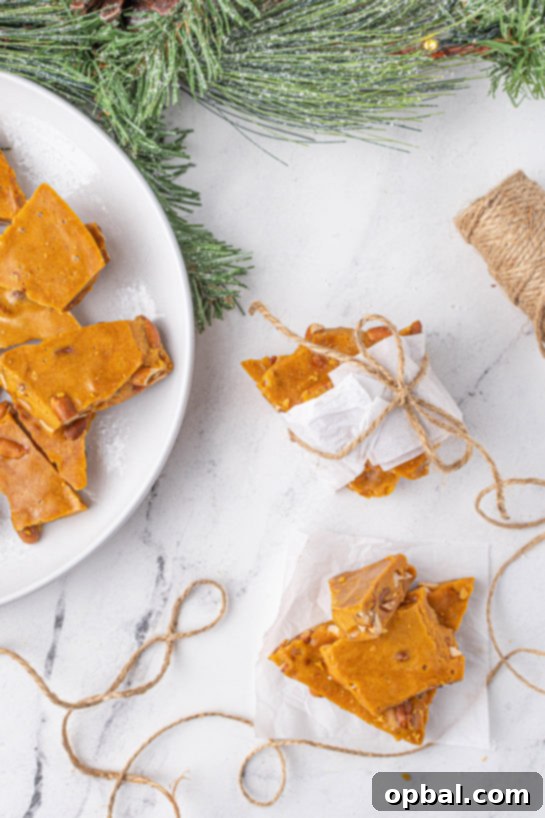
Storage Tips to Keep Your Brittle Fresh and Crunchy
To maintain the crispness and flavor of your microwave peanut brittle, proper storage is essential. Once completely cooled and broken into pieces, store the brittle in an airtight container at room temperature. A cool, dry pantry is ideal. Avoid refrigerating it, as the moisture and cold can make it sticky and less crunchy. When stored correctly, peanut brittle can stay fresh and delicious for up to two weeks, making it perfect for preparing in advance for holiday gifting or snacking.
Conclusion: Embrace the Brittle Tradition!
There you have it – a straightforward, delicious, and utterly irresistible recipe for microwave peanut brittle. It’s the perfect treat to embrace the holiday spirit, whether you’re making it for your family, to give as heartfelt gifts, or simply to enjoy by yourself while watching your favorite Christmas movies (like Home Alone for the 800th time!). This recipe proves that you don’t need to be a seasoned confectioner to create impressive, mouth-watering candy.
So, gather your ingredients, follow these simple steps, and prepare to be amazed by the golden, crunchy perfection you can achieve with just a microwave. Get ready to fill your home with the sweet aroma of homemade candy and spread some holiday cheer, one delicious piece of brittle at a time. Merry Christmas, ya filthy animals!
- 3 c sugar
- 1 ¼ c light corn syrup
- ½ water
- ¼ tsp salt
- ½ c unsalted butter, softened & cubed
- 2 tsp vanilla
- 2 ½ c unsalted, roasted peanuts
- 1 ½ tsp baking soda
- Prep baking sheet with non-stick cooking spray or lay a silicone baking mat in the bottom of the baking sheet and set aside.
- In a large, microwave safe bowl, mix together the sugar, light corn syrup, water and salt. Microwave on high, stirring every two minutes until a candy thermometer inserted reaches 250 F. Be careful as once it starts getting hot it will bubble and burn if you stir too aggressively.
- Once the mixture reaches 250 F, add the butter and vanilla and stir until incorporated. Be careful when you add the butter as the mixture is hot enough to cause it to bubble and splatter. Next, stir in the peanuts.
- Microwave again on high, stirring every 2 minutes until it reaches 300 F.
- Once the mixture reaches 300 F, using a spatula, stir in the baking soda until it is well incorporated. You will need to stir a lot to be sure the baking soda is mixed well throughout as this causes the bubbles that makes the brittle airy and crunchier.
- Pour the brittle into the prepared baking sheet and spread evenly to the edges. Be sure to work quickly as once it starts to cool it gets harder to spread.
- Let set for 20-30 minutes or until it is cooled.
- Remove from the pan and break into pieces. Enjoy!
- The larger the pan, the thinner your brittle will be and vice versa.