
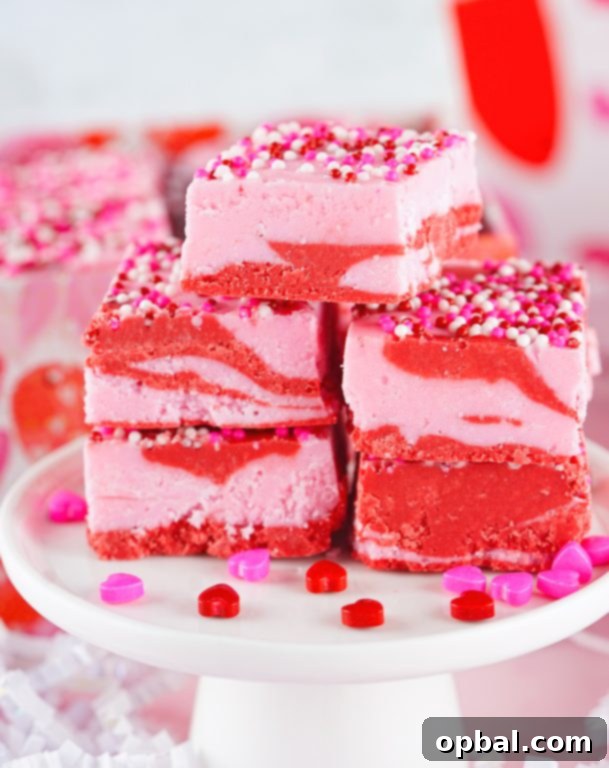
The Ultimate 4-Ingredient Layered Valentine’s Day Strawberry Fudge: A Quick & Delightful Treat!
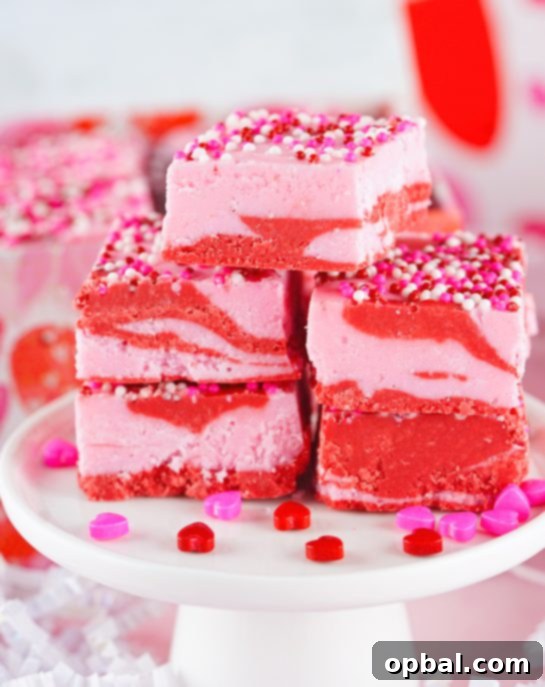
As Valentine’s Day approaches, the air fills with a sweet anticipation of love, affection, and, of course, delicious treats! If you’re searching for a heartfelt, charming, and incredibly easy homemade gift or a delightful dessert to share, look no further. This exquisite Layered Valentine’s Day Strawberry Fudge recipe is your answer. Combining the irresistible flavors of strawberries and cream, this fudge is not just a feast for the taste buds but also a treat for the eyes with its beautiful pink and red layers, speckled with festive sprinkles. It’s so soft, creamy, and melts in your mouth, embodying everything wonderful about homemade confections. What makes it truly remarkable? It requires just four simple ingredients and comes together in under 10 minutes of active prep time, making it an ideal project for even the busiest of schedules or the most novice of bakers.
Embrace the Sweet Spirit of Valentine’s Day with Homemade Charm
Valentine’s Day often conjures images of fancy dinners and elaborate gifts, but there’s a unique magic in the simplicity of a homemade gesture. A gift made with your own hands carries a special warmth and sincerity that store-bought items simply cannot replicate. This is especially true for families with children, where the holiday can be transformed into a joyful opportunity for creative expression and shared experiences. Our household, for instance, has always leaned towards celebrating Valentine’s Day with fun crafts and sweet treats, making it a truly personal affair. Watching our child light up with excitement over an upcoming holiday, eager to participate in creating something special, is a reminder of the pure joy these simple moments bring. This easy strawberry fudge recipe offers the perfect avenue for such cherished memories, allowing everyone to contribute to a delightful edible masterpiece.
The Unbeatable Ease of Modern Fudge Making
Gone are the days when making fudge meant endless stirring over a hot stove, precise temperature monitoring, and the constant fear of crystallization. Thanks to modern techniques and clever ingredient combinations, creating wonderfully creamy fudge at home has become remarkably straightforward. This particular recipe champions simplicity, utilizing a method that ensures a smooth, consistent texture every time without the fuss. It’s a testament to how accessible delicious homemade treats can be. The process is so simple that it’s perfect for inviting children into the kitchen, allowing them to help with melting, stirring, and, most excitingly, sprinkling! This hands-on experience not only creates a memorable holiday activity but also fosters a love for cooking and baking from a young age. Whether you’re making it for your own family or preparing thoughtful gifts for friends and loved ones, this layered strawberry fudge promises to be a delightful success.
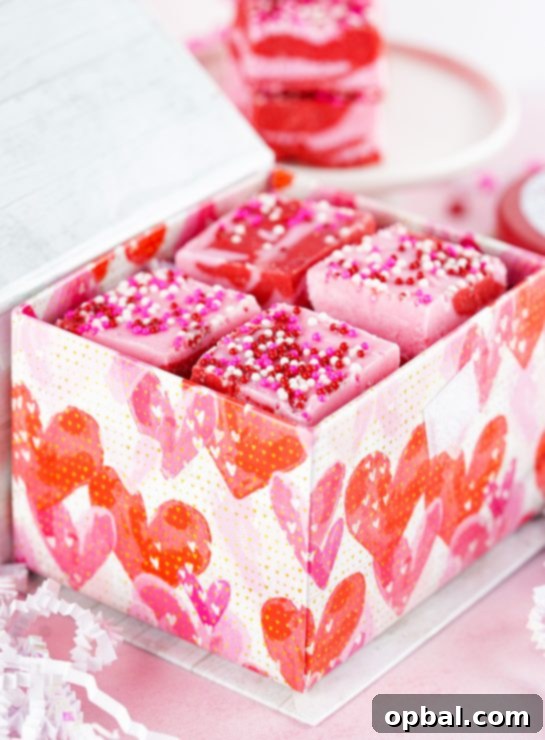
While I admit that a whole pan of fudge is often too generous for my family of three (though I confess, I could probably polish it off myself!), this recipe is ideal for gifting. Fudge, by its very nature, is a perfect shareable treat. Cut into neat squares or whimsical shapes using cookie cutters, it makes an attractive and much-appreciated present. The beauty of this recipe extends beyond Valentine’s Day too; its fundamental simplicity allows for endless customization. You can easily swap out candy melt flavors, experiment with different extracts, and use various food colorings to adapt it for any holiday or occasion. Imagine vibrant green mint fudge for St. Patrick’s Day or rich chocolate peanut butter fudge for autumn gatherings. The possibilities are truly boundless, making this a versatile staple in your recipe collection.
Expert Tips for Perfect Strawberry Fudge Every Time
Achieving the perfect fudge texture is easier than you think, especially with this streamlined recipe. However, a few common pitfalls can be avoided with these helpful tips:
- Understanding Consistency: If your fudge turns out overly hard, crumbly, or difficult to cut, it typically indicates that too much chocolate was used in relation to the frosting. While it will still taste delicious, for a softer, creamier fudge next time, reduce the amount of chocolate slightly. Conversely, if your fudge doesn’t set properly and remains too soft, it means you didn’t use enough chocolate. To rectify this in future batches, either increase the chocolate quantity or decrease the frosting slightly. The balance between the two is key to that ideal, melt-in-your-mouth texture.
- Dealing with Chocolate Seizing: It’s perfectly normal for the melted chocolate to appear to “seize up” slightly when the strawberry-flavored frosting is first incorporated. This is a common reaction when liquid (even thick frosting) is introduced to melted chocolate. Don’t panic! Simply continue stirring vigorously. The more you stir, the smoother and more pourable the mixture will become, allowing the ingredients to fully combine into a cohesive, delicious fudge base.
- The Golden Rule of Extracts: A crucial tip for working with chocolate is to never add water-based extracts directly to melted chocolate. Strawberry extract, like many extracts, is primarily water-based. Introducing it directly to melted chocolate will cause the chocolate to seize instantly and irreparably, ruining your batch. Always add the extract to the frosting first, ensuring it’s fully incorporated before combining the flavored frosting with the melted candy melts. This simple step preserves the integrity of your chocolate and ensures a smooth final product.
- Candy Melt Alternatives: If you’re having trouble locating strawberry-flavored pink candy melts, there’s no need to worry. The strawberry extract alone provides ample flavor, so you can confidently use plain pink candy melts instead. The color will still be beautiful, and the taste will be wonderfully fruity. Moreover, if candy melts are unavailable altogether, white chocolate chips can be used as a substitute. Just remember that when coloring white chocolate, you must use oil-based food dyes. Water-based food dyes will have the same detrimental effect as adding extract directly to chocolate, causing it to seize.
- Storage Suggestions: For best results, store your finished fudge in an airtight container at room temperature for up to a week, or in the refrigerator for up to two weeks. Fudge also freezes beautifully for up to 3 months. Simply wrap individual pieces tightly in plastic wrap, then place them in a freezer-safe bag or container. Thaw at room temperature before serving.
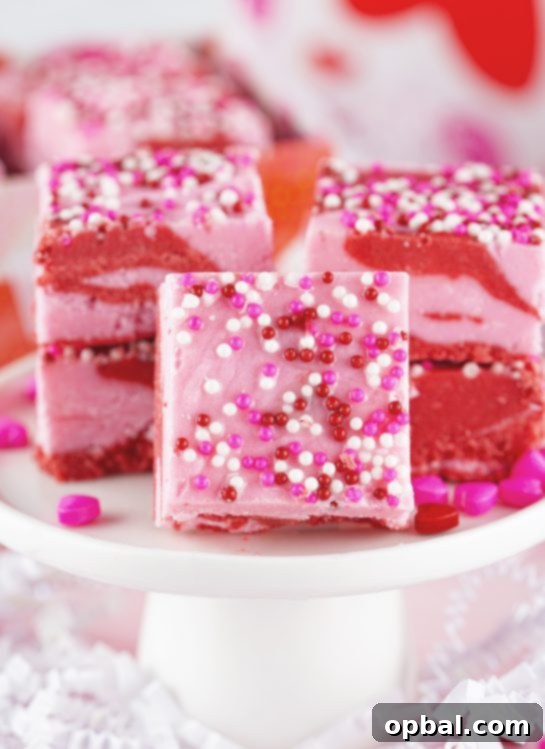
Layered Valentine’s Day Strawberry Fudge Recipe
This delightful Layered Valentine’s Day Strawberry Fudge is incredibly easy to make with just four ingredients and ready in under 10 minutes of active prep time. A pretty and super cute gift for your Valentine!
Prep Time:
17 mins
Cook Time:
7 mins
Total Time:
24 mins
Servings:
16 squares
Ingredients:
- 1 (16-ounce) container/tub Buttercream Frosting
- ¾ Cup Red Candy Melts
- 1 Cup Strawberry Flavored Pink Candy Melts (or plain pink unflavored)
- 1 Teaspoon Strawberry Extract
- Valentine’s Mix Non-Pareils Sprinkles (for topping)
- White, Pink, Red Heart Sprinkles (optional, for decoration)
Equipment Needed:
- 8×8 Inch Square Pan
- Parchment Paper
- Microwave-safe bowls
- Spatulas/spoons for stirring
Instructions:
- Prepare your red candy melts: Place the red candy melts in a microwave-safe bowl. Heat on high in the microwave for 2-3 minutes, stopping every 15-30 seconds to stir, until completely smooth. Stirring frequently prevents overheating and ensures an even melt.
- Melt the pink candy melts: Repeat the melting process from step one for the pink candy melts, ensuring they are kept in a separate microwave-safe bowl.
- Melt the frosting: Remove the lid and any film from the buttercream frosting container. Place the frosting in the microwave and heat for 45 seconds to 1 minute, or until it is fully melted and has a smooth, pourable consistency. If you plan to use heart sprinkles for individual decorations later, set aside about ½ a teaspoon of uncooked frosting before melting the rest.
- Flavor the frosting: Add the strawberry extract directly to the melted frosting and stir it very well until the extract is thoroughly combined and evenly distributed throughout the frosting.
- Combine ingredients: Divide the flavored frosting mixture in half. Add one half of the frosting to the bowl with the melted red candy melts, and the other half to the bowl with the melted pink candy melts.
- Mix vigorously: Stir each color vigorously and continuously until the frosting and candy melts are fully mixed and the fudge mixture is smooth and lump-free. It’s normal for the chocolate to thicken or “seize” slightly at first; keep stirring until it smooths out.
- Prepare the pan: Line your 8×8-inch square pan with parchment paper, making sure to leave an overhang on all sides. This overhang will act as handles, making it easy to lift the set fudge out of the pan later.
- Create the layered effect: Begin alternating pouring spoonfuls of the red and pink fudge mixtures into random spots in the prepared pan. After pouring a few spoonfuls, gently tap the pan on your counter a few times. This helps to even out the layers, allows the mixtures to settle, and releases any trapped air bubbles, ensuring a smooth surface. Continue alternating and tapping until all the fudge mixtures have been poured into the pan.
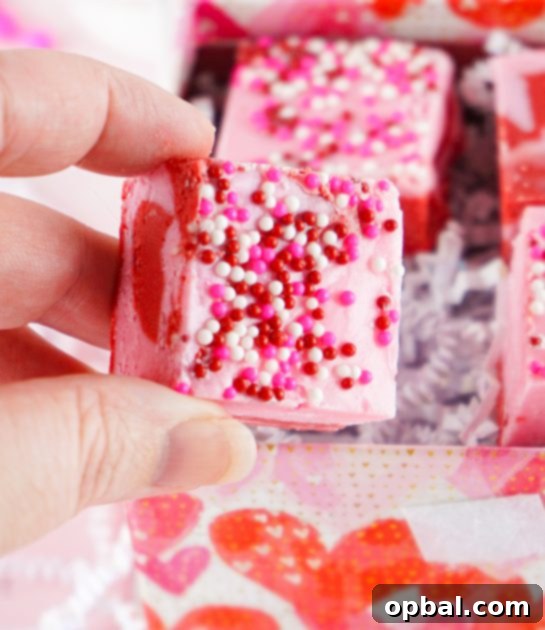
- Decorate: Once all your chocolate mixtures have been poured in and the top is relatively even, generously sprinkle the top of the fudge with as many Valentine’s themed non-pareils as you desire. You can also press in other festive sprinkles like small heart shapes if you wish.
- Chill to set: Place the pan in the refrigerator to chill for at least 2 hours, or until the fudge is completely hardened and set.
- Cut and serve: Once firm, use the parchment paper overhang to lift the fudge out of the pan. Place it on a cutting board and cut it into desired squares or use cookie cutters for fun shapes. If using the optional heart sprinkles for decoration, dab a tiny bit of the reserved uncooked frosting on the back of each heart sprinkle and gently press it into the center of each fudge square for an extra cute touch. Enjoy your beautiful and delicious Layered Valentine’s Day Strawberry Fudge!
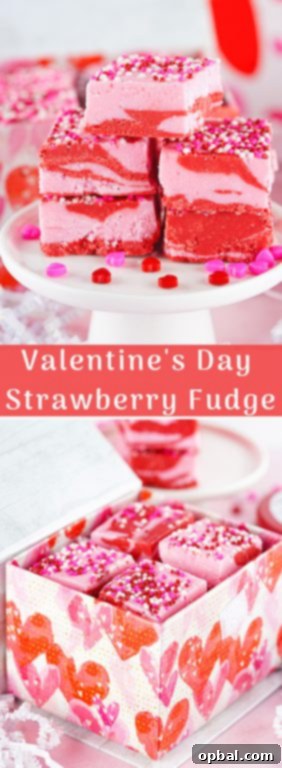
This Layered Valentine’s Day Strawberry Fudge is more than just a dessert; it’s an expression of love, a simple joy to share, and a creative activity for the whole family. Its stunning appearance, creamy texture, and irresistible strawberry flavor make it an instant favorite for Valentine’s Day and beyond. So, gather your ingredients, set aside a few minutes, and prepare to create a truly memorable sweet treat that embodies the spirit of affection. Happy Valentine’s Day, and happy fudge making!