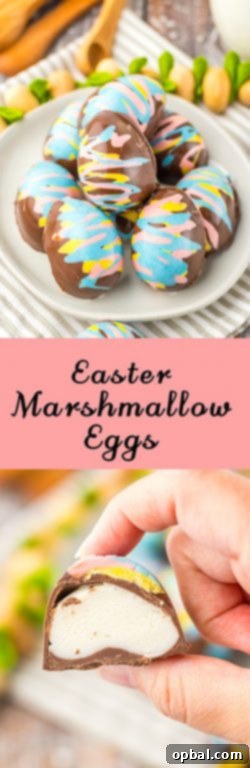
Easy Easter Marshmallow Eggs: Your Ultimate Guide to a No-Bake Holiday Delight
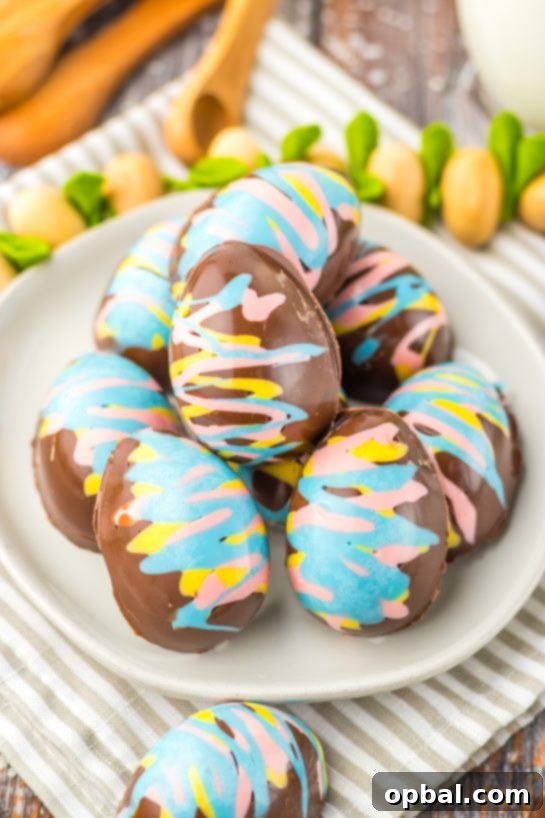
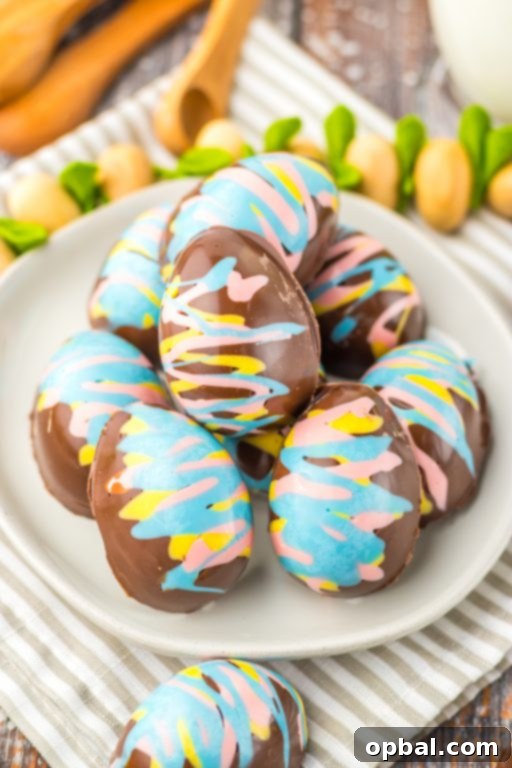
Easter is a time for sweet celebrations, and what better way to indulge than with charming, homemade treats? Our recipe for **Easy Easter Marshmallow Eggs** offers the perfect solution for anyone seeking a delightful, no-bake dessert that’s both adorable and incredibly simple to create. Imagine rich chocolate shells filled with a light, fluffy, and decadent marshmallow center—a true Easter dream! These irresistible confections are guaranteed to be a hit on your holiday dessert table or as a special surprise tucked into Easter baskets. Forget the stress of elaborate baking; this recipe is designed for maximum flavor with minimal effort.
Why You’ll Love These No-Bake Easter Marshmallow Eggs
There are countless reasons to add these charming chocolate marshmallow eggs to your Easter repertoire. First and foremost, they are **no-bake**, which means you can achieve impressive results without even turning on your oven. This is a huge time-saver, especially during a busy holiday season. They are also incredibly **kid-friendly**, both in their preparation (older children can help with mixing and filling) and in their appeal. The combination of smooth chocolate and soft marshmallow is a universally loved pairing.
Beyond their ease, these homemade marshmallow eggs offer a level of freshness and customizable flavor that store-bought options simply can’t match. You have control over the quality of ingredients, and the satisfaction of making something so special by hand is truly rewarding. Plus, their festive egg shape makes them an instant showstopper, perfect for elevating any Easter gathering.
The Perfect Easter Treat for Everyone
As Easter approaches, many of us are looking for creative and delicious ways to celebrate. These Easy Easter Marshmallow Eggs fit the bill perfectly. They are wonderfully versatile, appealing to both the young and the young-at-heart. Whether you’re hosting a grand Easter brunch, contributing to a potluck, or simply looking to fill those cherished Easter baskets with something extra special, these marshmallow-filled chocolate eggs are an ideal choice. They provide a delightful alternative or complement to traditional chocolate bunnies and jelly beans, adding a touch of homemade charm to your festivities. Imagine the smiles when friends and family discover these unique treats!
Moreover, preparing these treats can be a fun and engaging activity for the whole family. From melting the chocolate to spooning in the fluffy marshmallow filling, each step is straightforward, making it a great way to bond in the kitchen. The anticipation of biting into these chocolate-covered, marshmallow-filled delights is part of the magic of Easter.
Crafting Your Own Heavenly Marshmallow Eggs
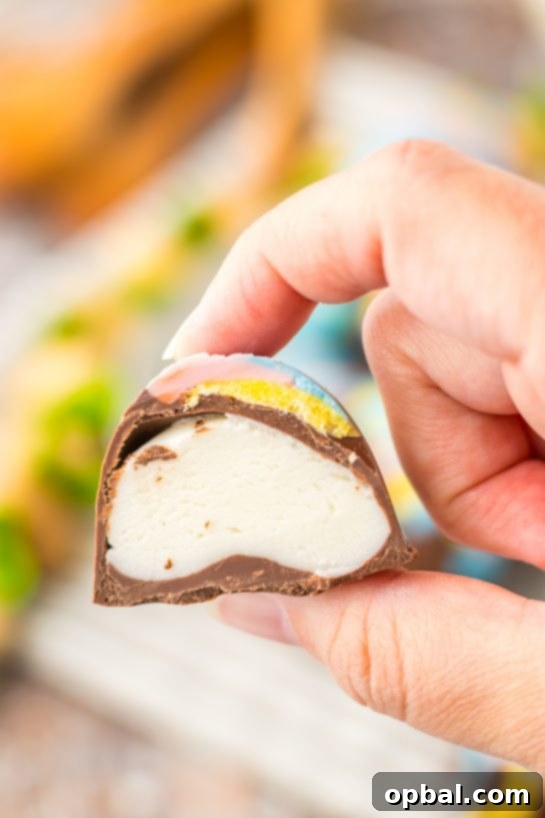
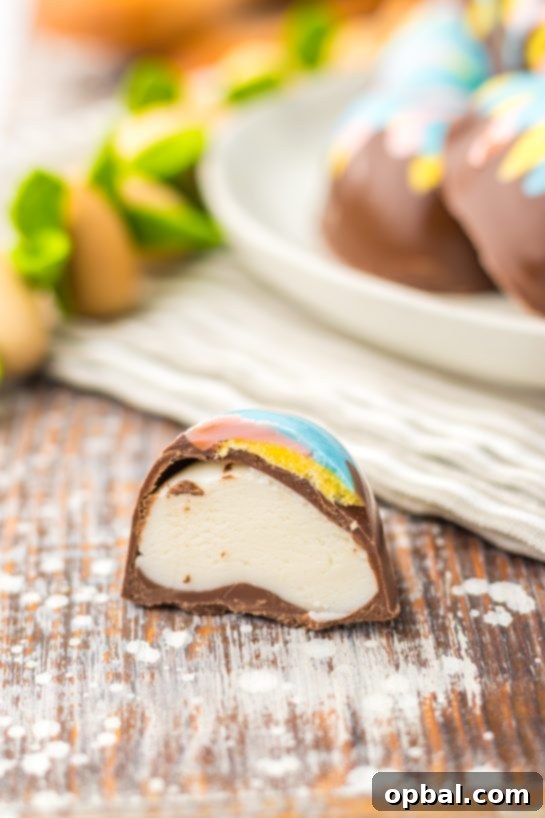
The beauty of these homemade marshmallow eggs lies in their simplicity and the incredible texture they offer. The exterior is a crisp, smooth chocolate shell that encases a cloud-like, rich marshmallow filling. This delightful contrast of textures and flavors creates an utterly heavenly experience with every bite. Once you taste these delectable treats, you might find it hard to go back to store-bought versions. The homemade marshmallow filling is truly a game-changer, providing a luxurious creaminess that is simply unmatched.
While the process is easy, the result is truly gourmet. You can choose to use your favorite type of chocolate—milk chocolate for a classic sweet flavor, dark chocolate for a richer experience, or even white chocolate for a lighter, creamy touch. The key is using quality ingredients, especially when it comes to the chocolate coating, to ensure a smooth, professional finish. These aren’t just desserts; they’re edible works of art that are surprisingly easy to master.
Tips and Tricks for Perfect Easter Marshmallow Eggs
Creating the perfect batch of these no-bake Easter marshmallow eggs is incredibly straightforward, but a few simple tips can ensure your treats turn out beautifully every time. Attention to detail, especially when working with chocolate, can make all the difference in achieving that smooth, glossy finish and delightful melt-in-your-mouth texture.
- Choosing Your Chocolate: For the outer coating, **almond bark** or **candy melts** are highly recommended. These products are formulated to melt smoothly and set firmly, giving your eggs a beautiful, professional sheen without needing to temper chocolate. Avoid using regular chocolate chips, as they contain stabilizers that can prevent them from melting to the desired thin, pourable consistency needed for coating molds. If you prefer pure chocolate, use high-quality baking chocolate or couverture chocolate and consider tempering it for the best snap and shine, though this adds an extra step.
- Melting Method: When melting your chocolate bark or candy melts, use a microwave-safe bowl and heat in short intervals (e.g., 30 seconds at a time), stirring thoroughly after each interval. This prevents scorching and ensures an even melt. A double boiler can also be used for a more controlled melting process.
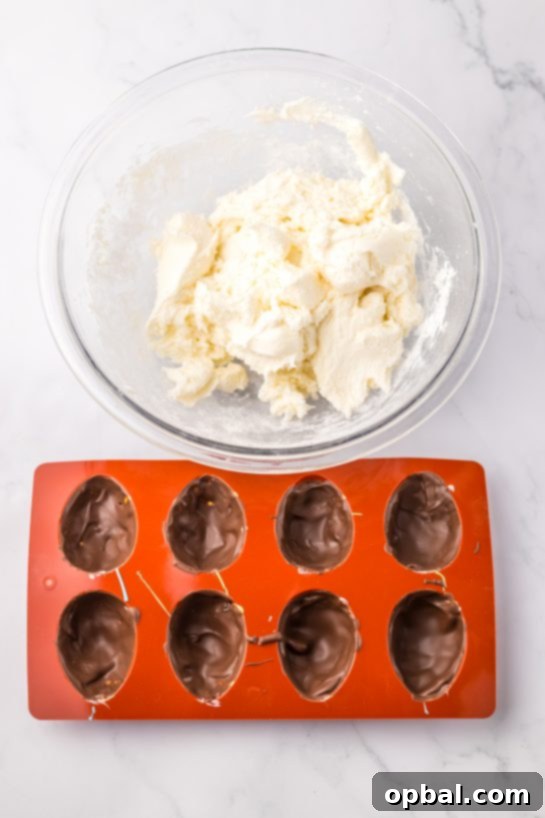
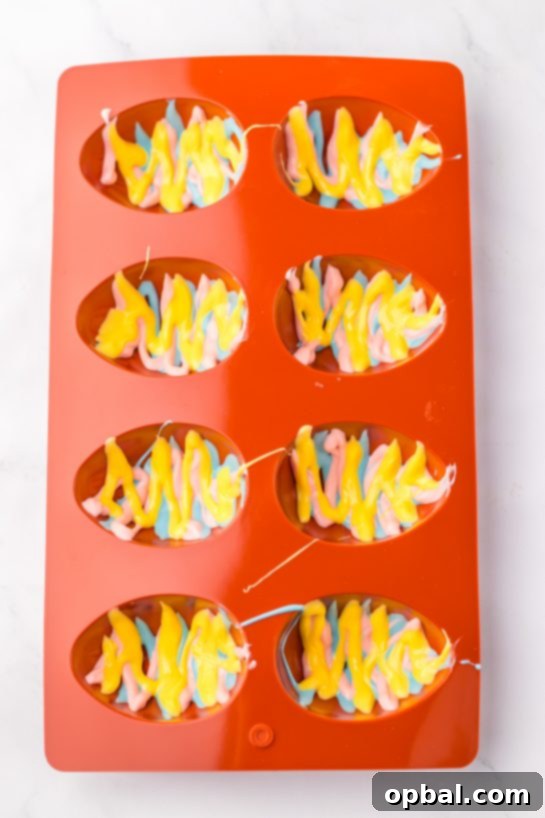
- Coating the Molds: After drizzling your colored candy melts (if using for decoration), spoon half of your melted chocolate almond bark into the silicone egg molds. Use the back of a spoon or a small pastry brush to spread the chocolate evenly up the sides of the molds, creating a solid shell. Invert the molds over a wire rack to allow any excess chocolate to drip off, ensuring a thin, uniform shell. Let them set completely before adding the marshmallow filling.
- The Marshmallow Filling: Ensure your salted butter is softened to room temperature for the smoothest, creamiest marshmallow mixture. A stand mixer or hand mixer works best to combine the marshmallow fluff, butter, powdered sugar, and vanilla extract until light and airy. The vanilla extract is crucial for a comforting, familiar flavor.
- Filling and Sealing: Once your chocolate shells are set, evenly divide the marshmallow mixture among them. Don’t overfill, leave a little room for the top layer of chocolate. Melt the remaining chocolate almond bark and carefully spoon it over the marshmallow filling, sealing the eggs completely.
- Setting Time: For best results, allow the filled eggs to set completely. This can be done at room temperature, but placing them in the refrigerator for 10-15 minutes will speed up the process significantly, making them easier to unmold.
- Unmolding: Silicone molds are fantastic because they allow for easy removal. Gently push from the bottom of each mold to pop out your perfectly formed Easter marshmallow eggs. Handle with care to avoid fingerprints on the glossy chocolate.
Customization and Serving Ideas
The fun doesn’t stop with the basic recipe! These **homemade marshmallow eggs** are a fantastic canvas for creativity. Here are some ideas to make them uniquely yours:
- Color Your Marshmallow: Add a drop or two of food coloring to your marshmallow mixture before filling the molds. Think pastel pinks, blues, or yellows for an extra festive surprise inside!
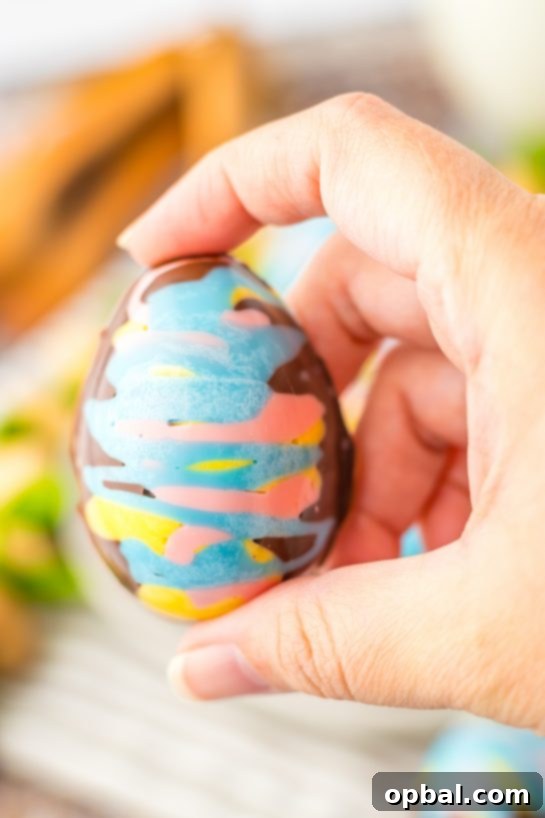
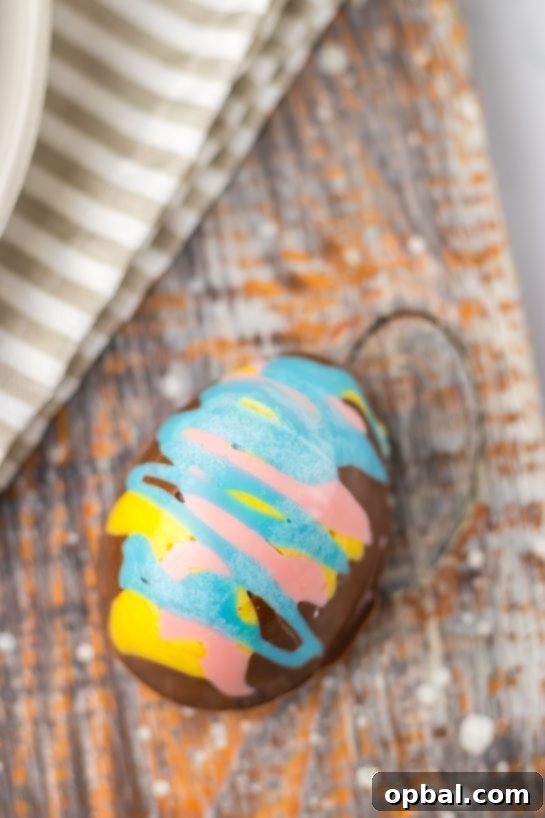
- Decorative Drizzles: After the eggs have set, melt a small amount of contrasting colored candy melts (or even white chocolate) and drizzle it over the finished eggs for a beautiful decorative touch.
- Sprinkle Fun: While the final chocolate layer is still wet, sprinkle with festive Easter sprinkles or edible glitter for extra sparkle and crunch.
- Flavor Variations: Experiment with different extracts in the marshmallow mixture. A hint of almond, peppermint, or even a touch of orange zest could add an exciting twist.
- Mini Eggs: If you have smaller silicone molds, you can easily make mini Easter marshmallow eggs, perfect for tiny treats or a diverse dessert platter.
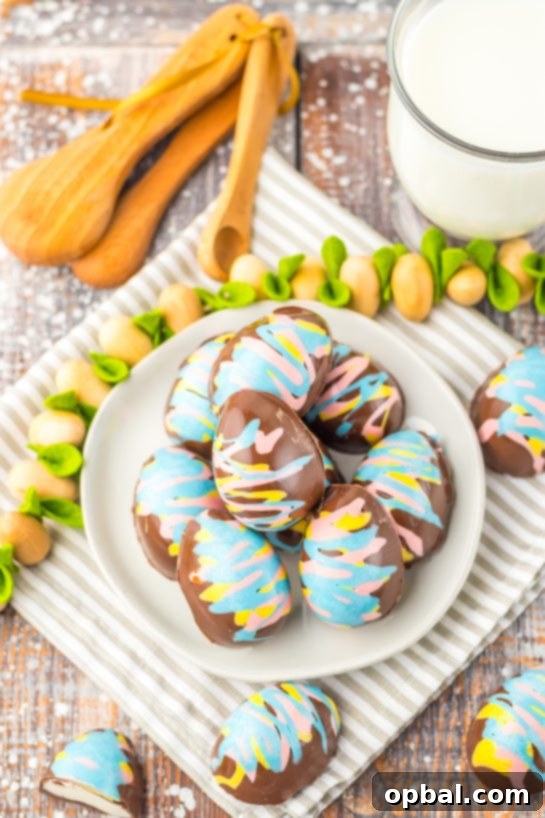
These beautiful Easter treats are not just for eating; they make wonderful gifts! Package them in small cello bags tied with festive ribbons, or arrange them artfully in an Easter basket alongside other goodies like Salted Caramel Easter Popcorn or your favorite Easter candies. They are sure to impress and delight anyone lucky enough to receive them.
Storage and Make-Ahead
Planning ahead for Easter? These marshmallow eggs are perfect for making in advance! Once completely set, store your **Easter Marshmallow Eggs** in an airtight container in the refrigerator for up to 3 days. If you need to stack them, place a layer of parchment paper between them to prevent sticking. Allow them to come to room temperature for a few minutes before serving for the best texture and flavor, although they are equally delicious chilled.
This make-ahead capability adds to their appeal, allowing you to prepare a stunning holiday dessert without last-minute stress. Whether you’re a seasoned baker or new to making homemade treats, these marshmallow eggs offer an easy, enjoyable, and incredibly rewarding experience.
A Festive Tradition in the Making
Easter is a time steeped in traditions, and what better way to create new memories than by making these delightful **homemade chocolate marshmallow eggs**? The joy of sharing these treats with loved ones, seeing their faces light up with each bite, is truly what the holiday spirit is about. Move over, store-bought candy; these irresistible confections are poised to become a cherished part of your family’s annual Easter celebration.
So, gather your ingredients, enlist some eager helpers, and get ready to create a batch of the cutest, most delicious Easter marshmallow eggs you’ve ever tasted. They are simple to make, stunning to behold, and utterly scrumptious!
Easter Marshmallow Eggs Recipe

Easter Marshmallow Eggs
Ashley
Easy Easter Marshmallow Eggs are the perfect no bake treat for Easter! They are adorable, delicious and a cinch to make! Chocolate Easter Eggs are filled with a fluffy, rich marshmallow filling. Perfect for your Easter dessert table or to fill Easter baskets with.
Pin Recipe
Ingredients
- 1 7 ounce jar marshmallow fluff
- 6 tablespoons salted butter softened
- 1/4 teaspoon vanilla extract
- 3 cups powdered sugar
- 1 cup each colored candy melts yellow, pink, blue
- 1 pound chocolate almond bark divided
- 16 count silicone egg molds
Instructions
- In a mixing bowl, using a stand mixer or hand mixer, combine the marshmallow fluff, softened butter, powdered sugar, and vanilla extract until thoroughly well-combined and smooth.
- In 3 separate microwave-safe bowls, melt the colored candy melts in 30-second intervals, stirring after each, until smooth.
- Drizzle each color into the silicone egg molds, creating fun patterns.
- In another microwave-safe bowl, melt half of the chocolate almond bark in 30-second intervals until smooth and creamy.
- Spoon the melted chocolate into the silicone molds and spread it evenly around the edges and up the sides to form a shell.
- Invert the molds onto a cooling rack to allow any excess chocolate to drip out and let the chocolate shells set.
- Divide the prepared marshmallow mixture evenly between the set chocolate egg molds.
- Melt the remaining chocolate almond bark until smooth. Carefully pour this melted chocolate over the marshmallow filling to fill the rest of the molds and seal the eggs.
- Set aside at room temperature to set, or place in the refrigerator for about 10 minutes until completely firm.
- Carefully remove the set chocolate marshmallow eggs from the molds.
- Serve and enjoy your beautiful homemade Easter treats!
Notes
Tips and Tricks
- Store any leftover Easter marshmallow eggs in an airtight container in the fridge for up to 3 days.
- You can use all white chocolate or all milk chocolate for the coating if you prefer, instead of a mix.
- For the best melting and setting results, do not use chocolate chips in place of almond bark or candy melts.
- Feel free to add a few drops of food coloring to the marshmallow mix for a colorful interior!

More Festive Easter Recipes to Explore
If you loved making these delicious Easter Marshmallow Eggs, be sure to check out some of our other fantastic Easter-themed recipes. From sweet snacks to delightful desserts, we have plenty of ideas to make your holiday celebration extra special and full of flavor. These recipes are perfect for expanding your Easter menu and finding new family favorites!
- Chocolate Peanut Butter Eggs
- Easter Speckled Egg Snack Cake
- Mini Egg Rice Krispie Treats
- Easter Bunny Tail Chex Mix
- Easy Bunny Bark
- Easter Charcuterie Board
We love seeing your culinary creations! If you give these cute marshmallow eggs a try, please share your pictures and experience on our Facebook page: Wishes and Dishes. Happy Easter and happy cooking!