Spooktacularly Sweet: How to Make Irresistible Halloween Boo Meringues
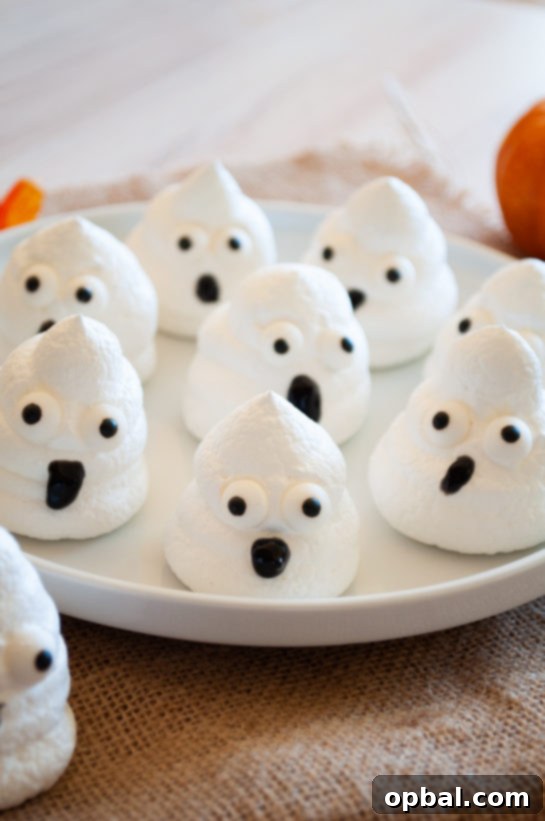
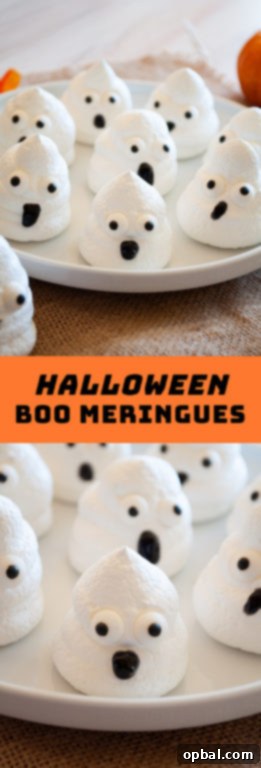
Halloween is a time for costumes, carving pumpkins, and of course, delightfully spooky treats! While ghosts, goblins, and ghouls might send shivers down your spine, these enchanting Halloween Boo Meringues are designed to bring smiles and sweet delight to everyone. Imagine delicate, crisp-on-the-outside, and wonderfully fluffy-on-the-inside ghost figures, each with its own charmingly spooky personality. They are not just visually captivating; their subtle vanilla sweetness makes them an absolutely addictive Halloween dessert that the entire family will adore. Perfect for any Halloween party, a fun baking project with kids, or simply a sweet indulgence, these meringue ghosts are set to become your new favorite holiday tradition.
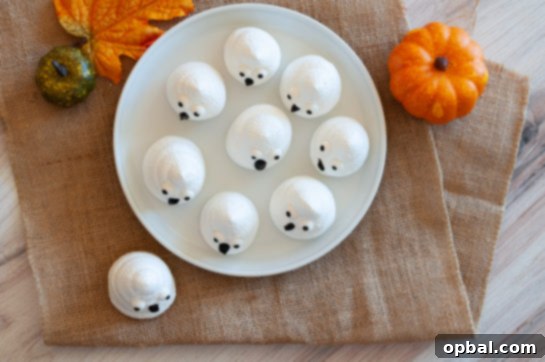
These adorable “Boo” Meringues are incredibly easy to make, proving that you don’t need to be a seasoned baker to whip up something truly magical for Halloween. While their appearance is undoubtedly a showstopper on any dessert table – perhaps alongside a festive White Chocolate Bark – their simple yet satisfying flavor ensures they’re devoured just as quickly as they’re admired. Get ready to transform basic ingredients into a bewitching batch of ghostly treats that will charm guests of all ages!
The Simplicity of Meringue Magic: Why These Ghosts Are a Must-Try
You might associate meringues with complex baking techniques, but these Halloween Boo Meringues defy that notion. They’re a testament to how simple ingredients can create something truly spectacular. The beauty of meringue lies in its airy texture and delicate crunch, a perfect contrast to the richness of many other Halloween desserts. Their light and ethereal quality makes them a refreshing addition to a spread often dominated by heavier, chocolatey confections.
What makes these meringues particularly appealing for the Halloween season is their versatility for decoration. With just a few dabs of frosting and some candy eyes, plain white meringue transforms into a friendly (or slightly mischievous) ghost. This makes them an ideal project for kids, allowing them to express their creativity in a fun, edible way. The process itself, from whipping the egg whites to piping the ghost shapes, is surprisingly therapeutic and rewarding. You’ll be amazed at how quickly you can turn a few pantry staples into dozens of these charming little spooks.
Unlocking the Secrets to Perfect Meringue Ghosts
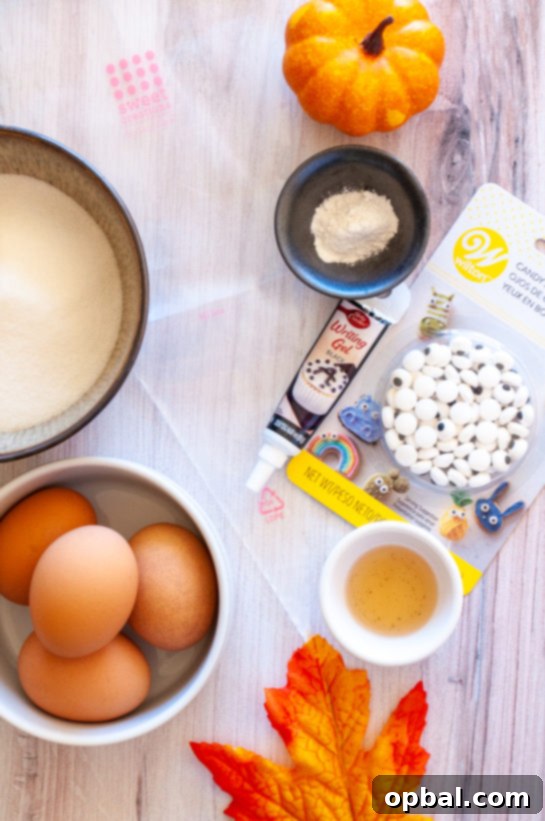
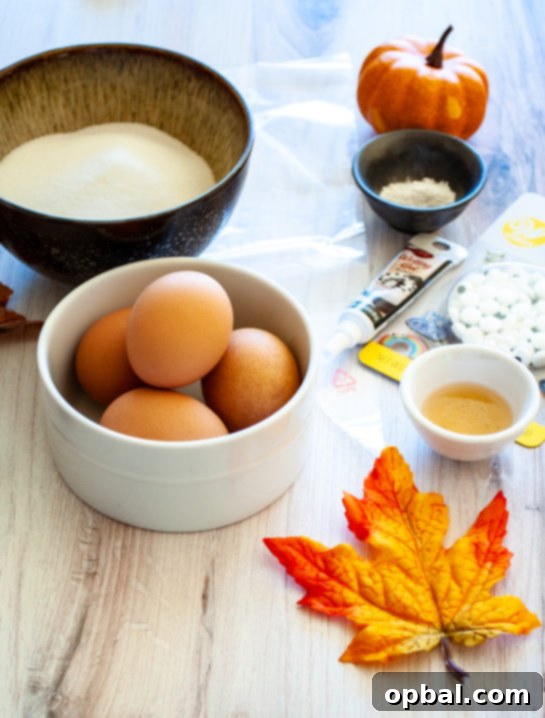
Creating perfect meringues comes down to a few key techniques and understanding the role of each ingredient. The star players are egg whites, sugar, and cream of tartar, with vanilla extract adding that essential burst of flavor.
- Room Temperature Egg Whites: This is crucial! Egg whites at room temperature whip up faster and achieve greater volume and stability than cold ones. Plan ahead by separating your eggs and letting the whites sit out for about 30 minutes before starting.
- Clean Equipment: Any trace of grease or yolk in your bowl or on your whisk can prevent the egg whites from whipping properly. Ensure your stand mixer bowl and whisk attachment are impeccably clean and dry.
- Cream of Tartar: This acidic ingredient acts as a stabilizer, helping the egg whites hold their structure and reach those desirable stiff peaks. It’s a small addition that makes a big difference in preventing your meringues from collapsing.
- Gradual Sugar Addition: Don’t dump all the sugar in at once! Adding sugar slowly, one tablespoon at a time, allows it to dissolve properly into the egg whites. This creates a stable, glossy meringue that’s less likely to weep or crack during baking.
- Vanilla Extract: While meringue on its own can be a bit bland, a good quality vanilla extract elevates the flavor, making these ghosts wonderfully sweet and aromatic. Don’t skimp on this!
The baking process for meringues is more about drying them out than actually “baking” them. A low oven temperature for a longer period, followed by cooling in the turned-off oven, creates that signature crispy exterior and soft, melt-in-your-mouth interior. Patience is key here; rushing the cooling process can lead to cracked or chewy meringues.
Piping Your Adorable Ghostly Army
Once your meringue mixture is whipped to stiff, glossy peaks, the fun of shaping your ghosts begins! While a piping bag with a round tip works best for creating consistent shapes, don’t fret if you don’t have one. A large Ziploc bag with the corner snipped off can serve as an excellent substitute. The goal is to create a base that’s wider than the top, gently pulling upwards as you release pressure to form a little ghost tail or “point.”
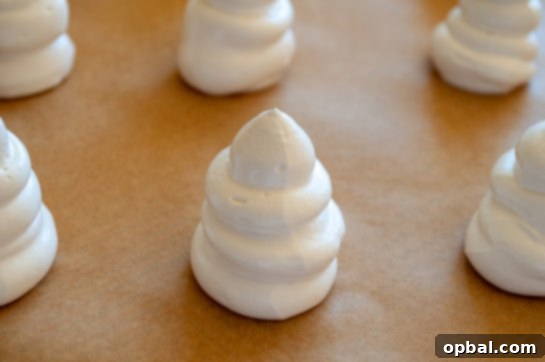
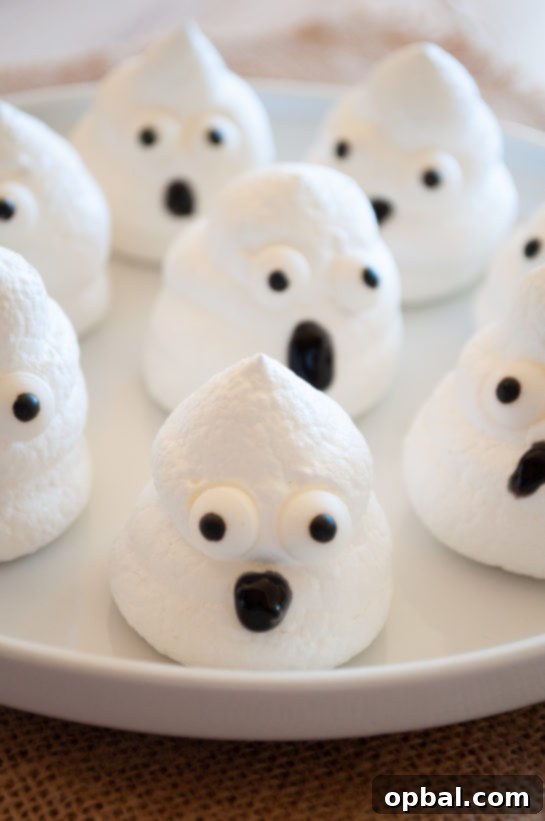
Don’t strive for perfection; part of the charm of these Boo Meringues is their quirky, unique shapes. Some might lean a bit, others might be delightfully plump, and a few might have dramatic swoops. This adds to their homemade appeal and makes each ghost a little character of its own. Place your candy eyes onto the piped meringues before baking. They don’t need to be perfectly symmetrical – slightly off-kilter eyes can give your ghosts even more personality! As they bake, the eyes will fuse slightly, becoming a permanent part of your spooky creation.
Beyond Vanilla: Flavor Boosts and Creative Decorating
While vanilla is a classic choice and undeniably delicious, you can get creative with flavor. A hint of almond extract or even a touch of peppermint can add an unexpected twist. For those who love a bit of texture, consider folding in some finely crushed freeze-dried fruit powder (like raspberry or strawberry) for a burst of color and tangy flavor. Just be mindful not to overmix.
Once your meringues are baked and completely cooled, the real fun of decorating begins. Black frosting gel is perfect for drawing on expressive eyes and spooky mouths. Think silly grins, surprised “oohs,” or even tiny zig-zagged frowns to create a range of ghostly emotions. Beyond frosting, feel free to experiment:
- Sprinkles: A dusting of Halloween-themed sprinkles before baking can add a pop of color.
- Chocolate Drizzle: A fine drizzle of melted dark or white chocolate can create elegant spiderwebs or simply add extra richness.
- Edible Glitter: For an extra magical touch, a brush of edible glitter can make your ghosts shimmer.
- Candy Accents: Small pieces of candy corn for noses or mini chocolate chips for eyes (if you don’t use candy eyes) can also work.
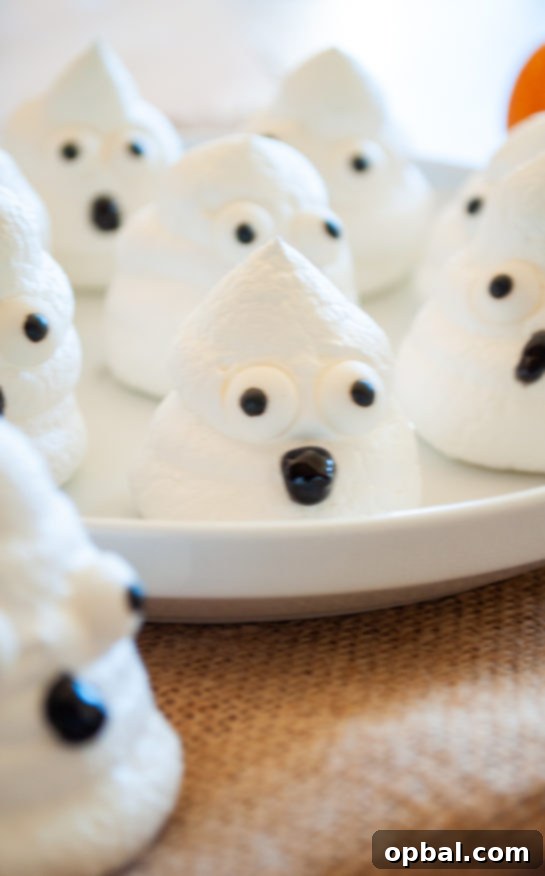
These little ghostly gems have a way of disappearing quickly, especially when placed on a decorative plate in the kitchen. Their irresistible cuteness and delicate sweetness make them a treat that appeals to the inner child in all of us. Just like my beloved Sweet & Salty Halloween Chex Mix, these Boo Meringues are guaranteed to be a hit and perhaps, become your next favorite Halloween obsession!
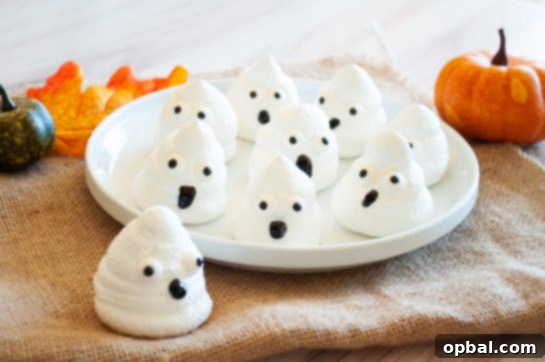
Tips for Storage and Enjoyment
Meringues are best enjoyed on the day they are made or within a couple of days. Their delicate structure can absorb moisture from the air, causing them to become chewy rather than crisp. To keep them at their best, store them in an airtight container at room temperature. Avoid refrigerating meringues, as the humidity can ruin their texture. If you live in a very humid climate, you might find them softening faster.
These Halloween Boo Meringues are incredibly versatile. Serve them on their own as a light dessert, use them as a charming topping for ice cream or fruit salads, or arrange them on a tiered stand for a stunning centerpiece at your Halloween gathering. They pair wonderfully with other seasonal treats, offering a delightful contrast in texture and flavor. Whether you’re throwing a big party or simply enjoying a quiet night at home, these ghosts are sure to add a touch of playful magic to your celebration.
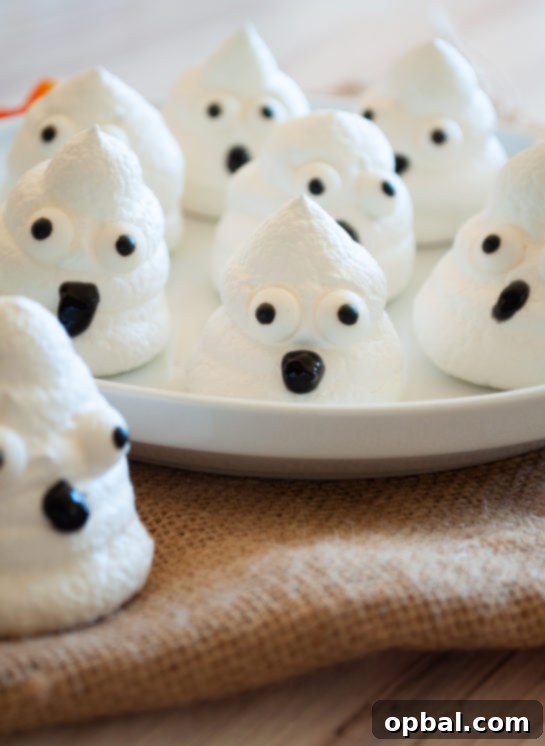
Halloween Boo Meringues Recipe
Get ready to conjure up some magic in your kitchen with this easy-to-follow recipe for delightful Halloween Boo Meringues. These light, crispy, and utterly adorable ghost treats are perfect for parties, trick-or-treaters, or just a fun family baking session. With simple ingredients and straightforward steps, you’ll have a batch of spooky-sweet ghosts in no time!
Recipe Details
Recipe Type: Dessert
Cuisine: American
Author: Ashley
Prep time: 10 mins
Cook time: 60 mins
Total time: 1 hour 10 mins
Serves: 4 dozen
Summary: Halloween Boo Meringues are an incredibly fun and easy Halloween recipe for kids for a party! The whole family will love them!
Ingredients
- 1/2 teaspoon Cream of Tartar
- 4 egg whites, room temperature
- 1 cup sugar
- 1 teaspoon vanilla extract
- Candy Eyes, for decorating
- Black frosting gel (like this one)
Instructions
- Preheat the oven to 200˚ degrees F (93˚ C).
- Line 2 large baking sheets with parchment paper or a silicone baking mat.
- Place the cream of tartar in the bowl of a stand mixer fitted with the whisk attachment.
- Pour your room temperature egg whites over it, turn the mixer on low speed, and let them mix together.
- Slowly increase the speed to medium and beat until the mixture is foamy.
- Slowly increase the speed to high and beat until soft peaks form.
- Slowly add the sugar one Tablespoon at a time, beating well between each addition, until it is fully incorporated.
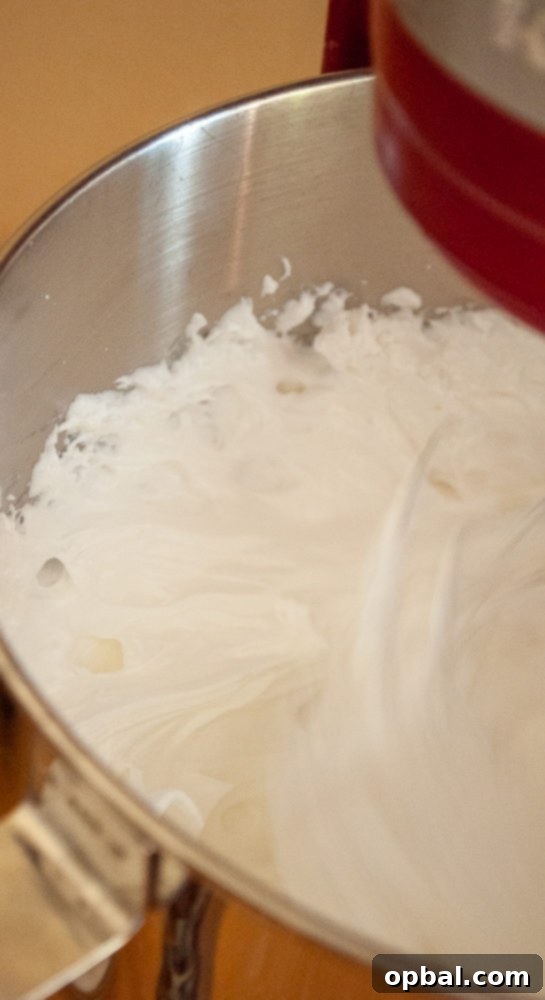
- Continue to beat until stiff peaks form and the mixture looks glossy and smooth.
- Add the vanilla extract and beat it in for about 30 seconds until fully combined.
- Cut the tip off of a disposable icing bag (See Note Below) and fit it with a one-inch round tip. You can use bigger or smaller tips, or simply use the bag without a tip for a more rustic look.
- Pipe your “Boos” onto the prepared baking sheets. You can place them relatively close together as they do not spread much during baking.
- To form the ghost shape, make the bottom wider than the top and pull up while you stop squeezing the piping bag to create a slight point at the top.
- Carefully add the candy eyes now. They don’t have to be perfectly placed; in fact, they’re often more fun and charming when they’re a little silly or asymmetrical.
- Bake the trays for 60 minutes, rotating them halfway through baking to ensure even cooking.
- If you bake the meringues in the lower portion of the oven, you’ll help prevent them from browning, keeping their ghostly white appearance.
- Once they’re baked, turn off the oven and let the ghosts cool completely inside the oven for at least 60 minutes. This slow cooling prevents cracking.
- Remove them from the oven and let them cool completely on the baking sheets before handling.
- Once they are cool, use black frosting gel to draw on additional eyes and mouths as desired to give each ghost its unique character.
- For the best texture and crispness, make these the day you plan on consuming them. Enjoy your spooky-sweet treats!
NOTE: If you don’t have an icing bag/piping bag with frosting tips, try using a large ZipLock bag and simply cut a small tip off one of the corners.