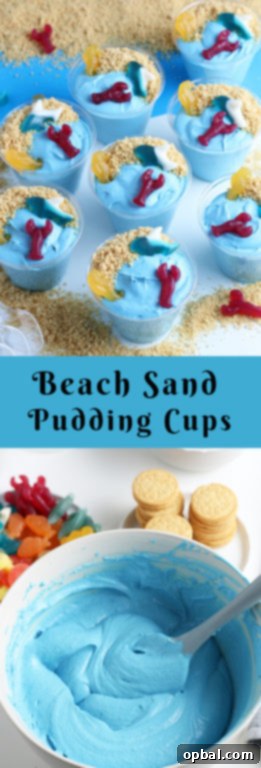
Dive Into Summer Fun: The Ultimate Guide to Irresistible Beach Sand Pudding Cups!
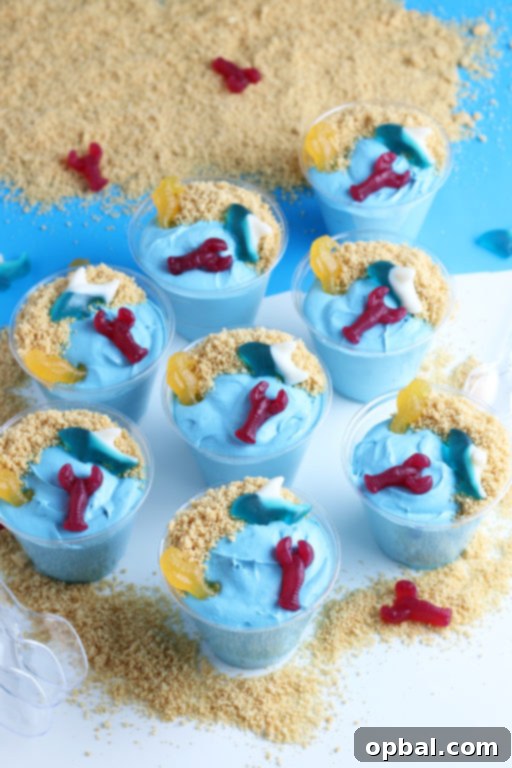
Summer days beckon with promises of sunshine, laughter, and cool, refreshing treats. As the temperatures rise and the scent of warm breezes fills the air, there’s nothing quite like a simple yet spectacular dessert to capture the season’s joyful spirit. This is where our enchanting Beach Sand Pudding Cups come into play – an absolute game-changer for anyone looking to whip up an adorable, hassle-free, and incredibly delicious no-bake dessert. Perfect for kids and adults alike, these charming cups transform ordinary pudding into a miniature seaside escape, right on your table.
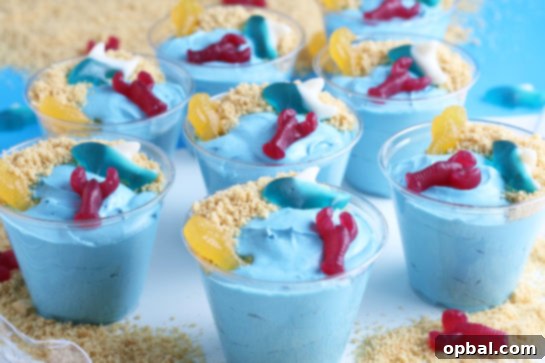
Why Beach Sand Pudding Cups Are Your New Summer Staple
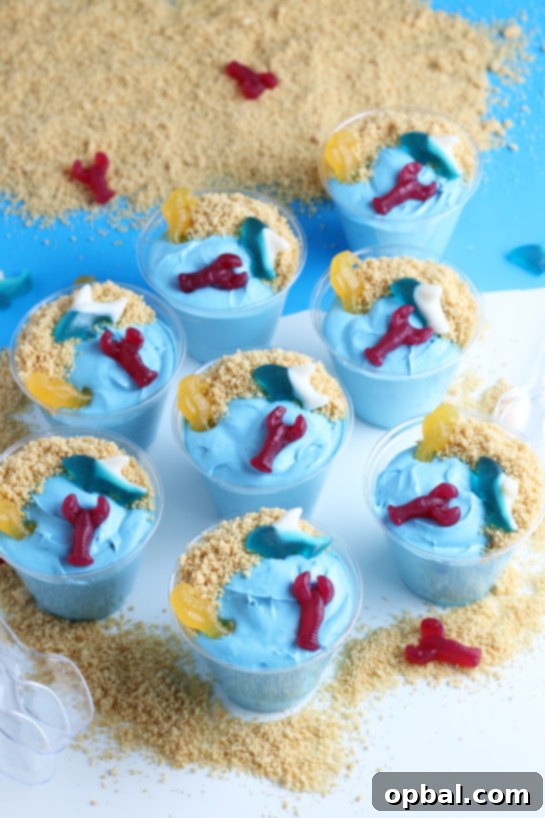
There’s an undeniable magic to desserts that are as delightful to look at as they are to eat. These Beach Sand Pudding Cups hit every mark! They are wonderfully low-maintenance to create, yet their visual appeal is nothing short of impressive. Imagine the gleam in children’s eyes (and quite frankly, my own!) when they see these miniature beach scenes, complete with shimmering blue “water” and edible “sand.” They’re not just a treat; they’re an experience, sparking imagination and bringing a smile to every face.
Forget spending hours in a hot kitchen! The beauty of this recipe lies in its no-bake simplicity. Utilizing instant vanilla pudding, a splash of blue food coloring, and a creamy whipped topping, these cups come together effortlessly. They are the ideal snack for a bustling pool party, a serene beach picnic, a themed birthday celebration, or simply a delightful after-school surprise. Their refreshing coolness makes them a perfect antidote to summer’s heat, offering a light and creamy indulgence that satisfies without being overly heavy.
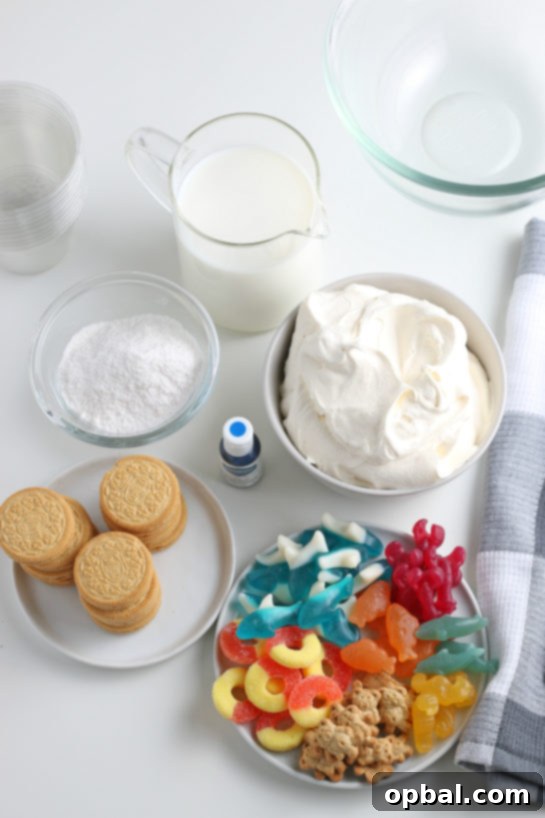
Gather Your Beach Day Ingredients: What You’ll Need
Creating these captivating Beach Sand Pudding Cups requires just a handful of accessible ingredients. The beauty of this recipe is its flexibility, allowing for slight variations based on your pantry or preferences. Here’s a detailed look at what you’ll need to assemble your edible beach paradise:
- Instant Vanilla or White Chocolate Pudding Mix: Two small boxes (3.4 oz each) of instant pudding form the creamy base. Vanilla offers a classic flavor, while white chocolate adds a richer, subtly different sweetness. Ensure it’s instant pudding for a quick, no-cook preparation.
- Cold Milk: Two cups of cold milk are essential for whisking the pudding mix into a thick, luscious consistency. The colder the milk, the better and faster the pudding will set.
- Whipped Topping: One 8 oz tub of thawed whipped topping (like Cool Whip) adds an airy lightness and creamy texture, making the “ocean” layer wonderfully smooth and appealing.
- Blue Food Coloring: This is key to achieving that vibrant, ocean-blue hue. Gel food coloring often provides a more intense color with less product, but liquid food coloring works well too. You’ll add this to taste, depending on how deep you want your blue sea.
- Golden Oreo Cookies: Approximately 6-8 golden Oreo cookies are crushed to create the realistic “sand.” Their buttery vanilla flavor pairs exquisitely with the pudding. If you don’t have Golden Oreos, graham cracker crumbs are a fantastic alternative, offering a slightly different but equally delicious texture and taste.
- Gummy Candy Sea Creatures, Stars, or Shells: These delightful toppings are what truly bring your beach scene to life! From gummy sharks and fish to starfish and seashells, the options are endless. They add a playful touch and an extra layer of sweetness and texture.
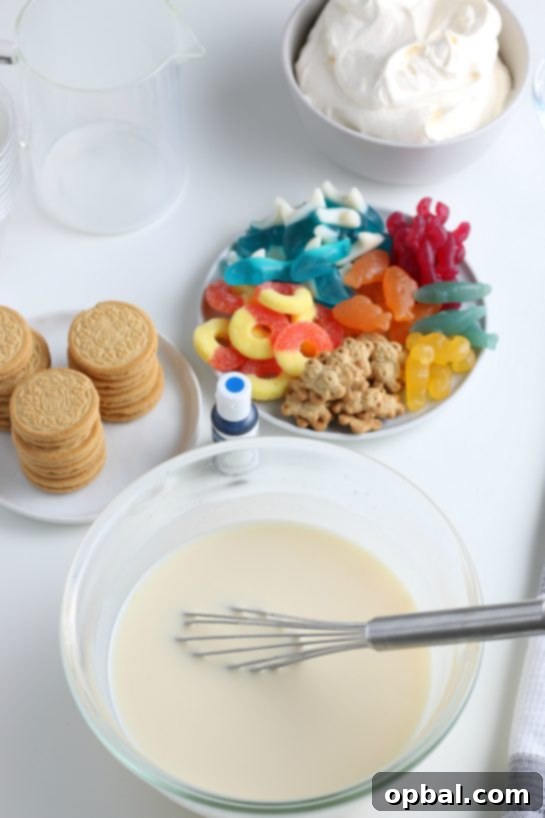
My daughter, Eliza, is a connoisseur of anything she can enjoy with a spoon – be it yogurt, cereal, or a creamy pudding concoction. She adores the tactile experience, even if only a fraction of each spoonful makes it past her enthusiastic exploration and into her mouth. I suspect she shares her mommy’s appreciation for diverse textures, which is why these pudding cups, with their smooth, creamy base and crunchy “sand” topping, are such a hit!
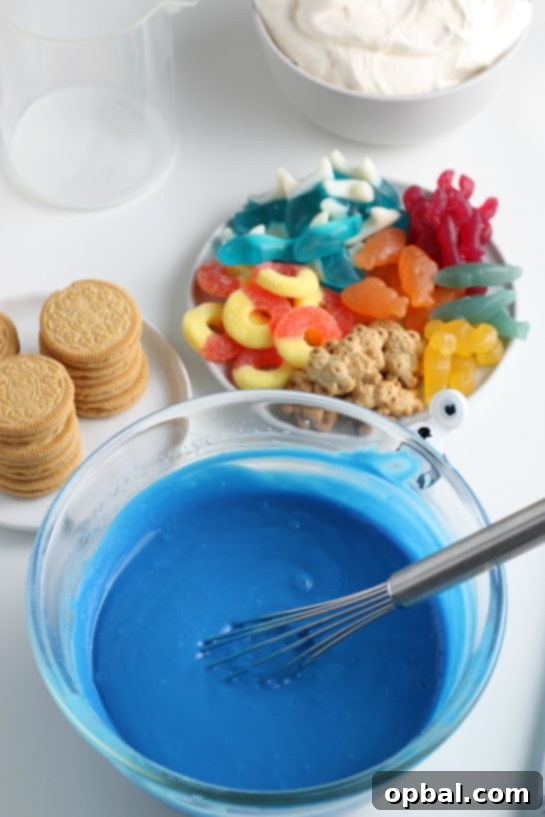
Step-by-Step Guide to Your Mini Beach Oasis
Crafting these Beach Sand Pudding Cups is a joyful and straightforward process. Follow these easy steps to bring your edible beach to life:
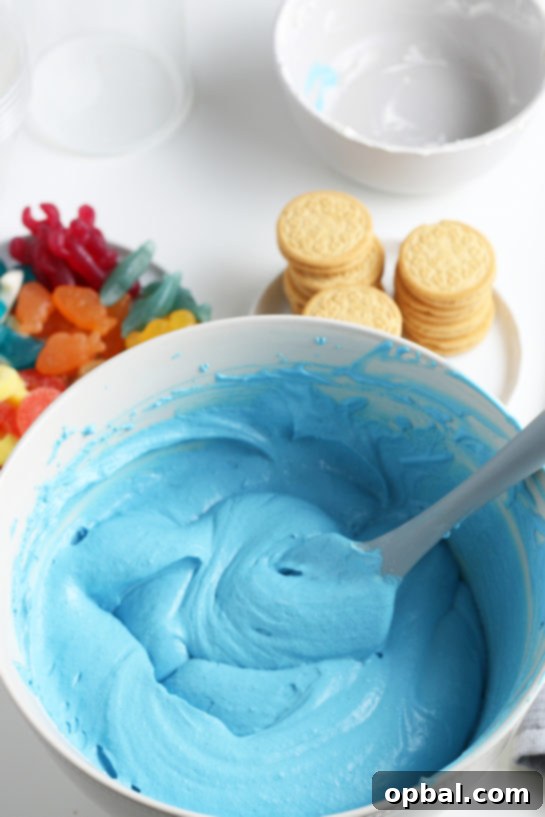
- Prepare the Pudding: In a medium mixing bowl, pour in the two cups of cold milk. Sprinkle both boxes of instant pudding mix over the milk. Whisk thoroughly for about 2 minutes until the mixture is well combined and begins to thicken. It’s crucial to whisk vigorously to ensure there are no lumps.
- Chill to Set: Place the pudding mixture in the refrigerator for approximately 10-15 minutes, or until it has fully set and achieved a firm, pudding-like consistency. This initial chill is important before adding the whipped topping.
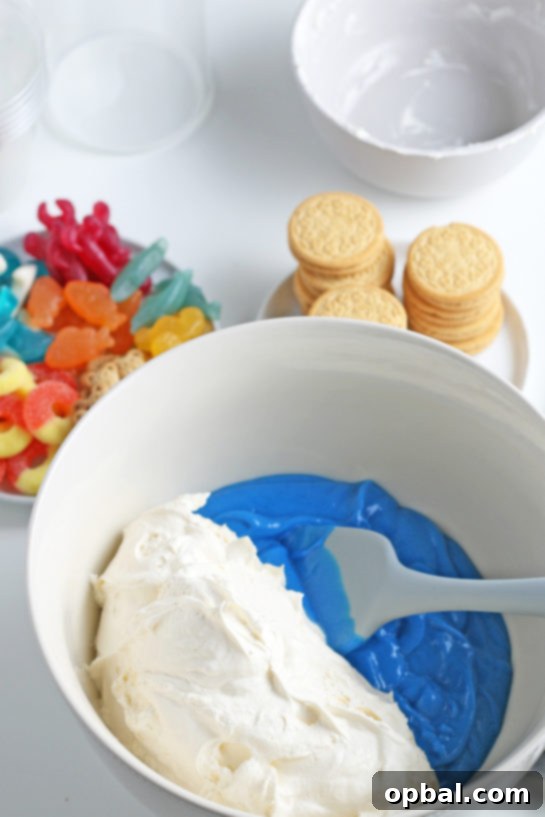
- Introduce the Blue Hue: Once the pudding is set, gently fold in the thawed whipped topping with a spatula. At this stage, add your blue food coloring. Start with a few drops and gradually add more, mixing gently, until you achieve your desired shade of ocean blue. Remember, the whipped topping will lighten the color, so you might need a bit more coloring than you initially think. Gel food coloring often yields the best vibrant results.
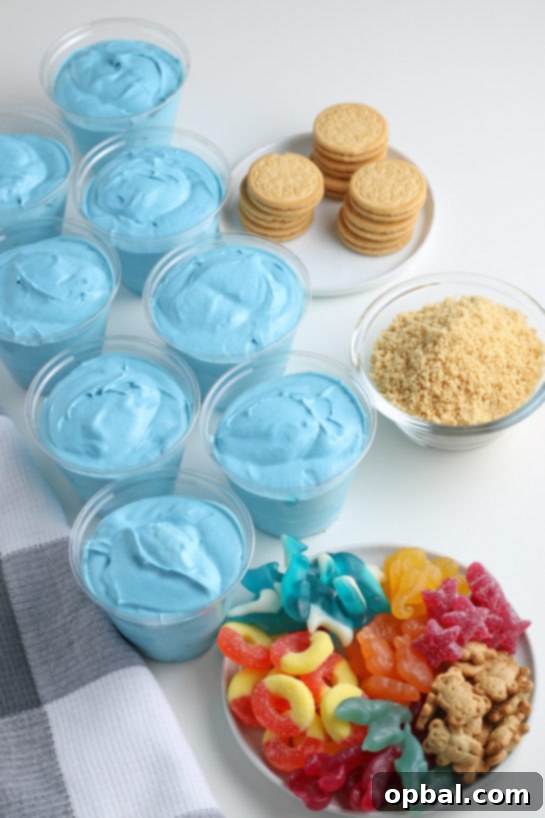
- Assemble Your Cups: Spoon the blue pudding mixture into small glasses or individual serving cups. Nine-ounce clear plastic cups work perfectly, showcasing the layers beautifully. Individual trifle or parfait cups are also excellent choices, offering an elegant presentation, much like those used in Baked Vanilla Custard or Pudding Parfaits.
- Second Chill: Place the filled cups back into the refrigerator for another 15-20 minutes to ensure they are thoroughly chilled and firm before adding toppings.
- Create the “Sand”: While the cups are chilling, prepare your “sand.” Place the Golden Oreo cookies (or graham crackers) into a food processor and pulse until fine crumbs are formed. Alternatively, you can place them in a Ziploc bag and crush them with a rolling pin until you achieve a fine, sandy texture.
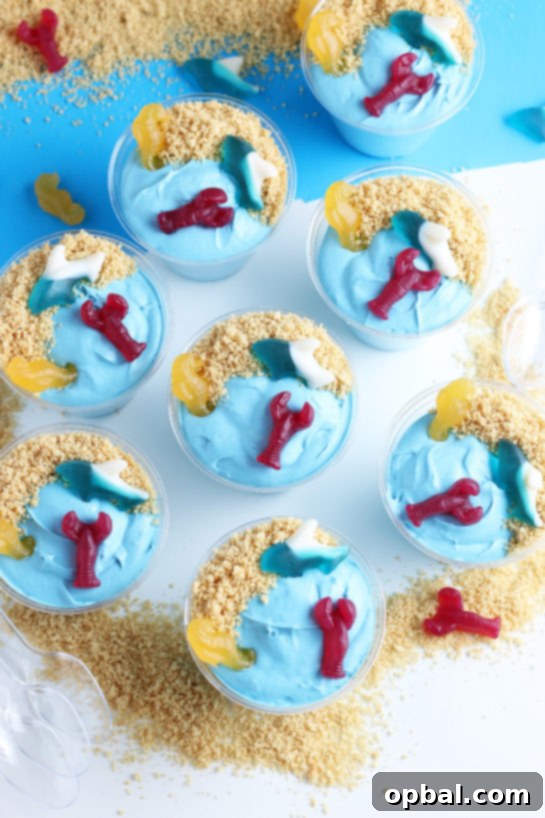
- Decorate Your Beach: Once the pudding cups are chilled, spoon the crushed cookie crumbs onto one side of the pudding surface in each cup, mimicking a sandy beach meeting the ocean.
- Add Your Sea Life: Finally, place your gummy candy sea creatures, stars, or shells on top of the “sand” or gently floating in the “water.” Arrange them creatively to bring your miniature beach scene to life.
Tips for Perfect Pudding Cups and Creative Customization
These Beach Sand Pudding Cups are incredibly versatile, offering endless possibilities for customization and personalization. Here are some tips to make your creation truly shine:
- Pudding Flavor Swap: While vanilla or white chocolate is classic, feel free to experiment with other instant pudding flavors! Lemon for a tangy twist, coconut for an even more tropical vibe, or even banana for a unique blend.
- “Sand” Alternatives: Beyond Golden Oreos and graham crackers, consider crushed shortbread cookies, vanilla wafers, or even a sprinkle of toasted coconut flakes for a different texture and flavor profile.
- Topping Extravaganza: Don’t limit yourself to just gummy candies! Add mini umbrellas, small candy pearls, sprinkles in blue and green, pretzel sticks as driftwood, or even a dollop of extra whipped cream for a cloud effect. The goal is to have fun and let your imagination run wild!
- Presentation Matters: Use clear cups to showcase the beautiful layers. For a party, arrange them on a tray with real beach props like small seashells or a mini shovel for an extra touch of charm.
- Make-Ahead Magic: These pudding cups are fantastic for preparing in advance. You can assemble the pudding and chill it for several hours, or even overnight. Add the cookie sand and gummy toppings just before serving to maintain the crunch and prevent the gummies from becoming too soft.
- Involve the Kids: This recipe is perfect for little helpers! Let them crush the cookies (safely, of course), spoon the pudding into cups, and especially, decorate with the gummy candies. It’s a wonderful way to encourage creativity and make lasting summer memories.
Let’s face it, my love for crunch means I can’t resist a generous helping of crushed Golden Oreos on top. Much like my Key Lime Pie Oreo Truffles, the taste of these specific cookies with the creamy pudding is simply divine. It provides that essential textural contrast that elevates a simple dessert into something truly special.
A Delight for Any Occasion
These sand pudding cups are such a crowd-pleaser that everyone simply adores them. Their universal appeal is undeniable, proving that sometimes, the simplest pleasures are the most cherished. It’s a wonderful reminder that a good pudding cup, especially one as creatively presented as these, brings immense joy. Whether you’re hosting a summer bash, planning a themed party, or just craving a fun and easy treat, these Beach Sand Pudding Cups are sure to be a hit. So go ahead, create your miniature beach paradise in a cup and savor every delightful spoonful!
- 2 small boxes (3.4 oz each) instant vanilla or white chocolate pudding mix, unprepared (See notes)
- 2 cups COLD milk
- 1 tub (8 oz) whipped topping, thawed (such as Cool Whip)
- Blue food coloring (gel food coloring recommended, as much as needed)
- For the Toppings:
- 6-8 golden Oreo cookies, crushed (or graham cracker crumbs)
- Assorted gummy candy sea creatures
- Optional: Gummy candy stars or shells, mini paper umbrellas
- In a medium mixing bowl, add the two cups of cold milk.
- Sprinkle the instant pudding mix over the cold milk. Whisk vigorously for about 2 minutes until the mixture is thoroughly combined and starts to thicken.
- Place the bowl in the refrigerator for 10-15 minutes, allowing the pudding to fully set.
- Remove from the refrigerator. Gently fold in the thawed whipped topping with a spatula until just combined.
- Add blue food coloring, drop by drop, mixing gently until you achieve your desired shade of ocean blue. Remember that the whipped topping will lighten the color.
- Spoon the blue pudding mixture evenly into small glasses or clear cups (about 9 oz capacity works best).
- Return the filled cups to the refrigerator for another 30 minutes to chill completely.
- While the pudding is chilling, prepare your “sand.” Crush the golden Oreo cookies in a food processor until fine crumbs are formed, or place them in a resealable bag and crush with a rolling pin.
- Once the pudding cups are thoroughly chilled, spoon the crushed cookie crumbs onto one side of the pudding in each cup, creating a “sandy beach” effect.
- Artfully arrange your gummy candy sea creatures, stars, shells, or other desired toppings on the “sand” or gently floating in the “water.”
- Serve immediately, or keep chilled in the refrigerator until ready to enjoy!
- Pudding Type: Ensure you use instant pudding mix, not cook-and-serve.
- Food Coloring: Gel food coloring provides a more vibrant and consistent blue. Start with a small amount and add more until your desired intensity is reached, keeping in mind that the whipped topping will lighten the hue.
- Crushing Cookies: For best results, crush cookies until they resemble fine sand. Avoid large chunks to maintain the illusion.
- Make Ahead: Pudding cups can be assembled and chilled for several hours before adding the cookie crumbs and gummy toppings. Add toppings just before serving for optimal freshness and texture.