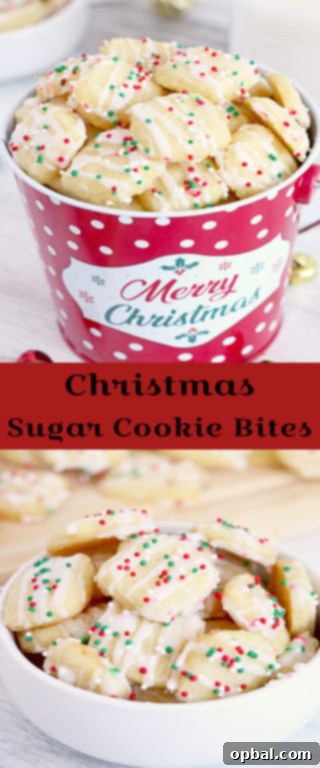
Bite-Size Soft and Buttery Christmas Sugar Cookie Bites: The Ultimate Holiday Treat
As the festive season twinkles into view, there’s a certain magic in the air that calls for cozy kitchens and the delightful aroma of freshly baked cookies. Among the countless holiday treats, our Christmas Sugar Cookie Bites stand out as a truly special indulgence. Forget the fuss of traditional cut-out cookies; these bite-sized wonders offer all the classic frosted sugar cookie charm with an incredibly soft, buttery texture that simply melts in your mouth. They’re not just a dessert; they’re a celebration of holiday cheer, designed to make your festive baking effortlessly joyful and utterly delicious.
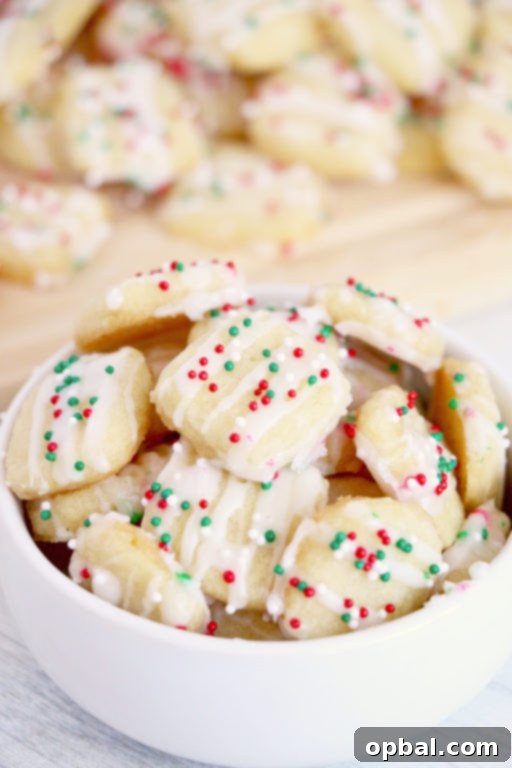
Imagine a cookie so tender, so perfectly sweet, that each little bite transports you straight to a winter wonderland. That’s precisely what these Christmas Sugar Cookie Bites deliver. They are an absolute game-changer for your holiday dessert repertoire, promising to bring immense happiness to everyone who tastes them this season. Seriously, if you’re looking for a foolproof way to spread joy, drop everything and start baking these right now. They encapsulate the very essence of holiday delight in every miniature package, making them ideal for cookie exchanges, festive gatherings, or simply enjoying with a warm cup of cocoa.
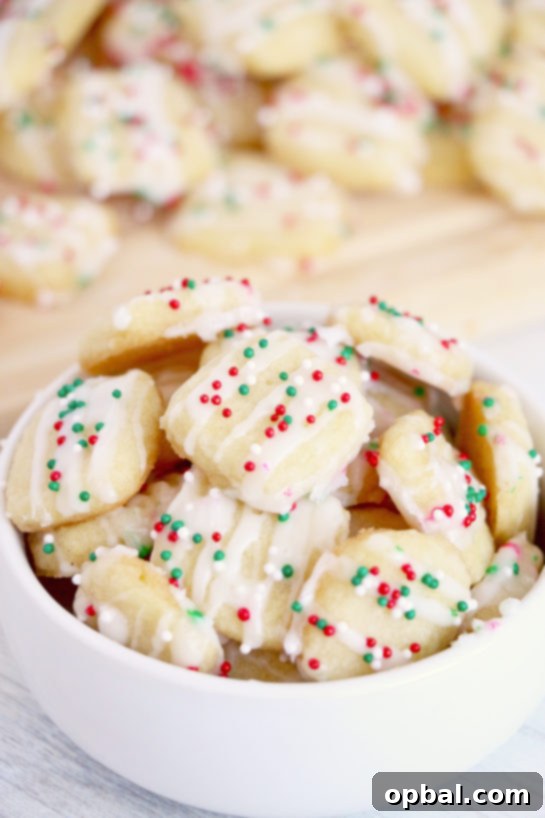
Why These Christmas Sugar Cookie Bites Are Your New Holiday Favorite
Every year, the holiday baking season presents an exciting challenge: finding that one new recipe spectacular enough to earn a permanent spot on your coveted Christmas cookie list. With countless classics like Italian Ricotta Cookies and Heart Linzer Cookies already stealing the show, discovering a fresh gem can feel daunting. But these Christmas Sugar Cookie Bites effortlessly claim their place. They are truly exceptional, making it into my annual rotation with ease because their melt-in-your-mouth quality is simply irresistible. You’ll undoubtedly feel the same way once you try them.
What sets these cookies apart is their incredible convenience without sacrificing flavor or festive appeal. Unlike traditional sugar cookies that often demand intricate rolling, precise cutting with holiday cookie cutters, and careful transfer, these cookie bites streamline the process. They come together with remarkable ease, making them a fantastic option for busy bakers or those new to holiday baking. The dough is wonderfully forgiving, allowing for a quicker prep time and less stress, so you can spend more time enjoying the season rather than toiling in the kitchen.
Effortless Elegance: Simpler Than Traditional Cut-Outs
While we adore the classic charm of Cut-Out Sugar Cookies and the delightful chewiness of Frosted Swig Sugar Cookies, these bites offer a refreshingly simple alternative. They are undeniably easier to make and arguably even cuter with their petite size, making them perfect for cookie trays, lunchboxes, or impromptu holiday gatherings. Time and again, these little gems are the first to vanish from any dessert platter I prepare. Their universal appeal is undeniable; if you have children, be prepared for these to become their absolute favorite holiday treat – guaranteed! Their small size also makes them perfect for little hands to hold and enjoy, adding to their kid-friendly charm.
Crafting Your Perfect Christmas Sugar Cookie Bites: A Step-by-Step Guide
Creating these delightful Christmas Sugar Cookie Bites is a straightforward and rewarding process, even if you’re a novice baker. The beauty of this recipe lies in its simplicity and the use of common pantry staples. Let’s walk through the steps to ensure your cookies turn out perfectly soft, buttery, and ready for frosting, making your holiday baking stress-free and delicious.
The Dough: A Foundation of Flavor and Texture
The secret to these melt-in-your-mouth cookies starts with the dough. You’ll be surprised how quickly all the ingredients come together to form a cohesive, easy-to-handle mixture. Precision in measurements is key for the best texture, ensuring each bite is perfectly tender.
Begin by combining your dry ingredients: all-purpose flour, powdered sugar, baking soda, and cream of tartar. The powdered sugar contributes significantly to the cookies’ tender crumb and smooth texture, a crucial element for that melt-in-your-mouth experience. Baking soda and cream of tartar work together as a leavening agent, giving them a subtle lift and a characteristic chewiness that differentiates them from crisper cookies. In a separate bowl, or by adding directly to the dry ingredients in a stand mixer, you’ll incorporate the softened butter and a large egg. The key here is using truly softened butter, which should be pliable enough to leave an indentation when pressed, but not melted. This allows it to cream properly with the sugars, creating tiny air pockets that result in a lighter, more tender cookie. Cold butter will not blend properly, and melted butter can make the dough too greasy.
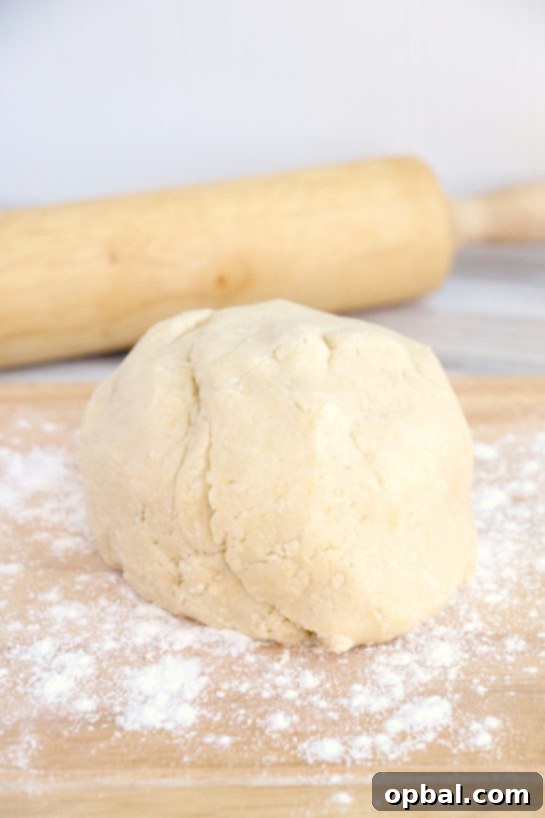
Once your wet and dry ingredients are ready, gently combine them in a large mixing bowl, preferably using a stand mixer with a paddle attachment or a hand mixer. Don’t be alarmed if the mixture appears a bit dry or crumbly at first. Continue beating until just blended and the ingredients begin to cling together, then finish by working the dough with your hands to bring it into a smooth, pliable ball. Overmixing is the enemy of tender cookies, as it can overdevelop the gluten in the flour, leading to a tougher texture. Mix only until the ingredients are just combined and a cohesive dough forms. The warmth of your hands will help the dough come together beautifully, achieving that perfect consistency for rolling and ensuring your cookies have that desirable softness.
Rolling and Shaping: Bite-Sized Perfection with Ease
This is where the “bite-size” magic truly happens and demonstrates the simplicity of this recipe. Unlike intricate cookie cutter designs that require careful handling and often lead to scraps, we’re aiming for simple, uniform squares that bake evenly and look adorable on any platter. Lightly flour your work surface to prevent sticking, but don’t overdo it, as too much extra flour can dry out the dough and alter its tender texture.
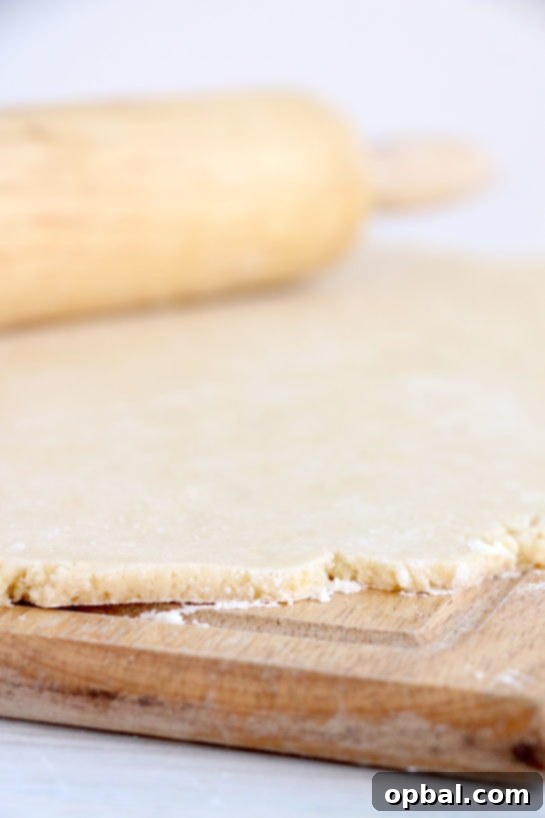
Using a rolling pin, gently roll out the dough to an even thickness of about 1/4-inch. This uniform thickness is paramount; it ensures all your cookie bites bake consistently, preventing some from being undercooked while others become overbaked. Take your time with this step, striving for a dough surface that is smooth and free of major cracks, which will result in more appealing cookies.
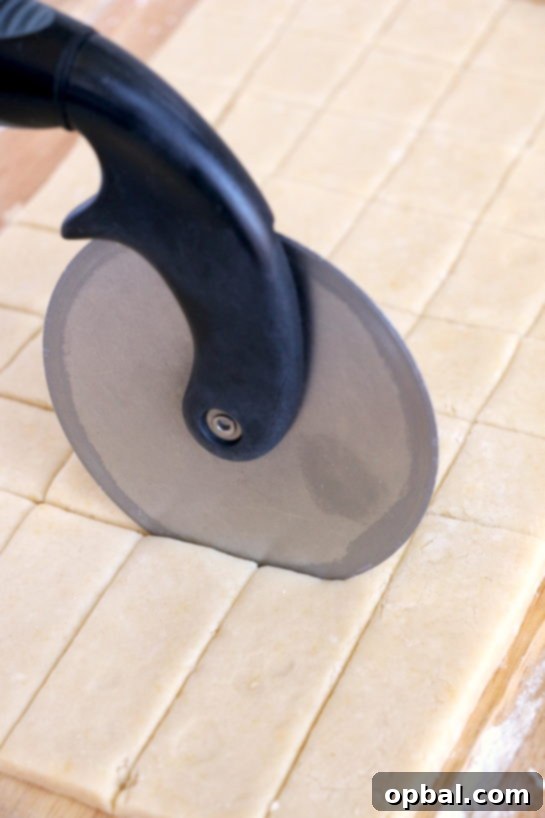
Now for the shaping! Instead of reaching for traditional cookie cutters, a pizza cutter or a sharp knife is your best friend here. It allows for quick and clean cuts, transforming your rolled dough into neat little squares. Aim for pieces approximately 1/2-inch to 1-inch wide, depending on your preference for bite-size or slightly larger morsels; remember, they will expand slightly during baking. The inherently bite-size nature of these cookies means you get a generous quantity per batch, making them perfect for sharing on holiday platters or as edible gifts.
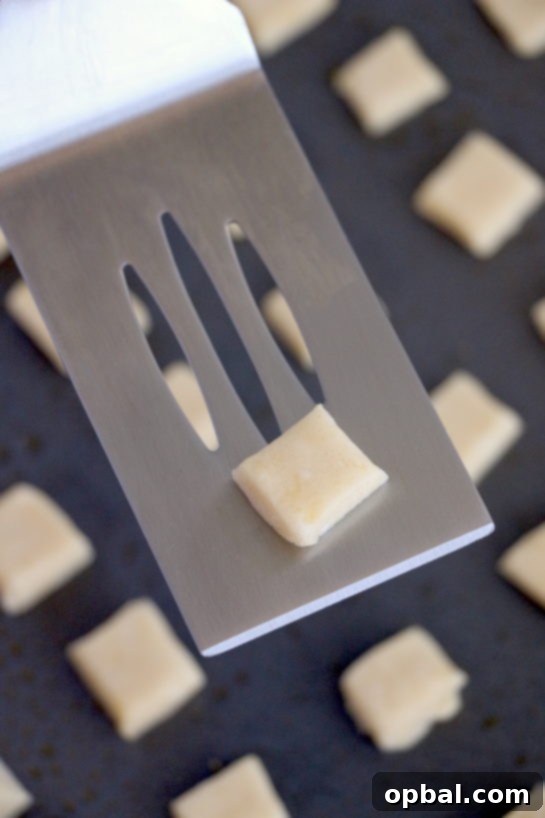
Carefully transfer your perfectly cut cookie squares to a greased baking sheet, leaving a small, equal space between each one to accommodate for their slight expansion during baking. They don’t need much room, but enough so they don’t merge into one giant cookie. Ensure your oven is preheated to 350°F (175°C) before you place the cookies inside, as a properly preheated oven is vital for consistent baking.
Baking and Cooling: The Final Touches Before Frosting
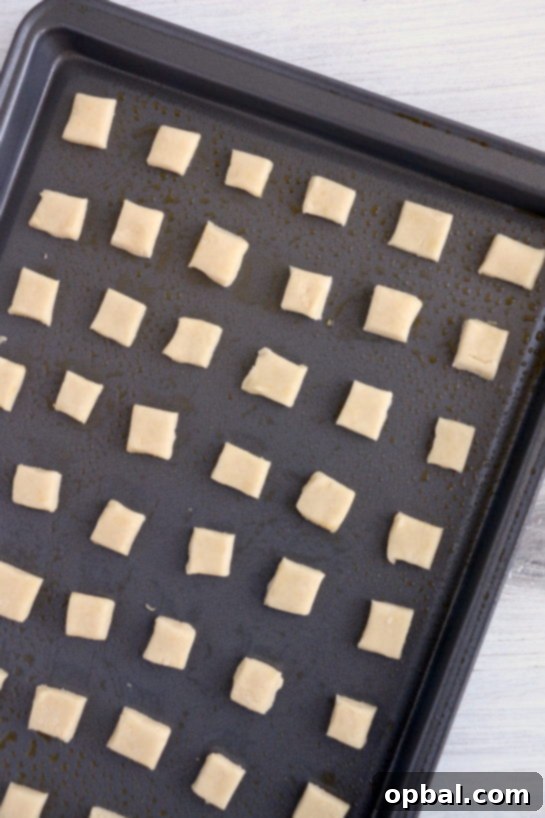
Bake the cookie bites for a short duration, typically around 5 minutes. This quick baking time is essential for maintaining their soft texture. The key is to watch them closely: you want the edges to just begin to turn a very light golden brown, while the centers remain soft and pale. Overbaking is the biggest culprit for dry, crumbly cookies, and it will cause them to lose that signature melt-in-your-mouth texture. It’s often better to slightly underbake than overbake, as they will continue to cook slightly from residual heat once removed from the oven. Once baked, carefully remove them from the oven and let them cool completely on the baking sheet for a few minutes before transferring them to a wire rack to finish cooling. Cooling completely is absolutely crucial before you apply any icing; otherwise, your beautiful frosting will simply melt and run, ruining the presentation.
The Irresistible Icing: A Sweet Crown for Your Cookie Bites
What’s a sugar cookie without its frosting? The icing for these Christmas Sugar Cookie Bites is just as simple and delightful as the cookies themselves. It’s designed to be a thin, sweet glaze that complements the cookie without overwhelming its delicate flavor and texture, adding just the right touch of festive sweetness.
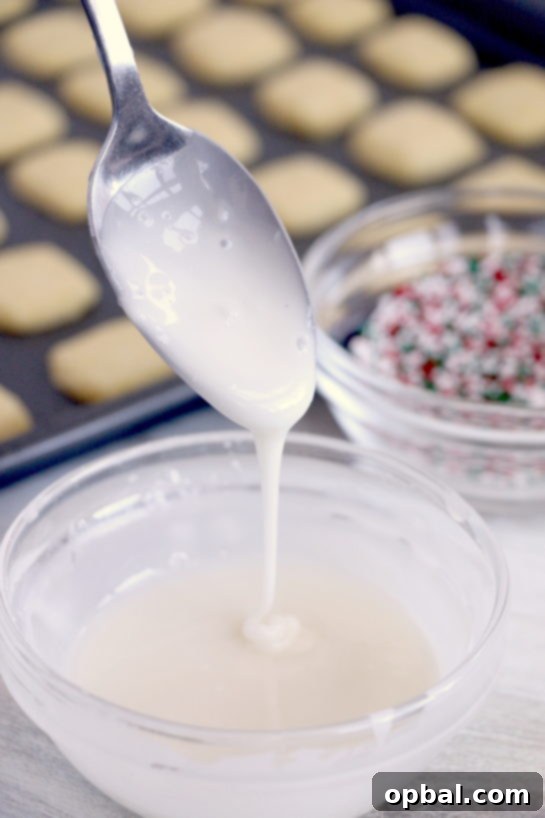
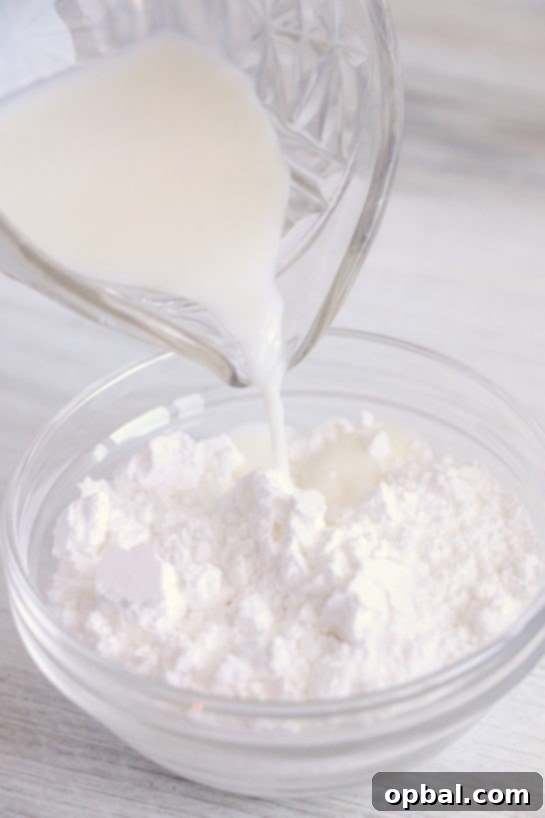
Preparing the icing is incredibly easy, making it accessible for bakers of all skill levels. Simply combine powdered sugar and milk in a bowl. Start with less milk (e.g., 2 tablespoons) and gradually add more, a teaspoon at a time, until you reach your desired consistency. You’re aiming for a consistency that is thick enough to cling to the cookies and hold its shape slightly but thin enough to drizzle smoothly and evenly. If it becomes too thick, a tiny splash more milk will easily fix it; if it’s too thin, stir in a bit more powdered sugar until it thickens. This flexibility allows you to customize the icing to your preference, whether you prefer a sheer, delicate glaze or a slightly thicker, more pronounced coating.
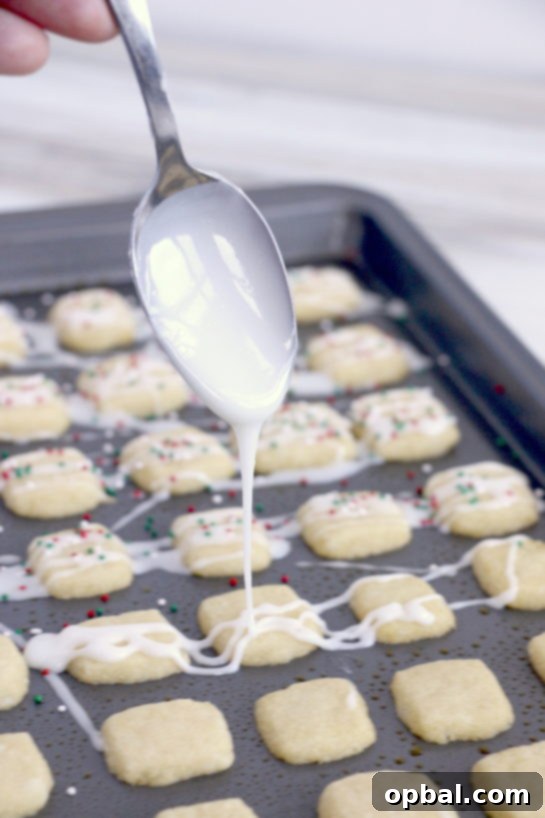
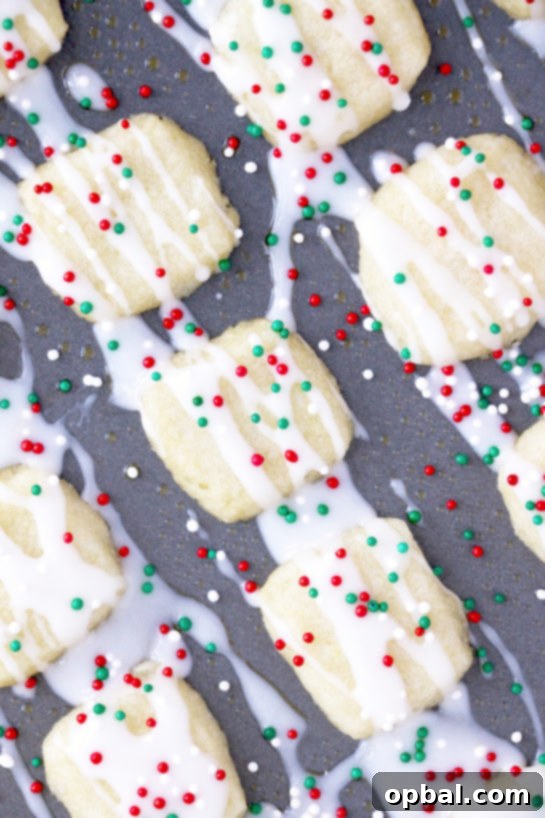
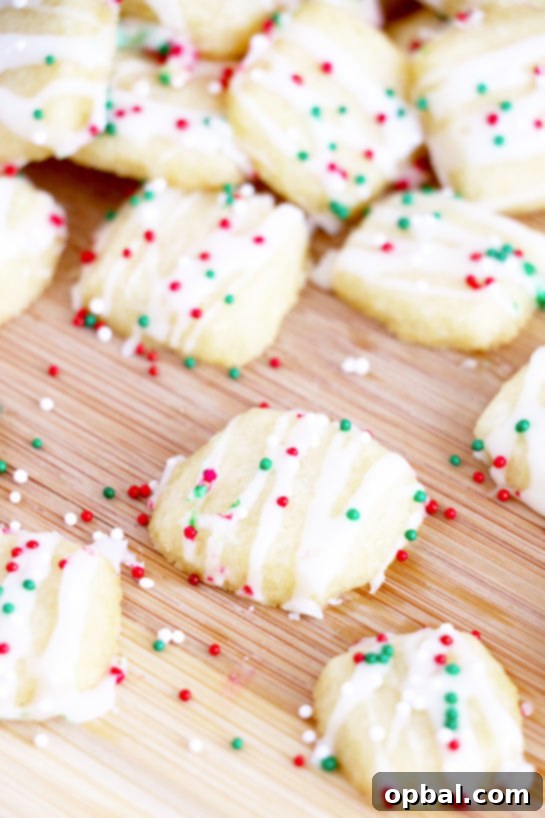
Once your cookies are completely cool to the touch, it’s time for the fun part: decorating! Drizzle the icing generously over each cookie bite. You can use a spoon, a small whisk, or even a piping bag with a fine tip for more control and intricate designs, if you feel adventurous. The beauty of these bites is that even a simple, rustic drizzle looks elegant and perfectly festive. Immediately after drizzling, add your favorite sprinkles while the icing is still wet, ensuring they adhere beautifully. Classic Christmas-themed sprinkles in reds, greens, and whites will make these cookies pop on any holiday table, adding visual appeal to their delicious taste.
Beyond the Recipe: Tips for Holiday Baking Success
These Christmas Sugar Cookie Bites are not just a recipe; they are an invitation to create lasting holiday memories and spread festive cheer. Here are some extra tips to elevate your baking experience and ensure your festive cookies are the star of the season, whether you’re making them for family, friends, or a holiday party.
Make-Ahead Magic and Storage Solutions
- Dough: The cookie dough is very forgiving and can be made ahead of time, which is a fantastic time-saver during the busy holiday season. Store it tightly wrapped in plastic wrap in the refrigerator for up to 3-4 days. When you’re ready to bake, simply let it come to room temperature for about 30 minutes before rolling it out.
- Baked Cookies (Unfrosted): For optimal freshness, store unfrosted cookie bites in an airtight container at room temperature for up to a week. If you plan to make them further in advance, you can freeze them for up to 3 months. Ensure they are completely cool before freezing. Thaw them at room temperature for a few hours before proceeding with frosting.
- Frosted Cookies: Once frosted, these cookies are best stored in an airtight container at room temperature for 3-5 days. If stacking multiple layers of cookies, place parchment paper or wax paper between each layer to prevent the delicate frosting from sticking or smudging.
Creative Variations and Serving Suggestions
- Flavor Boost: For an extra layer of flavor, consider adding a touch of pure almond extract or fresh lemon zest to the cookie dough. A pinch of ground nutmeg or cinnamon can also introduce a warm, festive spice, transforming the classic sugar cookie profile.
- Color Pop: Elevate the visual appeal by dividing the prepared icing into separate bowls and adding a few drops of different food coloring to each. This allows for a vibrant, multi-colored drizzle that can match any holiday theme.
- Beyond Sprinkles: While festive sprinkles are a classic choice, consider other delightful toppings for added texture and flavor. Finely chopped nuts (like pecans or walnuts), crushed peppermint candy, or mini chocolate chips can provide interesting contrasts and new taste sensations.
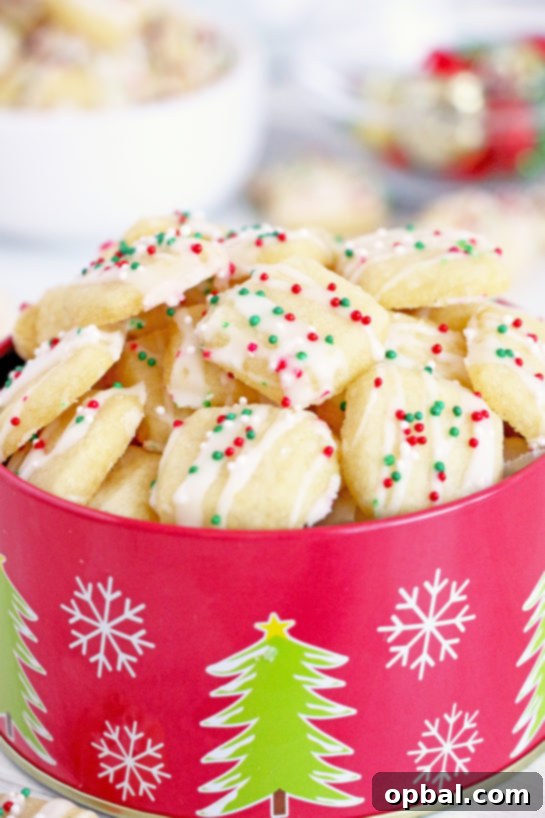
- Edible Gifts: These adorable cookie bites are perfect for packaging into decorative tins or cellophane bags, tied with festive ribbons. They make thoughtful and delicious homemade gifts for neighbors, teachers, colleagues, and friends, showing you care with a personal touch.
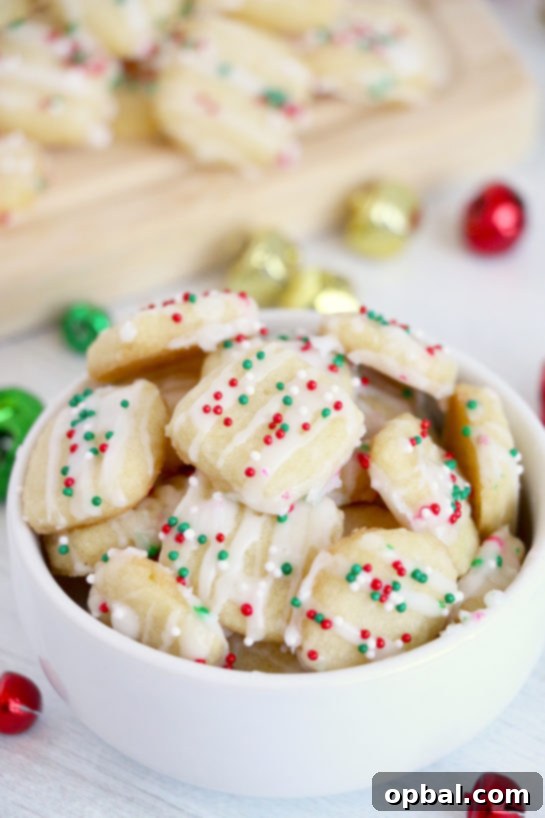
- Cookie Platters: Their small, uniform size makes them exceptionally well-suited for filling out a diverse holiday cookie platter. They sit beautifully alongside other favorites like Cookie Bark, adding variety and charm to your holiday spread.
Frequently Asked Questions About Christmas Sugar Cookie Bites
Let’s address some common questions to ensure your baking journey is smooth, successful, and your Christmas Sugar Cookie Bites turn out perfectly every time:
- Q: Can I use unsalted butter instead of salted butter?
- A: Yes, you absolutely can! If you opt for unsalted butter, we recommend adding 1/4 teaspoon of fine salt to the dry ingredients. This helps to balance the flavors and enhance the overall taste of the cookies, as salted butter usually provides this element.
- Q: Why are my cookie bites tough or chewy in a bad way?
- A: Tough cookies usually result from overmixing the dough. When flour is overmixed, it develops gluten too much, leading to a dense, chewy texture rather than a soft one. Mix only until the ingredients are just combined and no streaks of flour remain. Also, ensure your butter is properly softened, not melted, as this affects the dough’s structure.
- Q: How can I ensure my cookies remain wonderfully soft and tender?
- A: The golden rule for soft sugar cookies is: do not overbake! Bake just until the edges are very lightly golden, and the centers still look slightly pale and set. Removing them from the oven when they still look a tiny bit underdone in the center is key, as they will continue to cook slightly from residual heat on the baking sheet.
- Q: Can I freeze the frosted cookies?
- A: While you can freeze frosted cookies, it’s generally best to freeze them unfrosted to maintain the ideal texture of both the cookie and the icing. If you must freeze them frosted, place them in a single layer on a baking sheet to freeze solid, then transfer them to an airtight container with parchment paper between layers to prevent sticking.
- Q: What if my icing is too runny or too thick?
- A: Achieving the perfect icing consistency is straightforward. If your icing is too runny, simply add more powdered sugar, a tablespoon at a time, mixing well until it reaches the desired drizzly but not watery consistency. If it’s too thick, add more milk, a teaspoon at a time, until it smooths out. It’s always easier to add small amounts gradually than to correct a drastic change.
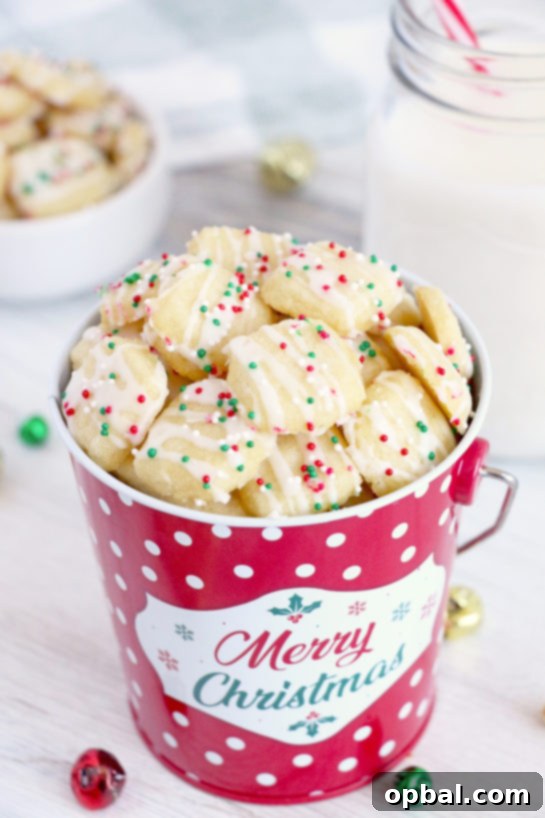
The Recipe: Christmas Sugar Cookie Bites
Ready to bake these enchanting bite-sized treats? Here’s the complete recipe for your irresistible Christmas Sugar Cookie Bites:
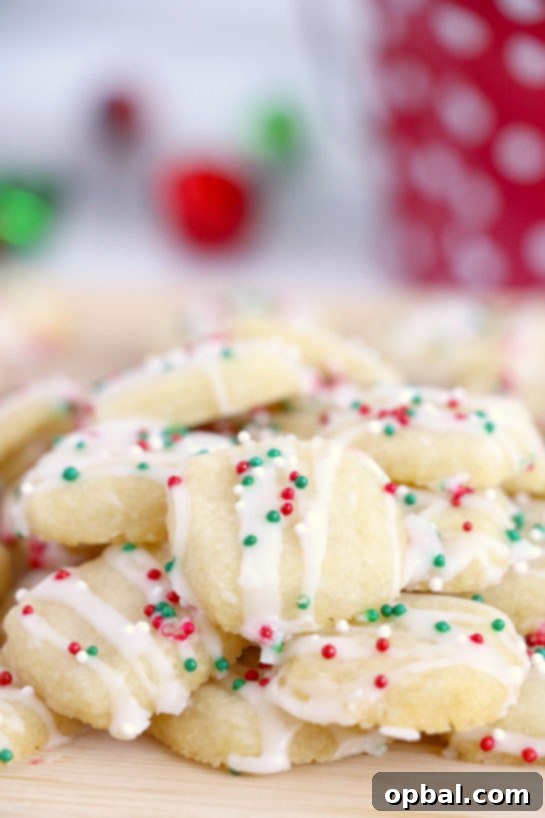
Christmas Sugar Cookie Bites
Recipe Type: Dessert
Cuisine: American
Author: Ashley
Prep time: 15 mins
Cook time: 5 mins
Total time: 20 mins
Serves: 24
Bite-size soft and buttery Christmas Sugar Cookie Bites are one of my favorite Christmas desserts and a unique take on a classic frosted sugar cookie!
Ingredients
- Cookie Ingredients:
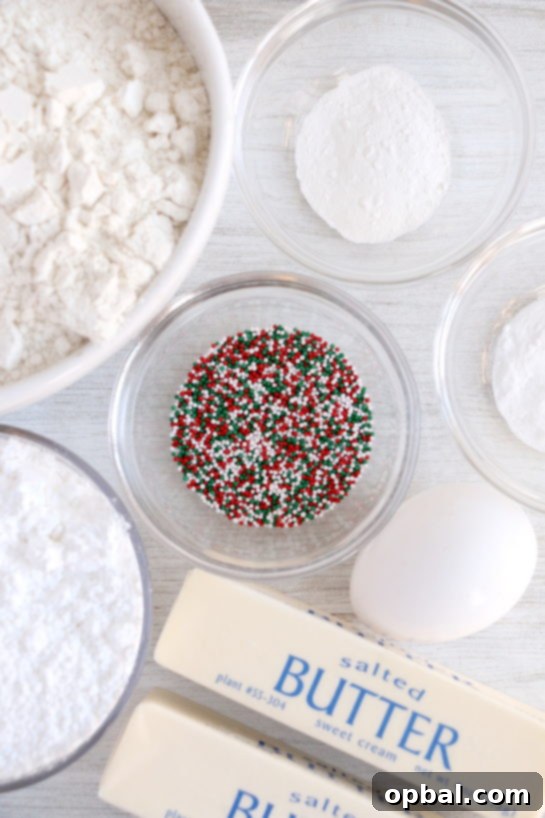
- 2 1/2 cups all-purpose flour
- 1 1/2 cups powdered sugar
- 1 tsp baking soda
- 1 tsp cream of tartar
- 1 large egg
- 1 cup salted butter, softened
- Icing Ingredients:
- 1 cup powdered sugar
- 2-3 tbsp milk
- Sprinkles (optional, for decoration)
Instructions
- For the Cookies:
- Preheat your oven to 350ºF (175°C).
- In a large mixing bowl, combine all cookie ingredients (flour, powdered sugar, baking soda, cream of tartar, egg, and softened salted butter). Beat with an electric mixer until the contents are just blended and a dough starts to form. The dough may appear slightly dry initially, but it will come together once you work it with your hands.
- Form the dough into a cohesive ball.
- Place the dough ball on a lightly floured surface.
- Using a rolling pin, roll the dough until it is approximately 1/4-inch thick. Ensure even thickness for uniform baking.
- With a pizza cutter or sharp knife, cut the rolled dough into small squares, roughly 1/2-inch to 1-inch wide, depending on your preference. Remember they will expand slightly during baking.
- Arrange the cut squares on a greased baking sheet, leaving a small space between each.
- Bake for 5 minutes, or until the edges just begin to show a very faint golden brown. The centers should still look soft and pale.
- Allow the cookie bites to cool completely on the baking sheet for a few minutes, then transfer them to a wire rack. This step is crucial before applying any icing.
- For the Icing:
- In a separate bowl, prepare the icing by combining 1 cup of powdered sugar with 2-3 tablespoons of milk. Start with 2 tablespoons and add more milk slowly (1/2 teaspoon at a time) until you achieve a smooth, drizzly consistency that is thick enough to cling to the cookies.
- If the icing becomes too thick, add a bit more milk. If it’s too thin, stir in a little more powdered sugar.
- Once the cookies are cool, drizzle the prepared icing generously over them.
- Immediately sprinkle with your choice of festive sprinkles while the icing is still wet to ensure they adhere.
- Let the icing set completely before serving or storing. Enjoy your delicious Christmas Sugar Cookie Bites!
Conclusion: Sweeten Your Holidays with Ease and Joy
These Bite-Size Soft and Buttery Christmas Sugar Cookie Bites are truly a gem in the world of holiday baking. They offer a delightful alternative to more labor-intensive traditional sugar cookies, providing an easy-to-make, melt-in-your-mouth experience that is guaranteed to be a hit with everyone, from the pickiest little eaters to the most seasoned cookie connoisseurs. Their adorable size makes them perfect for festive platters, thoughtful edible gifts, or simply enjoying with a warm cup of cocoa by the fire on a chilly winter evening.
We hope this comprehensive guide inspires you to embrace the joy and simplicity of baking this holiday season. With straightforward steps, helpful tips for make-ahead convenience, creative variations, and solutions to common baking questions, these Christmas Sugar Cookie Bites are perfectly poised to become a cherished and stress-free tradition in your home. So go ahead, whip up a batch (or two!), sprinkle on some festive cheer, and make this holiday season extra sweet and memorable. Happy baking, and may your holidays be filled with delicious moments!