The Ultimate Fried Blooming Onion: Your Go-To Appetizer for Unforgettable Flavor
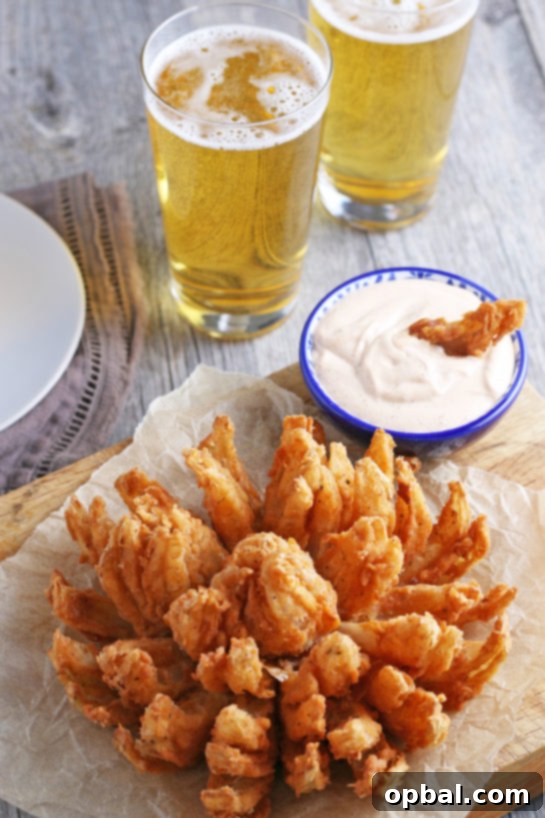
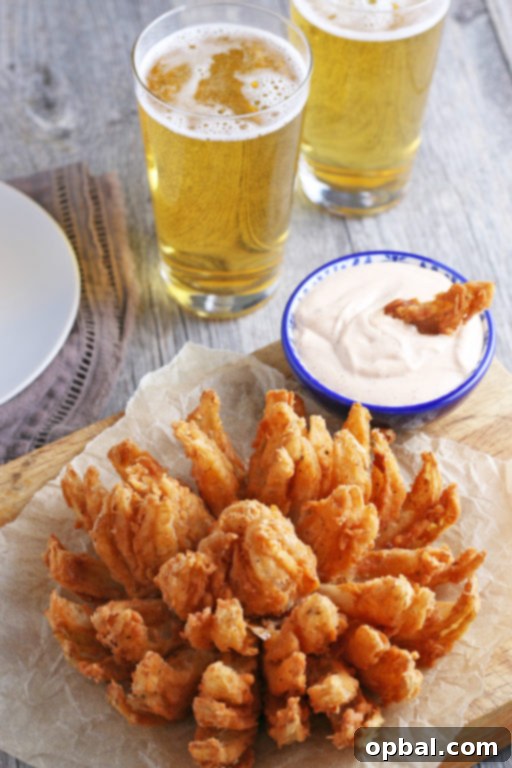
Prepare to fall in love with your new favorite appetizer! This Fried Blooming Onion isn’t just a snack; it’s a culinary masterpiece that promises to be a showstopper at any gathering, from casual game days to elegant dinner parties. Imagine a beautifully “bloomed” sweet onion, each petal perfectly coated in a crispy, seasoned batter, deep-fried to golden perfection, and served with a luscious, homemade dipping sauce that will have everyone reaching for more. This isn’t just food; it’s an experience, a delightful explosion of flavor and texture that transforms a humble onion into an extraordinary treat.
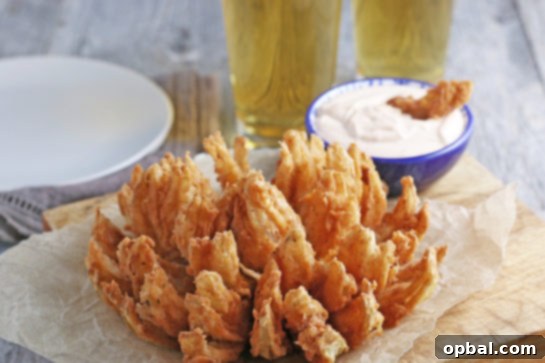
If you’re anything like me, the mere sight of a perfectly fried blooming onion instantly ignites a craving that demands immediate satisfaction. Forget merely looking at these golden beauties on screen; we need them on our plates, ready to be devoured! Pair this with other crowd-pleasing bites like Cheeseburger Biscuit Bites for an appetizer spread that will truly impress. There’s something undeniably satisfying about a deep-fried treat, and this blooming onion takes that satisfaction to a whole new level. The moment I tasted this recipe, especially with its incredible dipping sauce, I knew it was a keeper. It’s so versatile, it would even be fantastic with my Honey Mustard Dipping Sauce if you’re looking to mix things up.
Why the Fried Blooming Onion is a Must-Make Appetizer
With fall in full swing and football season underway, there’s no better time to indulge in comforting, shareable snacks. The fried blooming onion perfectly fits the bill. It’s not just a delicious dish; it’s an event. The preparation is part of the fun, and the presentation is always a conversation starter. Its unique, flower-like appearance makes it stand out from typical appetizers, promising a memorable culinary experience for you and your guests. This recipe brings that beloved restaurant-quality flavor right into your kitchen, making it an ideal choice for gatherings, celebrations, or simply elevating your everyday snacking.
Gather Your Ingredients: Simple Steps to Flavorful Perfection
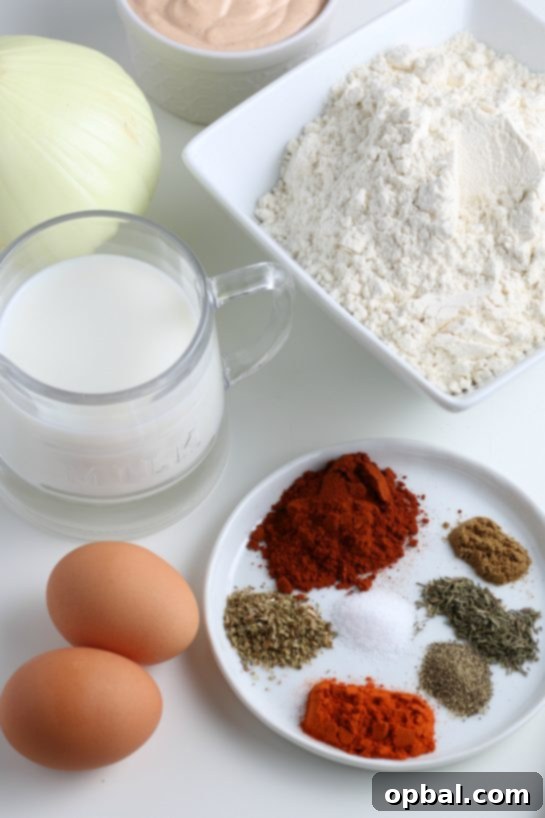
Creating this irresistible appetizer begins with a handful of simple, readily available ingredients. The magic truly happens when these components come together to form the crispy coating and the creamy dipping sauce. You’ll need a large sweet onion, all-purpose flour for the batter, and an array of spices like paprika, cayenne pepper, ground cumin, dried thyme, and dried oregano to give it that signature savory kick. Eggs and whole milk will create the perfect liquid base for your batter, ensuring a consistent and flavorful crust. And, of course, a good quality oil for frying is essential to achieve that perfect golden-brown crispness.
My journey with onions has been quite a transformation. As a child, I famously detested onions, even shunning them in French onion soup while still devouring the bread and cheese. It might sound sacrilegious to some, but my taste buds just weren’t ready for them! However, as I’ve matured (just a tiny bit in my old age, as they say), I’ve not only learned to tolerate them but have grown to appreciate their versatility and depth of flavor, especially when they’re prepared in such a spectacular fashion. This blooming onion represents that evolution – it’s not just about eating onions, it’s about experiencing them in a completely new and exciting way.
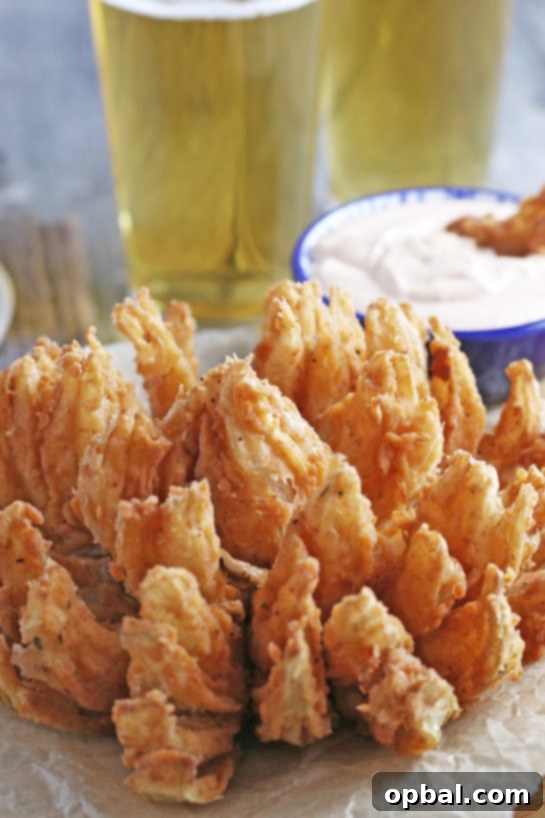
Lately, I’ve found myself craving culinary adventures, seeking dishes that are both new and exciting. This blooming onion, much like a hearty Bacon Cheeseburger Dip, perfectly satisfies that desire for something different, something fun. It elevates the humble onion to an art form, making it an irresistible focal point of any meal or snack time. Don’t judge my enthusiasm; once you try it, you’ll understand!
Mastering the “Bloom”: The Art of Slicing Your Onion
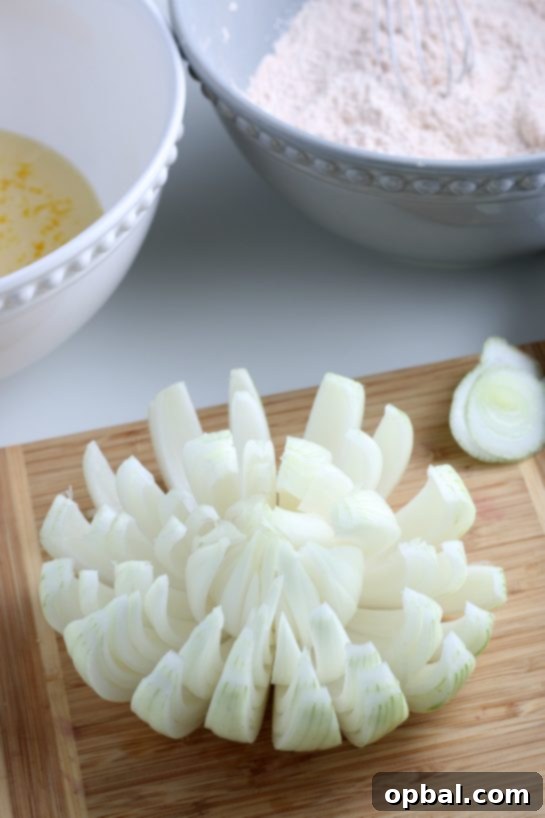
The magic of a blooming onion lies in its stunning presentation. Unlike traditional onion rings, this preparation method transforms an entire onion into easily tear-apart, bite-sized petals that fan out beautifully, resembling a blossoming flower. This is where the name “blooming onion” comes from, a revelation that often surprises those new to this delightful appetizer! The technique is simpler than it looks and is key to achieving both its visual appeal and its crispy texture, as each petal gets maximum exposure to the flavorful batter and hot oil.
Choosing the Right Onion for the Perfect Bloom
For an optimal fried blooming onion, selecting the right type of onion is crucial. Sweet onions, such as Vidalias, are highly recommended. These varieties are significantly milder and less pungent than their sharper counterparts, offering a natural sweetness that perfectly complements the savory, spiced batter. Their gentle flavor makes them ideal for this recipe, whether enjoyed raw or lightly cooked. Not only do they deliver on taste, but their size and structure also lend themselves well to creating that iconic, appealing “bloom.” The result is a dish that’s not only visually impressive but also consistently delicious, bringing restaurant-quality flavors and presentation directly to your table.
The Art of Battering and Frying to Golden Perfection
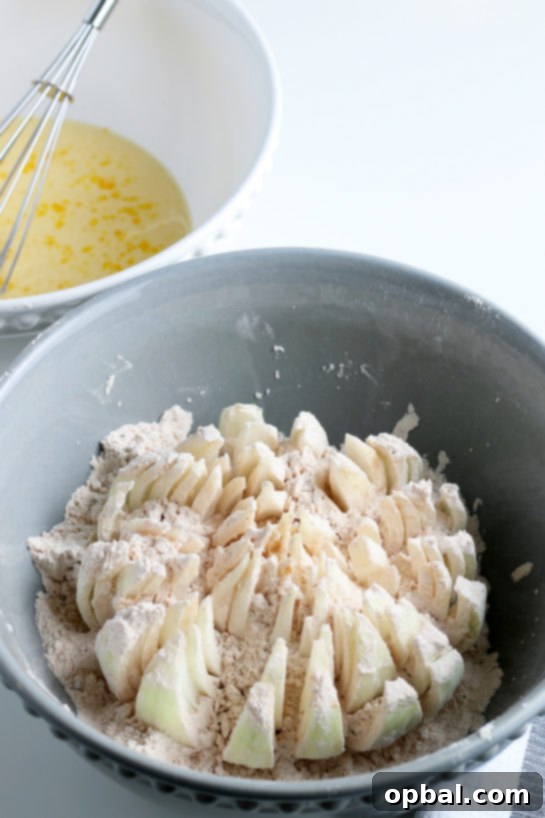
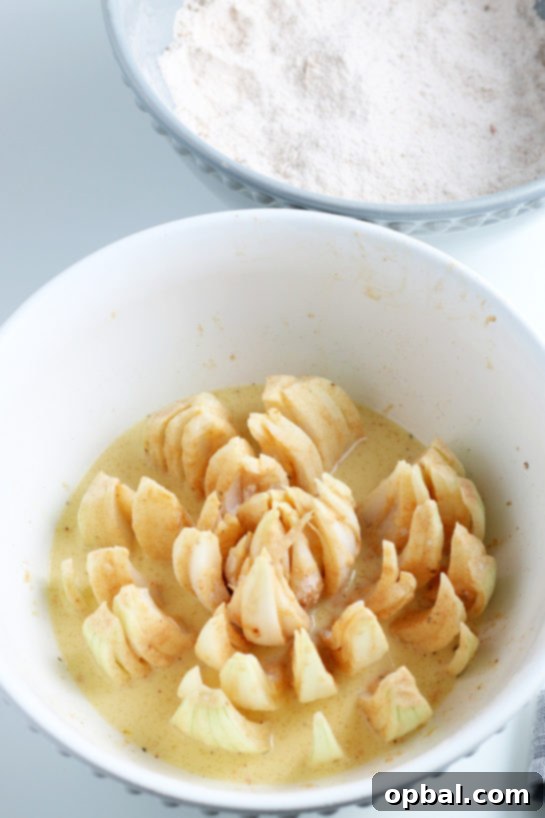
Once your onion is expertly “bloomed,” the next crucial step is ensuring it’s thoroughly coated in our delicious, seasoned batter. This two-stage process is vital for achieving that irresistibly crispy exterior. First, the onion is coated generously in the dry flour mixture, ensuring every crevice and petal is covered. This initial layer helps the wet batter adhere better. Next, it’s dipped into the egg and milk mixture, which acts as a binding agent, followed by a final return to the dry flour. This double-dredging technique creates a robust, textured crust that fries up beautifully golden and incredibly crunchy. Don’t rush this step; a well-coated onion is the secret to a perfect bloom.
Frying Techniques: Deep Fry or Air Fry?
While deep frying yields the most traditional and intensely crispy blooming onion, for those seeking a lighter alternative or looking to reduce oil, an air fryer is an excellent option! The air fryer can produce a wonderfully crisp exterior with significantly less oil, making it a fantastic choice without compromising too much on texture. Whichever method you choose, the goal is a perfectly cooked, golden-brown onion that is tender on the inside and audibly crunchy on the outside. There’s truly no reason not to make this delightful appetizer. And yes, standing over the plate, tearing off crispy petals with a fork the moment it emerges from the fryer, is absolutely an acceptable (and highly recommended) way to enjoy it. It’s truly amazing – no other words needed to describe that immediate gratification!
For an epic appetizer spread, consider serving your blooming onion alongside other festive bites such as my Jalapeño Cheeseburger Party Buns. The combination of flavors and textures will create an unforgettable feast for your taste buds.
Tips for Blooming Onion Success
- Choose a large, firm sweet onion: Vidalia onions are excellent choices for their mild flavor and good size.
- Sharp Knife is Key: A sharp knife makes cutting the intricate “bloom” much easier and safer.
- Don’t Rush the Bloom: Allow the onion petals to relax after cutting. Gently separating them helps the batter adhere evenly.
- Proper Batter Coverage: Ensure every part of the onion, especially between the petals, is thoroughly coated for maximum crispness.
- Maintain Oil Temperature: Use a thermometer for deep frying to keep the oil at the ideal temperature (around 350-400°F). Too cool, and it will be greasy; too hot, and it will burn before cooking through.
- Drain Well: After frying, place the blooming onion on a wire rack over paper towels to drain excess oil. This helps maintain crispness.
- Serve Immediately: Blooming onions are best enjoyed fresh out of the fryer when they are at their crispiest.
Homemade Dipping Sauce: The Perfect Companion
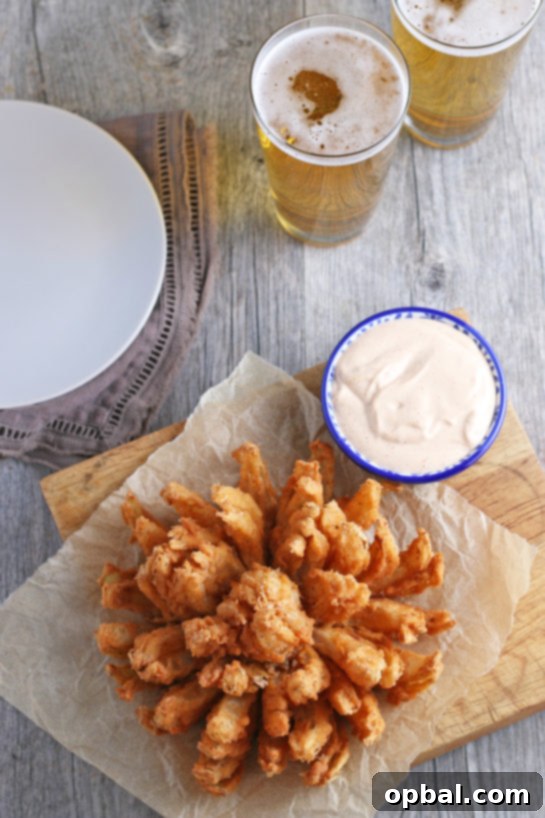
While the blooming onion itself is spectacular, the homemade dipping sauce truly elevates the experience. This creamy, tangy, and subtly spiced sauce is incredibly easy to whip up and perfectly complements the savory crunch of the onion. The blend of mayonnaise, sour cream, ketchup, paprika, garlic powder, and a touch of oregano creates a harmonious flavor profile that you won’t find in store-bought alternatives. Feel free to adjust the cayenne pepper to your liking for a bit of extra kick!
Storage and Reheating
If you happen to have any leftovers (a rare occurrence with this delicious appetizer!), storing them properly is key. Place any remaining blooming onion in an airtight container in the refrigerator for up to 2-3 days. To reheat, avoid the microwave as it will make the onion soggy. The best way to regain some of that crispness is to reheat it in an oven or, even better, an air fryer at 350°F (175°C) until thoroughly heated and crispy again, about 5-10 minutes.
Frequently Asked Questions About Blooming Onions
- What kind of onion is best for a blooming onion?
- Sweet onions, especially Vidalias, are the best choice due to their mild flavor and large size, which makes them easier to cut into the “bloom.”
- Can I prepare the blooming onion ahead of time?
- You can slice the onion and prepare the batter components ahead of time. However, for the crispiest result, it’s best to bread and fry the onion just before serving.
- How do I cut a blooming onion?
- Start by cutting off about ½ inch from the top and peeling the skin. Place the onion cut-side down, and make 16 evenly spaced cuts from ½ inch away from the root all the way through to the board. Gently separate the petals with your fingers.
- Can I bake a blooming onion instead of frying?
- While frying gives the best crispness, you can bake it. After breading, spray generously with cooking oil and bake at a high temperature (around 400°F/200°C) until golden brown and crispy, flipping halfway through.
- How do I keep my blooming onion crispy?
- The key is serving it immediately after frying. If reheating, use an oven or air fryer to restore crispness.
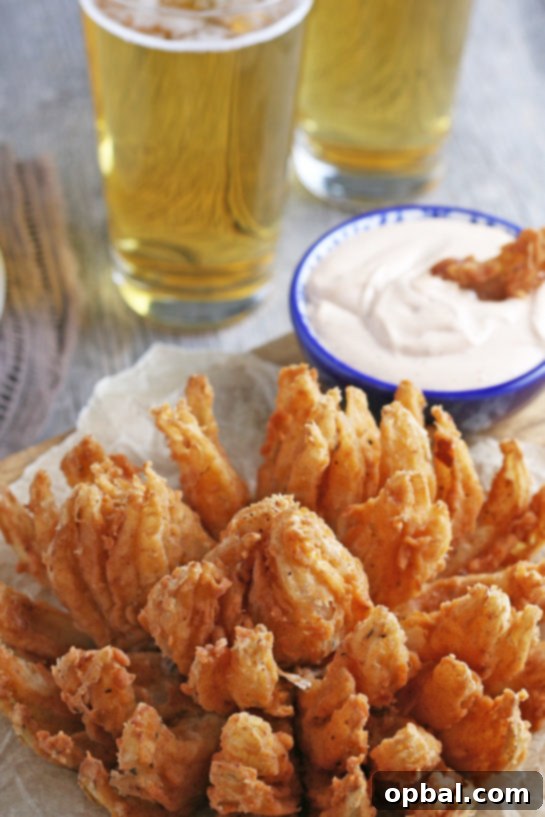
In essence, this Fried Blooming Onion is more than just a recipe; it’s an invitation to create a truly special moment around food. The crisp exterior, the tender sweet onion within, and the perfect dipping sauce combine to form an appetizer that truly has it all. So go ahead, grab that sweet onion, and transform it into an unforgettable culinary delight. You’ll be glad you did!
- For the Onion:
- 1 large sweet onion (preferably Vidalia)
- 2 ½ cups all-purpose flour
- 1 tablespoon paprika
- ¾ teaspoon cayenne pepper
- ½ teaspoon ground cumin
- ½ teaspoon dried thyme
- ½ teaspoon dried oregano
- 2 large eggs
- 1 cup whole milk
- Salt and pepper to taste
- Oil for frying
- For the Sauce:
- ¼ cup mayonnaise
- ¼ cup sour cream
- 2 teaspoons ketchup
- ¼ teaspoon paprika
- ¼ teaspoon salt
- ¼ teaspoon garlic powder
- ⅛ teaspoon dried oregano
- Black pepper, to taste
- Cayenne pepper, to taste (optional)
- Combine all the sauce ingredients into a mixing bowl, then cover and place into the refrigerator to allow flavors to meld.
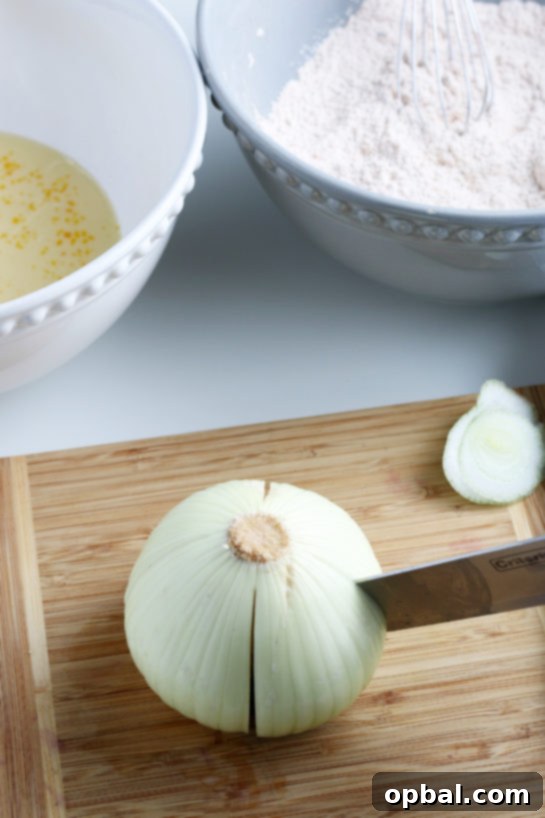
- Prepare the onion to “bloom.” Start by cutting off about ½ inch from the top of the onion, then peel the outer skin.
- Place the onion cut-side down on a cutting board. Starting about ½ inch from the root, make a downward cut all the way through to the board.
- Repeat this to make four evenly spaced cuts around the onion. Then, make 3 additional cuts between each section until you have a total of 16 evenly spaced cuts, creating the “petals.”
- Turn the onion over and set aside for 5 minutes. This allows the petals to relax and makes them easier to separate. Prior to breading, use your fingers to gently separate the outer pieces.
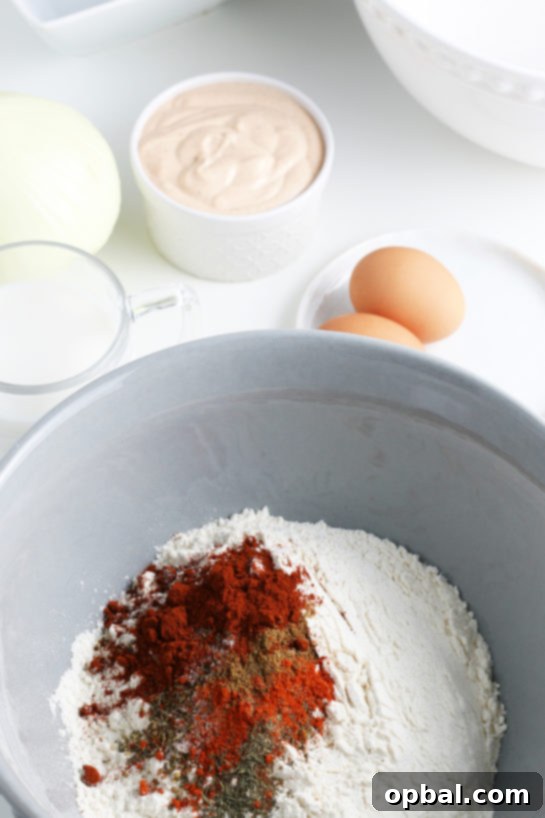
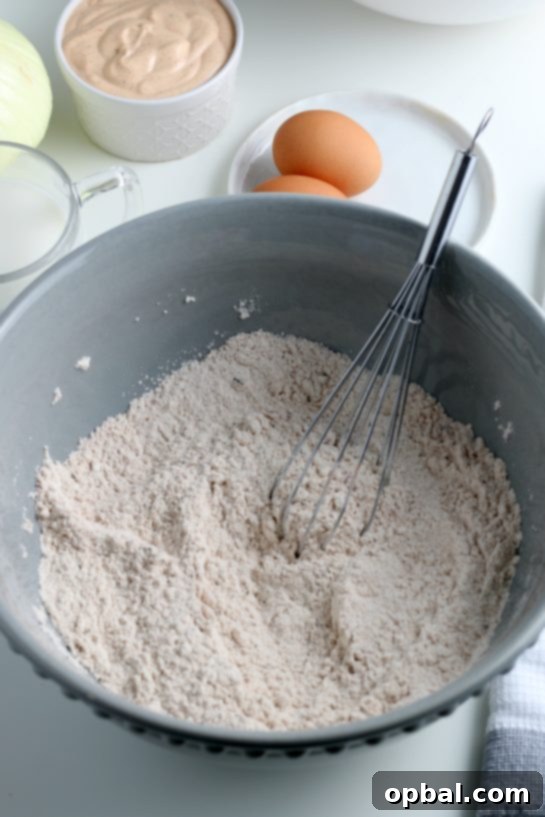
- In a large bowl, whisk together the flour, paprika, cayenne pepper, cumin, thyme, and oregano. Season with salt and pepper to taste.
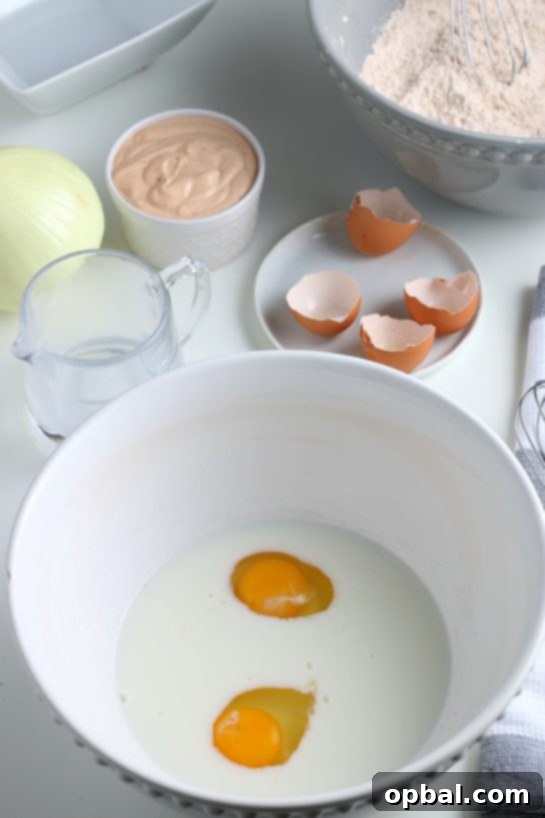
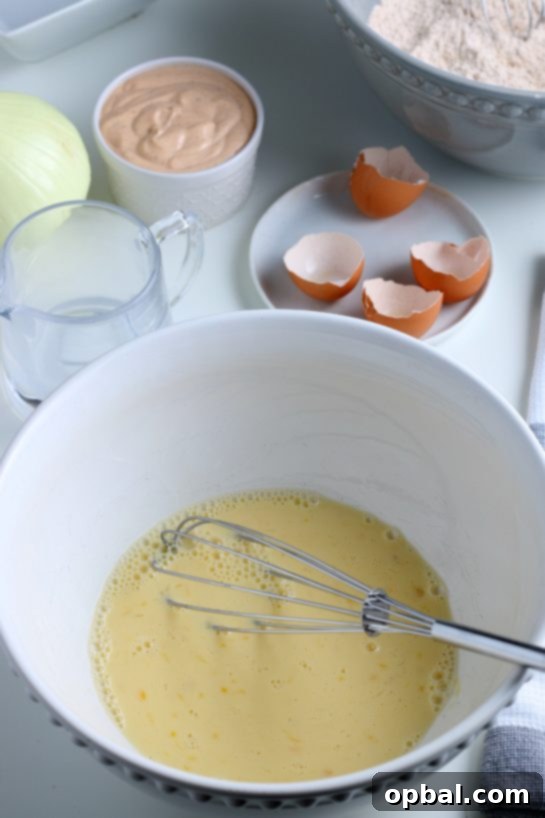
- In a separate medium-deep bowl, whisk the eggs, milk, and 1 cup of water until well combined.
- Place the cut onion in a clean bowl, cut-side up, and generously pour the flour mixture over it.
- Using a large spoon, ensure the onion is thoroughly coated with the flour mixture, paying special attention to getting between all the petals. Turn the onion over and gently pat off any excess flour. Reserve this bowl of flour for the second coating.
- Transfer the floured onion into the egg mixture, ensuring it’s completely coated. Let any excess drip off.
- Immediately transfer the onion back into the reserved flour mixture and repeat the flouring process, pressing the flour onto the onion to create a thick, even crust.
- Place the breaded onion into the refrigerator while you prepare the oil for frying. This helps the coating adhere better.
- In a large, deep pot, heat your cooking oil to 400°F (200°C). Use a kitchen thermometer for accuracy. Once hot, remove the onion from the refrigerator and gently shake off any loose excess flour.
- Carefully lower the onion into the hot oil, cut-side down, using a wire skimmer or tongs. Adjust your heat to maintain the oil temperature at approximately 350°F (175°C) during frying.
- Fry for about 3-4 minutes on the first side until golden brown, then carefully turn the onion over and continue to cook for another 3-4 minutes, or until the entire blooming onion is deep golden and crispy.
- Remove the fried onion from the oil using your wire skimmer and place it on a wire rack lined with paper towels to drain any excess oil.
- Immediately season with a sprinkle of salt and pepper while hot. Serve with the chilled homemade dipping sauce and enjoy your incredible homemade blooming onion!