Delightful & Easy Christmas Rum Balls: A No-Bake Holiday Treat for Adults
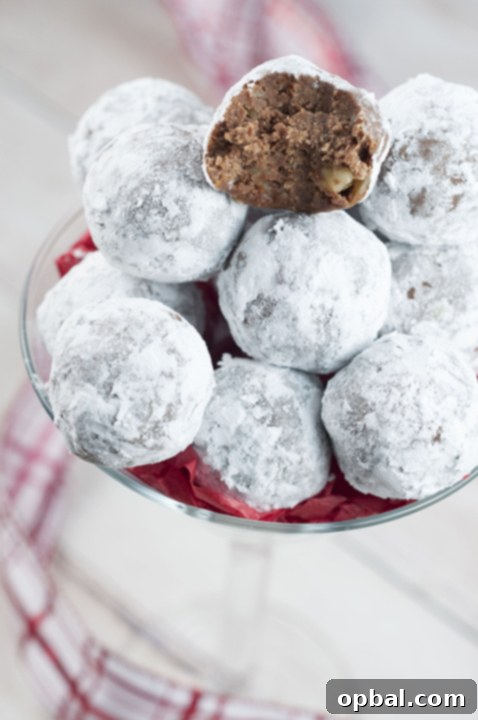
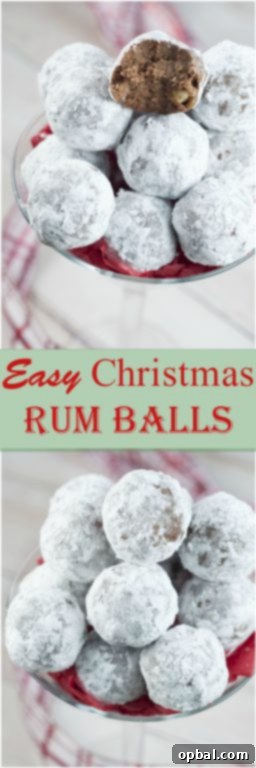
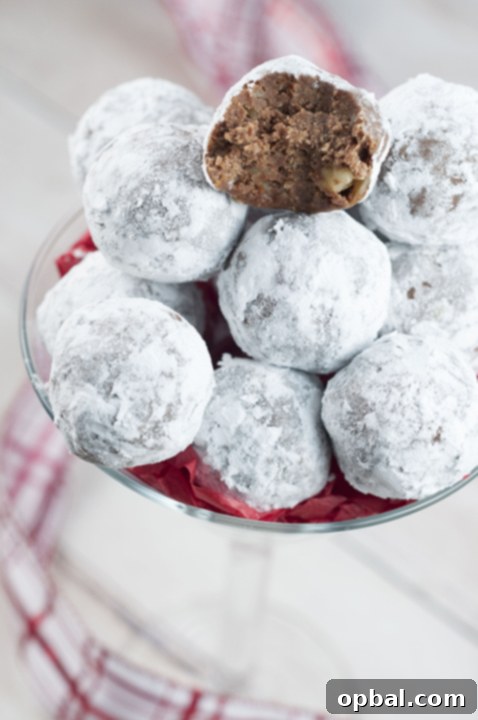
As the festive season approaches, certain aromas and flavors instantly transport us to cherished holiday memories. For many, nothing quite encapsulates the spirit of Christmas like a batch of homemade treats, and these exquisite Easy Christmas Rum Balls are at the top of that list. Alongside beloved traditional cut-out sugar cookies, rum balls stand out as a uniquely Christmas-centric indulgence. While you might occasionally spot them at other celebrations, their presence most strongly evokes the warmth and joy of the holiday season, making them truly special. These rum-infused delights are perfectly portioned, bite-sized treasures designed specifically for adult palates, promising a sophisticated twist to your holiday dessert spread.
What Makes Rum Balls the Ultimate Holiday Indulgence?
Rum balls are a timeless, truffle-like dessert, celebrated for their rich sweetness, dense texture, and an irresistible blend of chocolate and a hint of fine rum. Their versatility allows you to make them in any size, but we find the bite-sized format to be ideal – easy to handle and perfect for mingling. What truly sets them apart, especially during the bustling holiday period, is their no-bake nature. This means you save precious oven space and time, but more importantly, the distinct flavor and delightful “kick” of the rum remain beautifully intact, undiminished by heat. For those who adore the classic combination of chocolate and rum, these treats are a must-try, perhaps even alongside a slice of our popular Hot Chocolate Coffee Rum Cake for an extra layer of decadence.
Achieving the Perfect Rum Balance: A Culinary Art
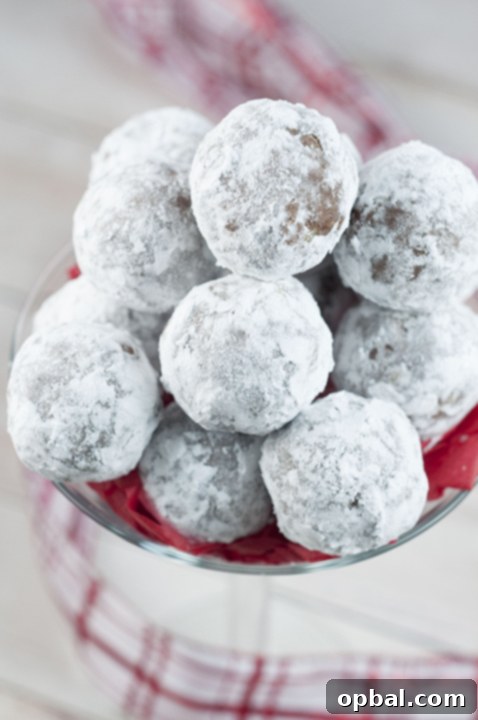
One of the most crucial elements in crafting truly exceptional Christmas Rum Balls is finding that sweet spot for the rum flavor. We’ve meticulously perfected this traditional recipe to ensure the rum presence is just right – noticeable, delightful, and never overpowering. Over the years, many of us have encountered rum balls that were either excessively strong, leaving a harsh aftertaste, or so subtle that the rum was barely detectable. Both experiences can be incredibly disappointing, detracting from the joy of this classic dessert. While the humorous notion of a “fire hazard” rum ball might bring a chuckle, our aim is to deliver a perfectly balanced flavor profile that allows the rum to shine without dominating the other wonderful notes of chocolate and sweetness. This delicate equilibrium is what makes our recipe truly stand out, earning rave reviews from everyone who tries them.
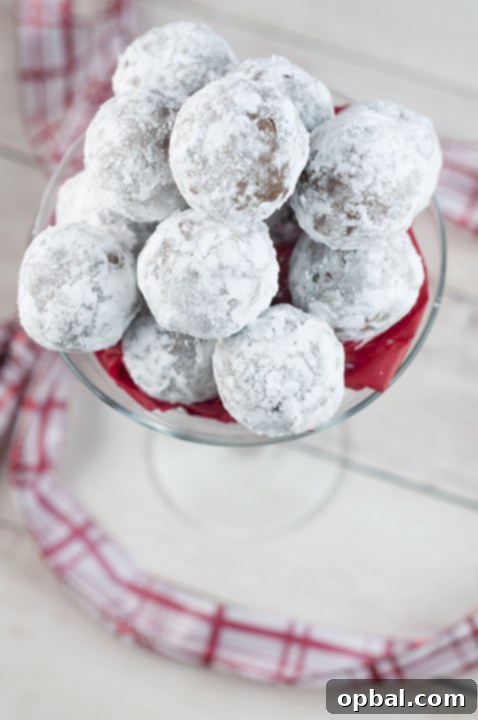
The Ideal Holiday Party Addition: No-Bake Convenience
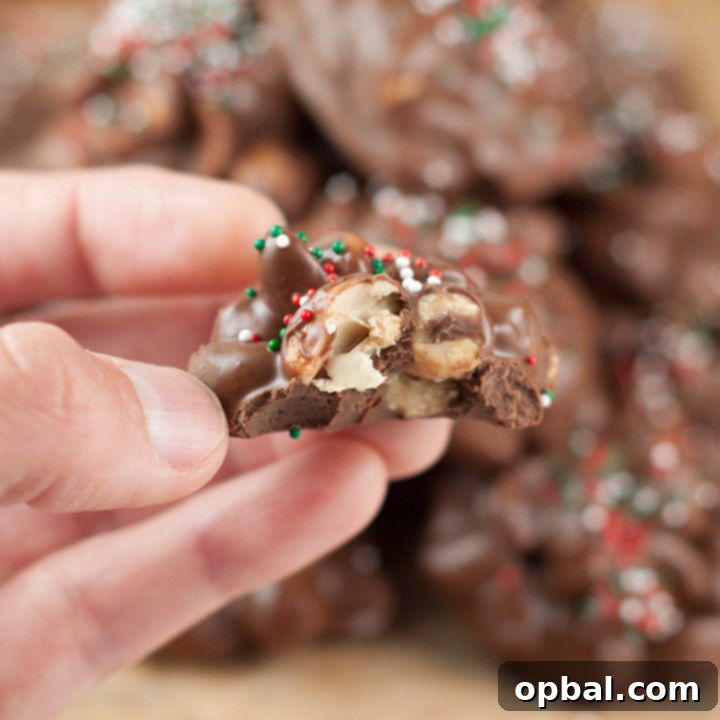
These incredibly easy, no-bake rum balls are an absolute showstopper for your next holiday gathering. Last year, they were a star attraction on my cookie trays, often placed alongside delicate Homemade Cream Puffs, captivating guests with their festive appeal. Of course, a gentle reminder about their rum content is always a good idea, ensuring these delightful adult treats are enjoyed responsibly by those old enough to appreciate them. While the thought of a child’s surprised reaction to the rum might spark a funny image, we certainly want to avoid any unpleasant surprises! For another fantastic no-bake chocolate option perfect for the Christmas season, don’t miss our recipe for Crock Pot Triple Chocolate Peanut Candy – another effortless crowd-pleaser.
Key Ingredients and Expert Tips for Success
Crafting perfect rum balls starts with quality ingredients and a few clever tricks. Our recipe calls for a blend of classic components that come together to create that signature rich and dense texture. Here’s a closer look at what you’ll need and how to make the most of each element:
- Vanilla Wafers: These form the foundational base of our rum balls, providing a subtle sweetness and the perfect crumbly texture when crushed. You can substitute with other dry, plain cookies like graham crackers or shortbread for a slightly different flavor profile.
- Powdered Sugar: Essential for sweetness and for coating the finished rum balls. Its fine texture dissolves beautifully, contributing to the smooth, dense consistency.
- Finely Chopped Walnuts: Walnuts add a lovely crunch and earthy depth that complements the chocolate and rum. Pro Tip: If nut allergies are a concern, feel free to substitute with an equal amount of shredded coconut flakes for a tropical twist that’s equally delicious.
- Cocoa Powder: The source of our rich chocolate flavor. Opt for a good quality unsweetened cocoa powder to achieve the best depth of flavor.
- Dark Rum: The star ingredient! Dark rum offers a more complex, molasses-rich flavor that truly enhances the holiday feel of these treats. While dark rum is preferred for its depth, a good quality spiced rum can also be an exciting alternative, adding notes of cinnamon, nutmeg, and clove.
- Light Corn Syrup: This acts as a crucial binding agent, helping to hold the rum ball mixture together and giving it that desired dense, chewy texture.
Crafting Your Rum Balls: A Simple Step-by-Step Guide
The beauty of this recipe lies in its simplicity and the minimal effort required for such a rewarding outcome. Follow these easy steps to create your own batch of irresistible Christmas Rum Balls:
- Prepare Your Base: Begin by transforming your vanilla wafers into fine crumbs. A food processor makes this task incredibly quick and easy, ensuring a uniform consistency. If you don’t have one, simply place the wafers in a sturdy Ziploc bag and crush them thoroughly with a rolling pin. Pour the resulting crumbs into a large mixing bowl.
- Combine Dry Ingredients: To the wafer crumbs, add the powdered sugar, finely chopped walnuts (or coconut flakes), salt, and cocoa powder. Mix these dry ingredients thoroughly until they are well combined and evenly distributed. This ensures every bite will have a balanced flavor.
- Incorporate Liquids: Next, pour in the dark rum and light corn syrup. Start mixing with a fork, gently incorporating the liquids into the dry mixture. You’ll notice the mixture beginning to moisten and clump together.
- Finish Mixing and Shape: Once the mixture is partially combined, switch to using your hands. This allows for more thorough mixing and helps bring all the ingredients together into a cohesive, pliable dough. Continue mixing until everything is completely combined and uniform. Then, take small portions of the mixture and roll them into desired bite-sized balls.
- Coat and Store: For that classic festive finish, roll each shaped rum ball generously in extra powdered sugar. This not only adds a touch more sweetness but also creates a lovely aesthetic. Once coated, store your Christmas Rum Balls in an airtight container at room temperature for several days, or in the refrigerator for up to two weeks. The flavors actually deepen and meld beautifully over time, making them a fantastic make-ahead holiday treat.
- Enjoy! Serve these delightful adult treats on your holiday dessert platters and watch them disappear!
Beyond the Recipe: Serving, Gifting, and Variations
Once your Easy Christmas Rum Balls are made, the fun doesn’t stop there! They are incredibly versatile for serving and can even make thoughtful homemade gifts.
- Elegant Presentation: Arrange your powdered sugar-dusted rum balls on a decorative platter alongside other holiday confections like Italian Anisette Cookies or delicate Homemade Cream Puffs. A sprinkle of fresh cranberries or a few sprigs of evergreen can enhance the festive visual appeal.
- Gift Giving: Package these decadent treats in small, decorative boxes or cellophane bags tied with festive ribbons. They make a charming and personal gift for friends, neighbors, or hostesses during the holiday season. Just remember to add a little tag noting they contain rum!
- Flavor Variations: Don’t be afraid to experiment!
- Different Alcohols: Instead of dark rum, consider using spiced rum, brandy, bourbon, or even a coffee liqueur like Kahlua for a different adult flavor profile.
- Non-Alcoholic Version: For a family-friendly twist, substitute the dark rum with rum extract (use only a teaspoon or two, as it’s potent) combined with a little apple juice or strong brewed coffee. This ensures everyone can enjoy a version of these festive treats.
- Additional Spices: A pinch of cinnamon, nutmeg, or allspice can further elevate the holiday flavor profile.
- Citrus Zest: A touch of orange or lemon zest can add a bright, refreshing counterpoint to the rich chocolate and rum.
- Alternative Coatings: While powdered sugar is traditional, you can also roll your rum balls in cocoa powder for a richer, less sweet finish, or in finely chopped nuts or shredded coconut for added texture and flavor. Even holiday sprinkles can add a fun, colorful touch!
A Gentle Reminder: For Adults Only
Given the delightful rum content in these treats, it’s always important to clearly label them and inform guests, especially at family gatherings, that these are specifically for adults. We want to ensure everyone enjoys the festivities safely and appropriately. For those seeking more Christmas dessert inspiration, I’ve gathered all my favorite Christmas recipes in one convenient place. You might find yourself drawn to my cherished Italian Anisette Cookies, or perhaps you’ll be inspired by Mary’s irresistible Hot Buttered Rum Cookies. However you choose to celebrate, we hope these Easy Christmas Rum Balls bring joy, warmth, and a touch of sophisticated sweetness to your holiday season. Merry Christmas and happy baking (or, in this case, no-baking)!
- 1 box (12 Oz. Box) Vanilla Wafers
- 1-½ cup Powdered Sugar
- ½ cups Finely Chopped Walnuts
- ¼ teaspoons Salt
- ½ cups Cocoa Powder
- ½ cups Dark Rum
- 3 Tablespoons Light Corn Syrup
- ¼ cups Extra Powdered Sugar, For Rolling
- Blend wafers into fine crumbs using a food processor or put in a Ziploc bag and smash with a rolling pin. Pour into a bowl.
- Add powdered sugar, nuts, salt and cocoa to the wafer crumbs. Mix well.
- Add rum and corn syrup then mix with a fork until moist.
- Mix the rest of the way with your hands until completely combined. Shape into balls then roll in extra powdered sugar. Store in a covered container until ready to serve.
- Enjoy!