The Ultimate Homemade Chocolate Pie: A Timeless Classic from Scratch
Indulge in the pure bliss of a classic homemade chocolate pie. This old-fashioned delight features velvety smooth chocolate pudding made from scratch, crowned with perfectly fluffy whipped cream, and it’s surprisingly simple to create!
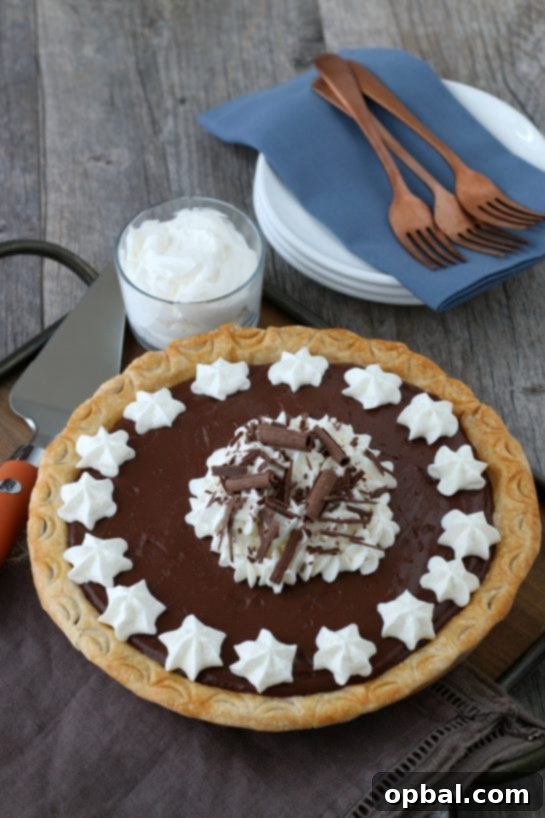
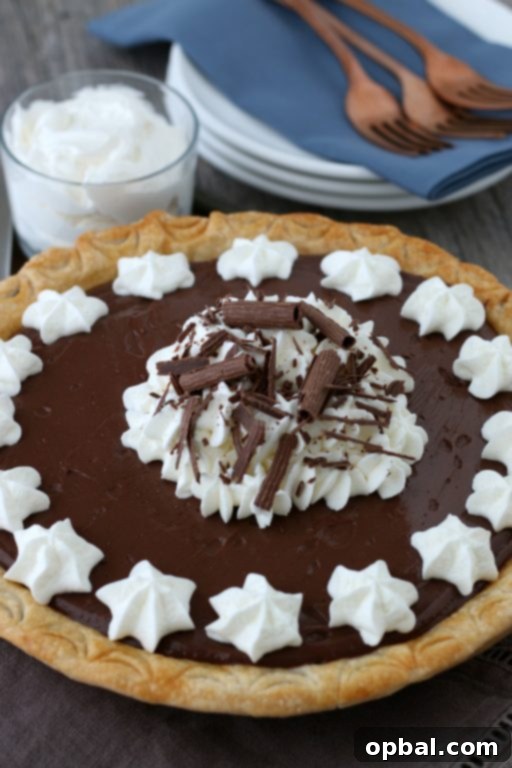
Welcome, pie lovers, to a special time of year when delicious desserts take center stage! As the holiday season approaches, especially with “pie month” (better known as Thanksgiving month) in full swing, my thoughts inevitably turn to one thing: pies, pies, and more pies! Among the myriad of choices, one dessert stands out as a true family favorite and a guaranteed crowd-pleaser: my cherished old-fashioned chocolate pie. This isn’t just any chocolate pie; it’s a labor of love, crafted with rich homemade chocolate pudding and adorned with cloud-like whipped cream. It’s the perfect sweet ending for any celebration, be it Thanksgiving, Christmas, Easter, or simply a cozy Sunday gathering. Prepare to impress everyone with this deceptively easy yet incredibly decadent dessert. Let me guide you through every step to baking your new go-to classic chocolate pie!
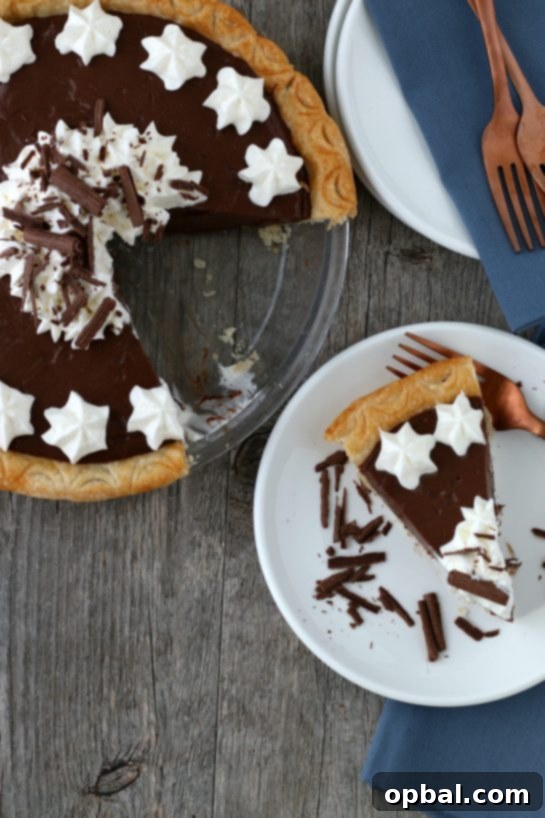
While this homemade chocolate pudding pie might share a similar luscious texture with my No-Bake Cinnamon French Silk Pie, it distinguishes itself with a simpler ingredient list and the absence of a graham cracker crust. This recipe focuses on the pure, unadulterated flavor of chocolate, encased in a traditional pie crust, making it a truly classic chocolate pie experience. The beauty of this recipe lies in its straightforward approach, proving that you don’t need a complex list of exotic ingredients to create something truly spectacular.
Essential Ingredients for Your Homemade Chocolate Pie
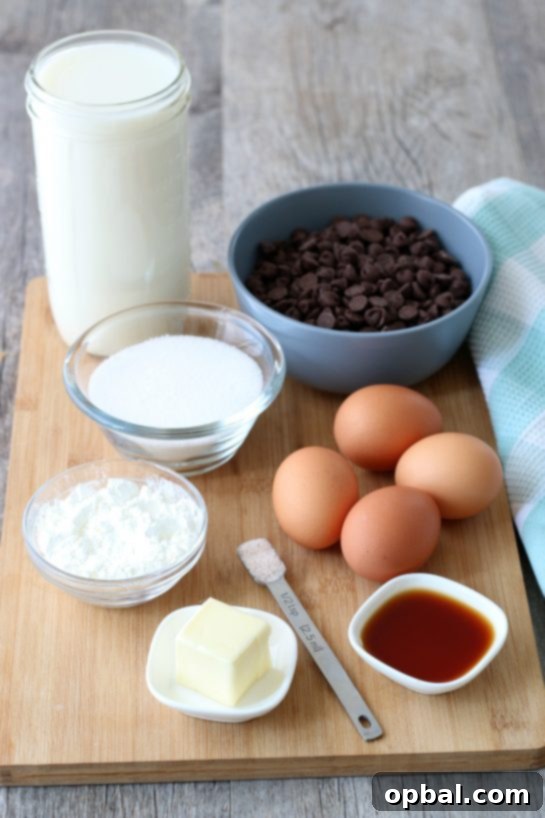
Crafting the perfect homemade chocolate pie begins with a selection of fresh, high-quality ingredients. The magic happens when these simple components combine to create a filling that is undeniably rich, smooth, and full of deep chocolate flavor. Here’s what you’ll need to assemble this dreamy dessert:
- 1 prepared pie crust – 9 inch: Whether you prefer to roll out your favorite flaky homemade recipe or opt for the convenience of a good quality store-bought crust, ensure it’s ready to go. A well-baked crust is the foundation of a great chocolate pudding pie.
- ⅔ cup granulated sugar: Provides the perfect level of sweetness, balancing the richness of the chocolate.
- ⅓ cup cornstarch: This is our secret weapon for achieving that wonderfully thick, sliceable pudding consistency. It ensures your chocolate pie filling sets beautifully.
- ½ teaspoon salt: A crucial ingredient that enhances all the other flavors, particularly the chocolate, making it taste even more vibrant and less flat.
- 4 Egg yolks: These contribute to the pudding’s luxurious richness, smooth texture, and beautiful color. They are key to a truly decadent scratch chocolate pie.
- 3 cups Milk: The base for our creamy pudding. Whole milk will yield the richest results, but 2% milk can also be used.
- 2 tablespoons butter: Added at the end, butter gives the pudding a silky sheen and an extra layer of richness, melting smoothly into the warm mixture.
- 1 tablespoon vanilla extract: A splash of pure vanilla extract elevates the chocolate flavor, adding warmth and complexity.
- 1 ¾ cups chocolate chips – milk chocolate, semi-sweet or dark: The star of the show! Choose your preferred type of chocolate chips to customize the intensity of your pie. Milk chocolate offers a sweeter, milder flavor, while semi-sweet provides a classic balance, and dark chocolate delivers a deeper, more robust chocolate experience.
Are These the Ingredients for Homemade Chocolate Pudding? Yes!
You’re absolutely right, and I’m thrilled you noticed! The heart and soul of this incredible homemade chocolate pie is indeed a luscious, scratch-made chocolate pudding. It’s what truly sets this old-fashioned chocolate pie apart from the rest. Imagine the deep, authentic flavor and silky smooth texture that only a homemade pudding can deliver—it’s a world away from any boxed mix!
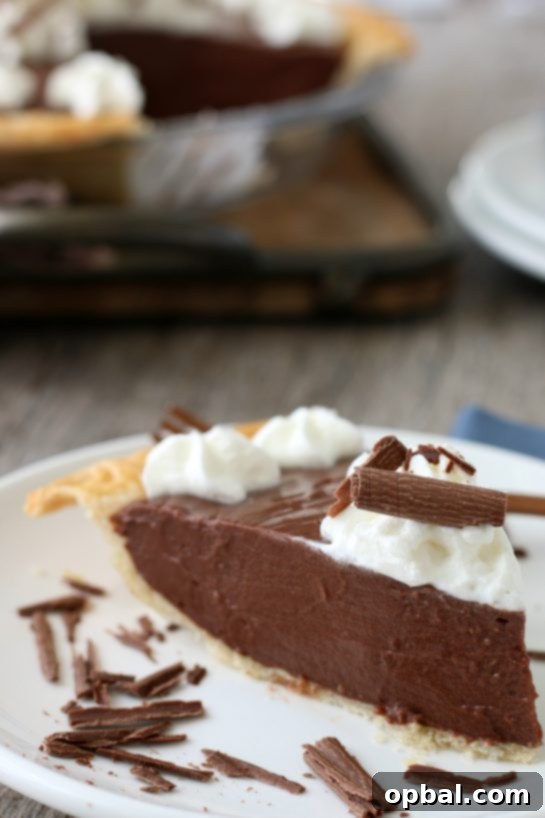
Now, I understand that sometimes life gets busy, and convenience calls. If you find yourself in a real time crunch, a boxed mix of chocolate pudding could certainly be a shortcut. However, I must tell you, the small amount of extra effort required to make this pudding from scratch is overwhelmingly worth it. The difference in taste, texture, and overall satisfaction is profound. This homemade chocolate pudding fills your kitchen with an irresistible aroma and delivers a velvety richness that simply cannot be replicated by a pre-packaged mix. For the best chocolate pie experience—a truly authentic, classic chocolate pie—the homemade pudding is non-negotiable. Trust me, your taste buds will thank you!
Ingredients Needed for the Perfect Homemade Whipped Cream
No old-fashioned chocolate pie is truly complete without a generous topping of fresh, homemade whipped cream. It’s the perfect light, airy counterpoint to the rich chocolate filling. Making your own whipped cream is incredibly simple and yields a far superior result compared to anything store-bought. Here’s all you need for this delightful topping:
- 1 cup Heavy whipping cream: Ensure it’s very cold for the best results. The colder the cream, the faster and firmer it will whip.
- ½ cup Powdered sugar: Also known as confectioners’ sugar, it dissolves easily and gives the whipped cream a smooth texture and delicate sweetness.
- 1 teaspoon Vanilla extract: Adds a beautiful aromatic warmth that complements the chocolate perfectly.
Crafting Your Classic Homemade Chocolate Pie: A Step-by-Step Guide
Now, let’s roll up our sleeves and dive into creating this exquisite homemade chocolate pie! This recipe is designed to be straightforward, but paying close attention to each step will ensure your classic chocolate pudding pie turns out perfectly every single time. If chocolate isn’t your only passion, you might also enjoy my easy Salted Honey Pie for a delightful change. As you work through the instructions, remember that consistency and patience are key, especially when cooking the pudding. Don’t hesitate to reach out in the comments below if any questions arise – I’m always happy to help you achieve pie perfection!
- Prepare and Cool Your Pie Crust: Begin by baking your chosen 9-inch pie crust according to its package or recipe instructions. Once baked, allow it to cool completely on a wire rack. A fully cooled crust prevents the warm pudding from making it soggy.
- Whisk Dry Ingredients: In a medium saucepan, combine the granulated sugar, cornstarch, and salt. Whisk these dry ingredients thoroughly to ensure there are no lumps, which is crucial for a smooth pudding.
- Prepare Egg Yolks: In a small bowl, whisk the egg yolks until they are uniformly yellow and slightly frothy. These will provide richness and help thicken the pudding.
- Combine Milk and Egg Yolks: In a measuring cup with a spout (this makes pouring easier), whisk together the milk and the beaten egg yolks until well combined.
- Temper the Eggs (Part 1): Gradually add a small amount (about ¼ cup) of the milk and egg yolk mixture to the saucepan with the dry ingredients. Whisk vigorously until it’s perfectly smooth and fully incorporated. This initial step helps to prevent lumps and prepares the dry ingredients for the larger liquid volume.
- Temper the Eggs (Part 2): Gradually add another small amount of the milk mixture to the saucepan, whisking constantly until well combined. This further dilutes the dry ingredients and begins the tempering process for the egg yolks, preventing them from scrambling when exposed to heat.
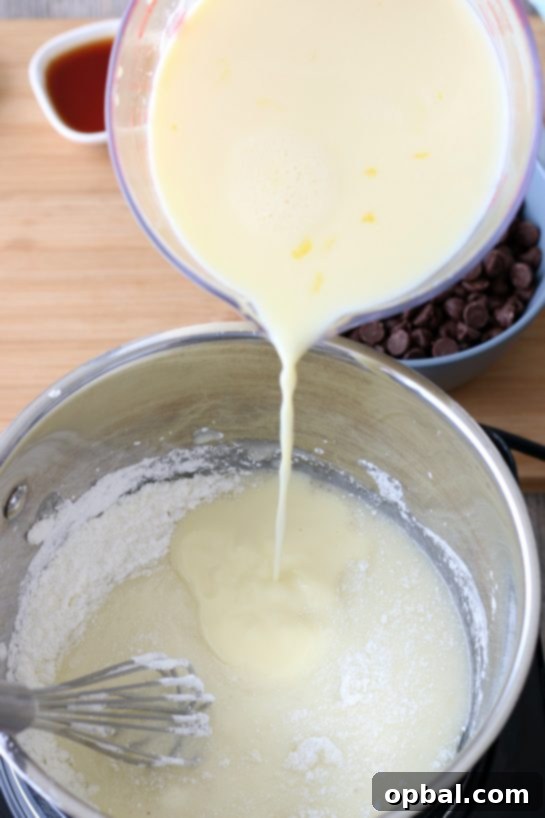
- Slowly Incorporate Remaining Liquid: Continue by slowly pouring in the remaining milk and egg yolk mixture into the saucepan, whisking constantly as you pour. This ensures a lump-free, smooth base for your pudding.
- Cook the Pudding to a Boil: Place the saucepan over medium heat. Whisking constantly, cook the pudding mixture until it begins to boil. This process typically takes about 10-15 minutes. Constant whisking is vital to prevent scorching on the bottom and to ensure even thickening.
- Boil for Consistency: Once the pudding begins to boil, continue to boil it for exactly 1 minute, still whisking constantly. This ensures the cornstarch is fully activated and the pudding reaches its maximum thickness. You’ll notice it visibly thickening during this minute.
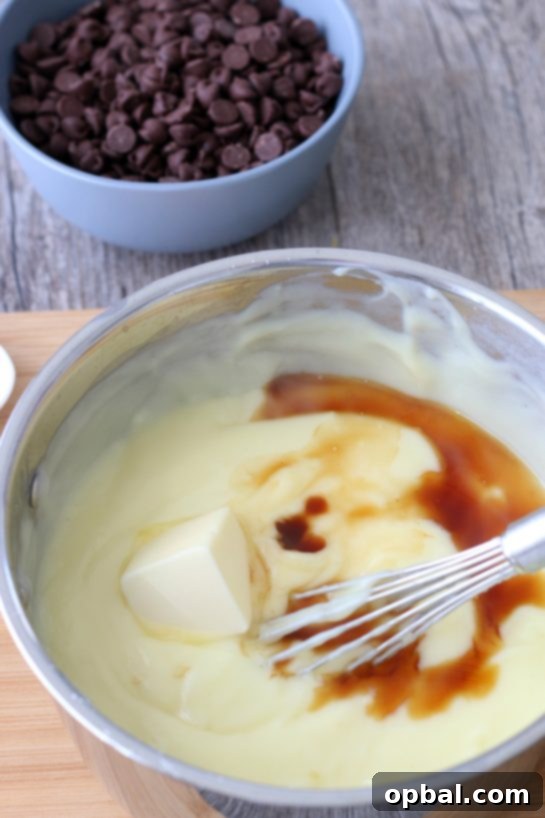
- Add Butter and Vanilla: Remove the saucepan from the heat. Whisk in the vanilla extract and butter until the butter is completely melted and the pudding is smooth and glossy. The butter adds richness and a beautiful shine.
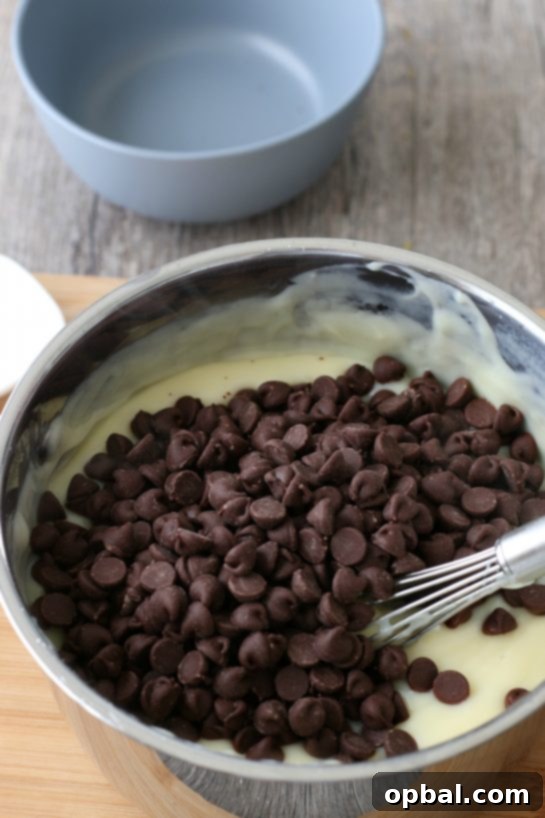
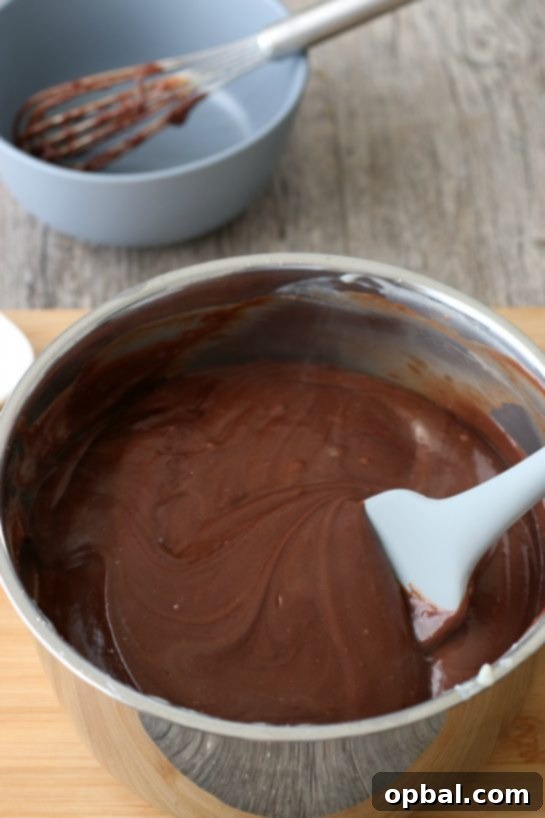
- Stir in Chocolate Chips: Add the chocolate chips to the warm pudding. Stir continuously until the chocolate chips are fully melted and smoothly incorporated, creating a rich, uniform chocolate flavor throughout.
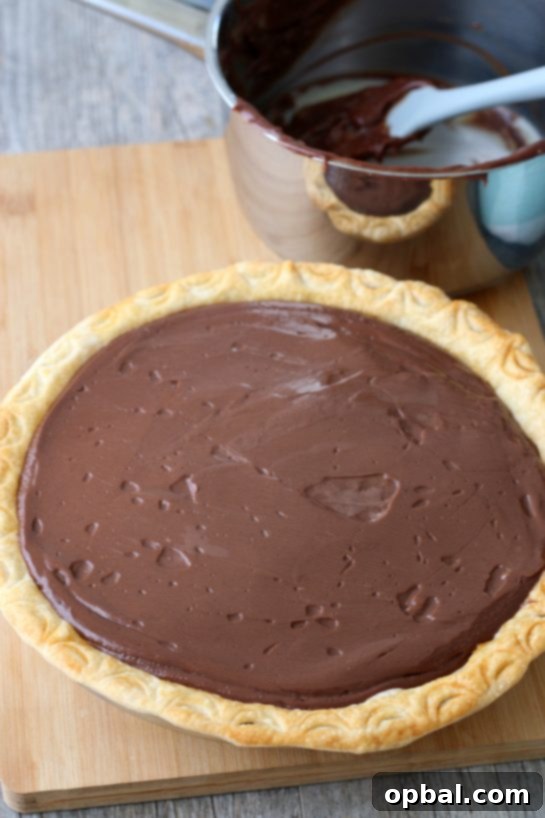
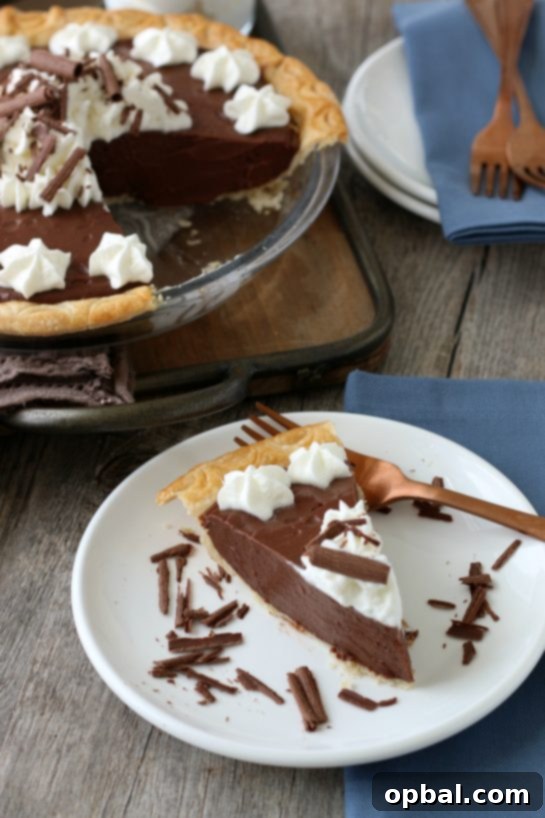
- Chill Your Masterpiece: Pour the hot chocolate pudding into your prepared and cooled pie crust. Cover the surface of the pudding directly with plastic wrap to prevent a skin from forming (this is a key tip for a smooth top!). Place the pie in the refrigerator to chill for at least 4 hours, or ideally overnight, until it is firmly set. This chilling time is essential for the pie to achieve its perfect sliceable consistency.
Can I Enjoy This Chocolate Pudding as a Standalone Dessert?
Absolutely! You are not alone if you find yourself tempted by the rich aroma and velvety texture of this homemade chocolate pudding even before it makes its way into the pie crust. While this recipe is designed to create a pudding that’s thick enough for elegant slicing, it is undeniably delicious on its own. It’s a bit firmer than your typical spoonable pudding, but that just means it has an even more decadent mouthfeel.
I won’t pretend it’s easy to resist. The moment this silky, rich chocolate pudding comes together, the urge to grab a spoon and dive right in is incredibly strong. And I totally wouldn’t blame you! It’s an incredible treat, and a little taste test (or a generous helping in a small bowl) is perfectly acceptable. Just remember to save enough for your old-fashioned chocolate pie!
Whipping Up the Perfect Cream for Your Old-Fashioned Chocolate Pie
After going to the effort of making a glorious scratch-made chocolate pie, it would be a shame to top it with anything less than homemade whipped cream. This simple yet elegant topping is the crowning glory of your old-fashioned chocolate pie, adding a light, airy contrast to the rich, dense chocolate filling. Once you experience the superior flavor and texture of fresh whipped cream, you’ll never reach for a store-bought can again. It’s incredibly easy to prepare and requires just a few basic steps for a truly creamy, delicious result!
- Whip Heavy Cream to Soft Peaks: Add the very cold heavy cream to a large mixing bowl. Using an electric mixer (stand mixer or hand mixer) with the whisk attachment, beat on high speed until soft peaks begin to form. The cream will thicken and hold its shape slightly but still be soft and pliable.
- Gradually Add Powdered Sugar: With the mixer still running on high, gradually add the powdered sugar, a tablespoon at a time. Continue beating until stiff peaks form. The whipped cream should hold its shape firmly when the whisk is lifted. Be careful not to overbeat, or it might turn grainy.
- Stir in Vanilla Extract: Gently fold in the vanilla extract using a spatula or by briefly running the mixer on low. This infuses the cream with a lovely aroma.
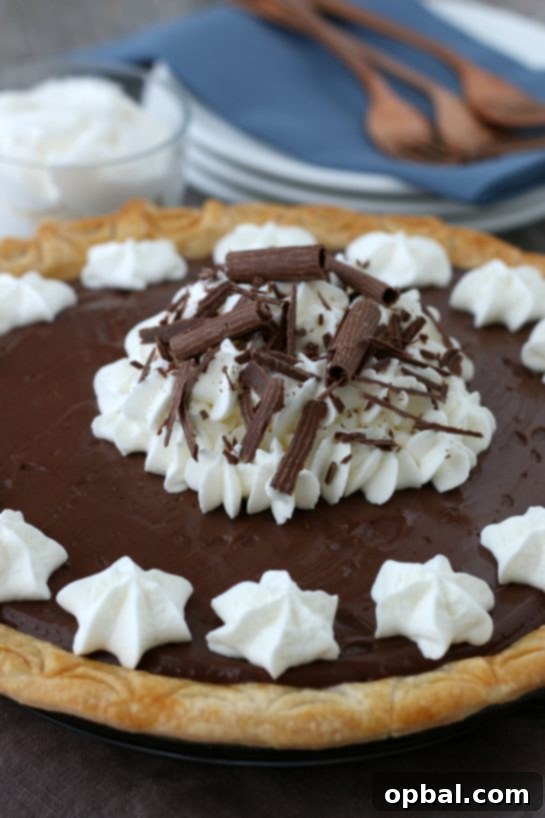
- Serve with Your Pie: Spoon or pipe the freshly made whipped cream onto slices of your chilled chocolate pie just before serving.
When is the Best Time to Add the Whipped Cream?
For the freshest taste and most appealing presentation, I always recommend waiting to add the homemade whipped cream until your homemade chocolate pie has fully chilled and you are just about ready to serve it. Whipped cream tends to lose its beautiful volume and fresh texture if it sits for too long, especially on a chilled dessert.
If you’re preparing this old-fashioned chocolate pie for a special party or event, it’s best to transport the pie and the whipped cream separately. Once you arrive and are ready to present the pie, then pile on the freshly made whipped cream. This ensures that every slice looks and tastes its absolute best, offering that perfect light and airy counterpoint to the rich, dense chocolate filling.
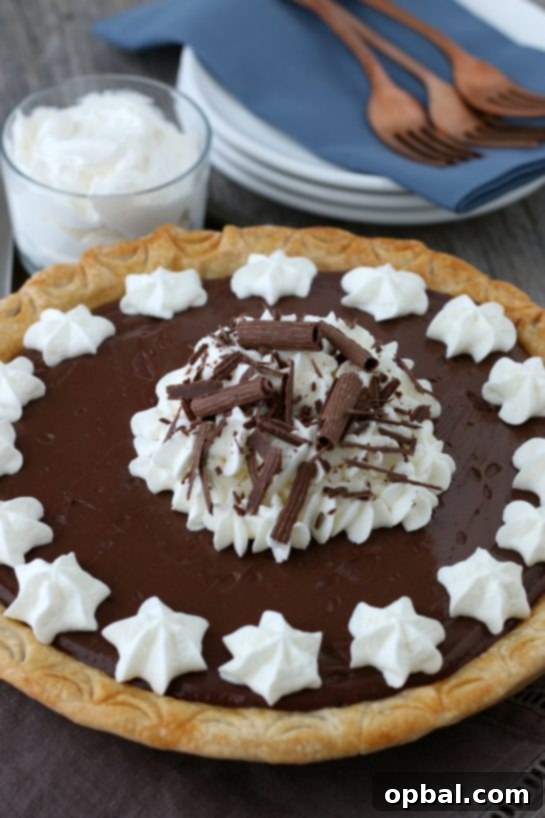
Beyond Pie: The Versatility of This Homemade Whipped Cream Recipe
You must have been reading my mind! This isn’t just a one-hit-wonder for your classic chocolate pie. This simple and delicious homemade whipped cream recipe is incredibly versatile and perfect for elevating a myriad of other desserts. Once you start making your own, you’ll instantly recognize the superior quality compared to store-bought varieties, and you’ll find countless uses for it!
Think beyond pie: it’s fantastic for topping fresh fruit salads, adding a luxurious touch to pancakes or waffles at breakfast, or even dolloping onto hot cocoa. It’s particularly divine atop my rich Double Layer Pumpkin Cheesecake or my delightful Pumpkin Cheesecake Bars. Experiment with a dash of cinnamon or a hint of almond extract for different flavor profiles. Once you embrace homemade whipped cream, your dessert game will reach new heights. Enjoy your baking, my friends, and happy November!
- 1 prepared pie crust – 9 inch (your favorite homemade recipe or a quality store-bought crust)
- ⅔ cup granulated sugar
- ⅓ cup cornstarch
- ½ teaspoon salt
- 4 large egg yolks
- 3 cups whole milk (or 2%)
- 2 tablespoons unsalted butter
- 1 tablespoon pure vanilla extract
- 1 ¾ cups chocolate chips – choose milk chocolate, semi-sweet, or dark for your desired flavor intensity
- For the Fluffy Homemade Whipped Cream:
- 1 cup heavy whipping cream, very cold
- ½ cup powdered sugar (confectioners’ sugar)
- 1 teaspoon pure vanilla extract
- Prepare your 9-inch pie crust by baking it according to instructions. Let it cool completely on a wire rack before proceeding.
- In a medium, heavy-bottomed saucepan, whisk together the granulated sugar, cornstarch, and salt until thoroughly combined and lump-free.
- In a small bowl, whisk the egg yolks until smooth and light yellow.
- In a separate measuring cup with a spout, whisk together the milk and the beaten egg yolks until well integrated.
- Gradually add a small amount (about ¼ cup) of the milk-egg mixture to the saucepan with the dry ingredients, whisking continuously until well combined and smooth to prevent lumps.
- Repeat, gradually adding another small amount of the milk-egg mixture, whisking constantly until fully incorporated. This helps temper the eggs and prepare the mixture for cooking.
- Slowly pour in the remaining milk-egg mixture into the saucepan, whisking constantly as you pour to maintain a smooth consistency.
- Place the saucepan over medium heat. Whisking constantly, cook the pudding mixture until it begins to boil and visibly thickens, which will typically take about 10-15 minutes. Ensure constant whisking to prevent scorching.
- Once boiling, continue to boil the pudding for 1 minute, whisking vigorously the entire time to activate the cornstarch fully and ensure optimal thickness.
- Remove the saucepan from the heat. Whisk in the vanilla extract and butter until the butter is completely melted and the pudding is smooth, glossy, and well combined.
- Stir in the chocolate chips until they are fully melted and smoothly incorporated into the pudding, creating a rich, even chocolate color and flavor.
- Pour the hot chocolate pudding filling into your prepared and cooled pie crust. Cover the surface of the pudding directly with plastic wrap (to prevent a skin from forming) and place the pie in the refrigerator to chill for at least 4 hours, or ideally overnight, until it is thoroughly set.
- For the Homemade Whipped Cream: Add the very cold heavy cream to a large mixing bowl. Using an electric mixer, whisk on high speed until soft peaks form.
- Gradually add the powdered sugar while continuing to beat on high until stiff peaks form. Be careful not to overbeat.
- Gently stir in the vanilla extract.