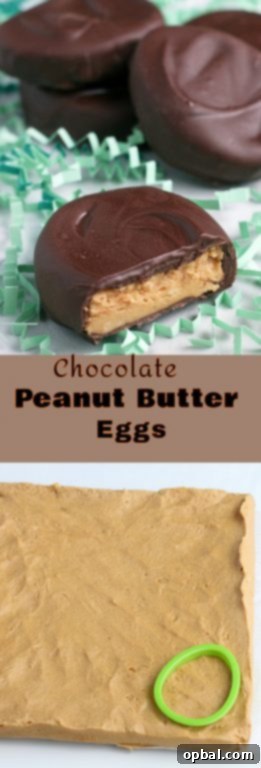
Homemade Chocolate Peanut Butter Eggs: A Copycat Recipe Better Than Reese’s!
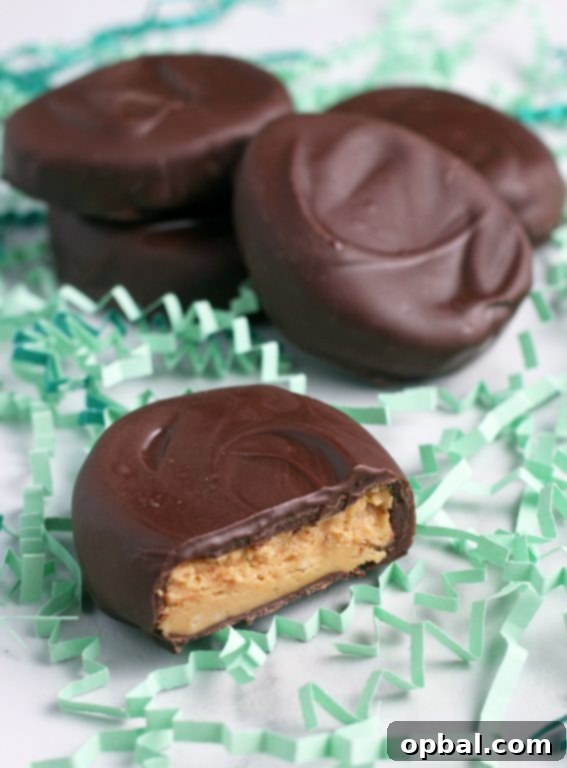
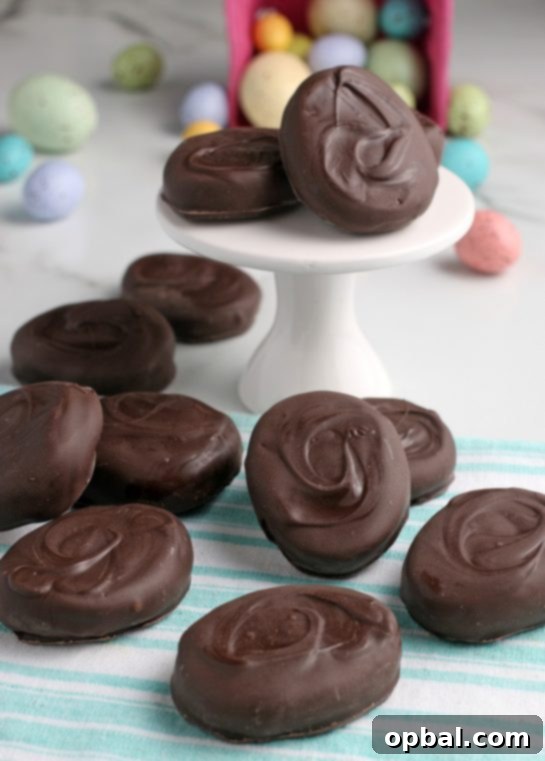
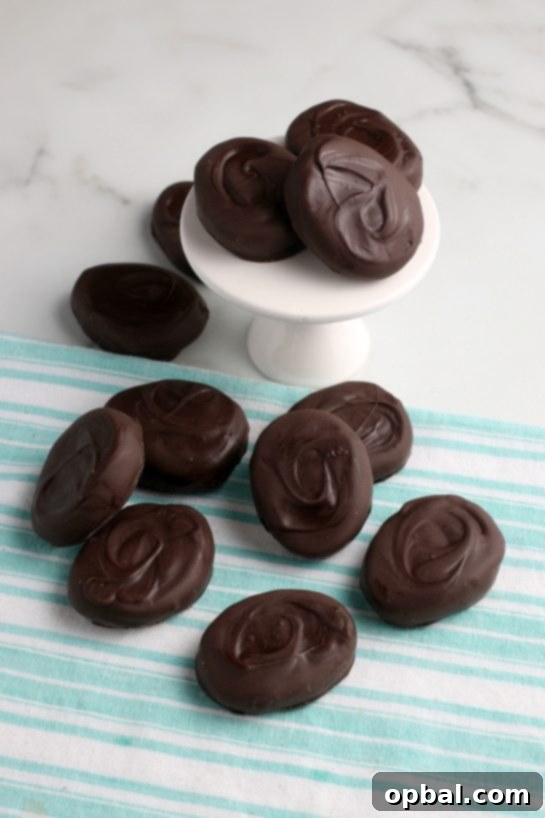
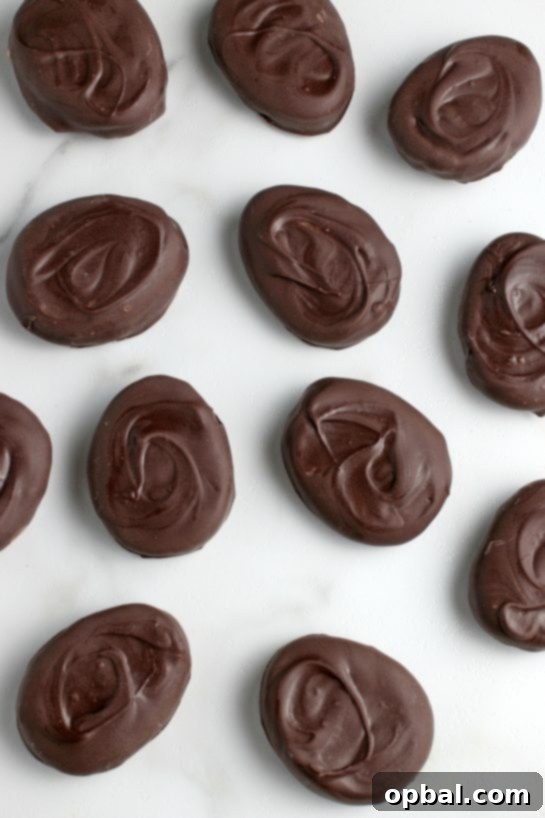
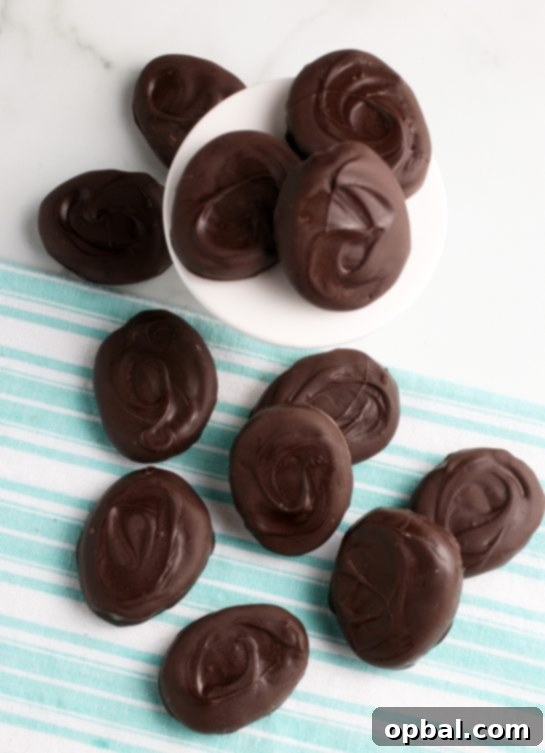
Are you a fan of that classic chocolate and peanut butter combination? Do you eagerly await the arrival of those beloved peanut butter eggs in stores each spring? What if we told you that you could create an even more delicious, fresh, and customizable version right in your own kitchen? Get ready to experience the magic of homemade chocolate peanut butter eggs! This simple, yet utterly irresistible recipe will quickly become a cherished favorite, surpassing anything you can buy in a wrapper.
Perfect for Easter baskets, holiday dessert platters, or simply satisfying a sudden craving, these delightful treats are incredibly easy to make. Even aspiring young chefs can join in the fun, making it a fantastic family activity. Prepare to impress your friends and family with these melt-in-your-mouth chocolate peanut butter eggs – they’re so good, they might just blow your mind!
Why Make Homemade Peanut Butter Eggs?
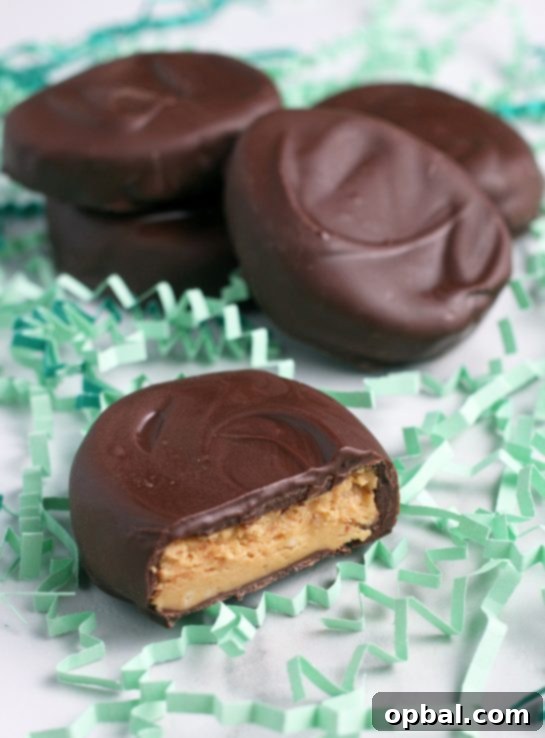
While store-bought treats have their place, there’s an undeniable charm and superior taste that comes with homemade confections. These chocolate peanut butter eggs are no exception. Here’s why diving into this recipe is an absolute must:
- Unbeatable Flavor: Fresh ingredients mean a richer, creamier peanut butter filling and a vibrant chocolate coating that simply can’t be matched by mass-produced candies.
- Customization Galore: Want more salt in your peanut butter? Prefer dark chocolate over milk? Love extra sprinkles? When you make them yourself, you’re in control!
- A Fun Family Activity: This recipe is straightforward enough for kids to help with mixing, shaping, and decorating. It’s a wonderful way to create lasting memories in the kitchen.
- Perfect for Any Occasion: While famously associated with Easter, these delicious treats are welcomed year-round. Change the cookie cutter shape and sprinkles, and you have a treat for Christmas, Halloween, birthdays, or just a Tuesday!
- Thoughtful Gifts: Pack them into cute gift bags or arrange them on a festive cookie tray for a heartfelt homemade present that everyone will adore. They pair wonderfully with other seasonal treats like our Easter Bunny Tail Chex Mix or Fruity Pebble Easter Eggs.
Essential Ingredients for Your Peanut Butter Eggs
One of the best aspects of this recipe is its simplicity. You won’t need any exotic ingredients or a trip to a specialty store. Most likely, you already have many of these staples in your pantry right now! Gather these basic items, and you’re well on your way to crafting your very own batch of irresistible chocolate peanut butter eggs:
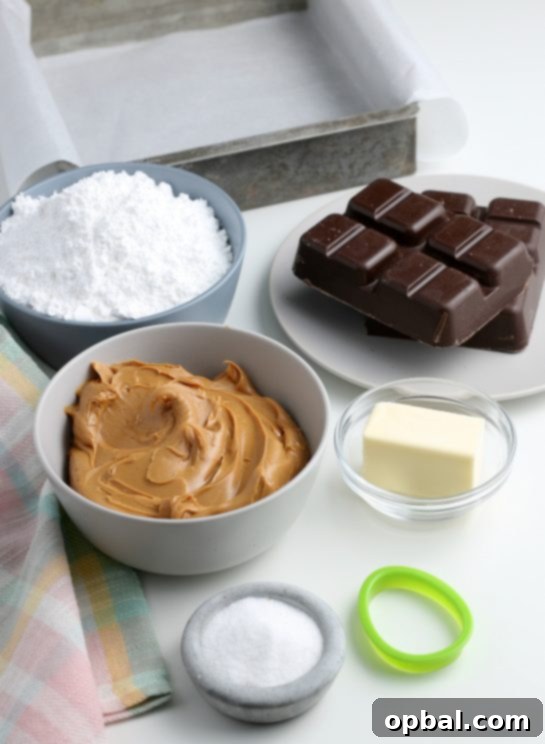
What You’ll Need:
- 1 ½ cups Creamy Peanut Butter: The heart of our eggs! Creamy peanut butter provides the smoothest texture, but you could experiment with natural or crunchy for a different experience. Ensure it’s well-stirred if using natural peanut butter.
- ¼ cup Butter, Melted: This helps bind the peanut butter mixture and adds richness. Unsalted is generally preferred for baking, allowing you to control the salt content, but salted will work too.
- 3 cups Powdered Sugar: Also known as confectioners’ sugar, this gives the peanut butter filling its delightful sweetness and smooth, fudge-like consistency.
- ½ teaspoon Salt: A crucial ingredient! Salt balances the sweetness and truly enhances the peanut butter flavor, making it pop. Don’t skip it!
- 1 package Chocolate Almond Bark: Our preferred coating for its smooth melting and easy setting properties. See below for substitution ideas.
- Colored Sprinkles, Optional: For a festive touch! Choose colors that match the season or occasion.
Ingredient Spotlight: All About the Chocolate Coating
While the recipe calls for chocolate almond bark, don’t feel limited! Almond bark is a popular choice for its ease of use – it melts smoothly without seizing and sets quickly, creating a crisp shell. However, you have several excellent alternatives:
- Melting Wafers or Candy Melts: These are specifically designed for dipping and coating, available in various colors (white, pink, blue – just like our Salted Caramel Easter Popcorn!). They offer a vibrant and consistent finish.
- Chocolate Chips (with a touch of oil): You can use semi-sweet, milk, or dark chocolate chips. To make them smooth enough for dipping, melt them with a teaspoon or two of coconut oil or shortening per cup of chocolate chips. This helps thin the chocolate and prevents it from becoming too thick or brittle.
- Tempered Chocolate: For the most professional finish and snap, you can temper high-quality baking chocolate. This is a more advanced technique but yields exceptional results.
Regardless of your choice, ensure your chocolate is melted carefully to prevent burning. Gentle heating and stirring are key!
Step-by-Step Guide to Making Your Irresistible Peanut Butter Eggs
Get ready to create some kitchen magic! Follow these detailed instructions to craft perfect chocolate peanut butter eggs that will delight everyone.
Phase 1: Crafting the Creamy Peanut Butter Filling
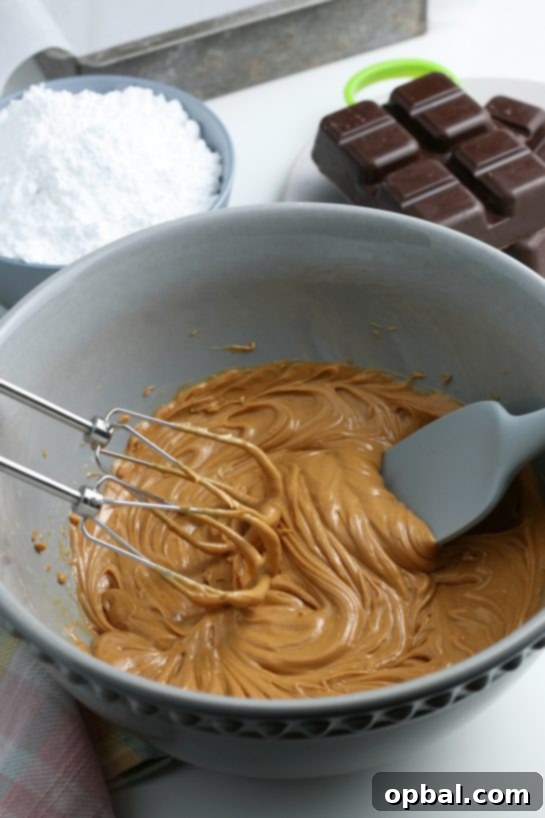
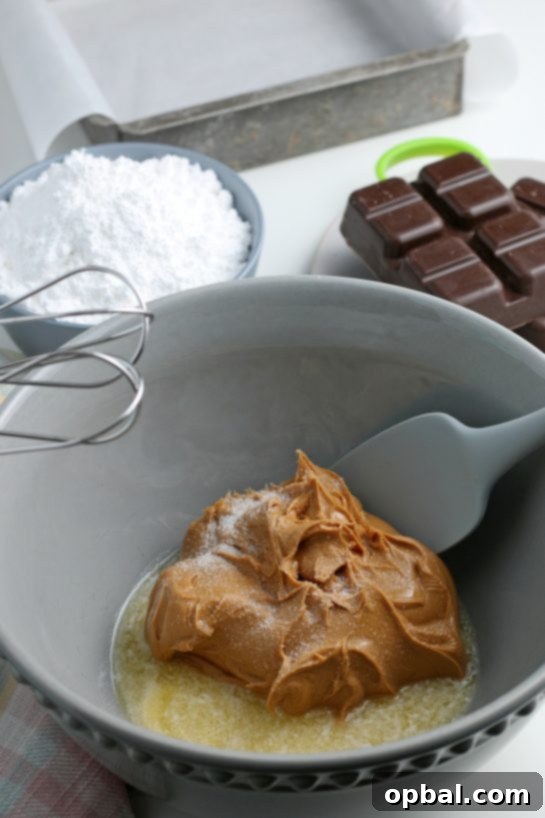
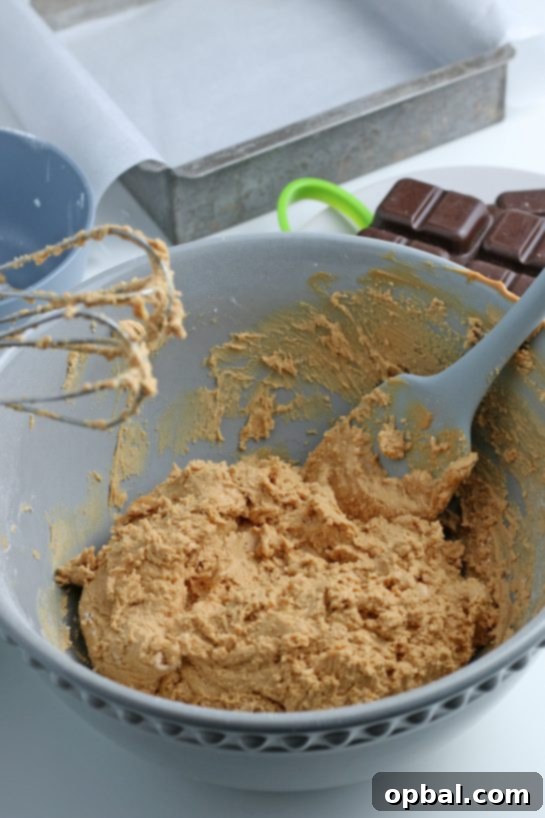
- Combine Wet Ingredients: In a large mixing bowl, combine the creamy peanut butter, melted butter, and salt. Mix thoroughly until the ingredients are completely smooth and well-incorporated. A stand mixer with a paddle attachment or a hand mixer will make this quick and easy, but a strong spoon and some elbow grease work too!
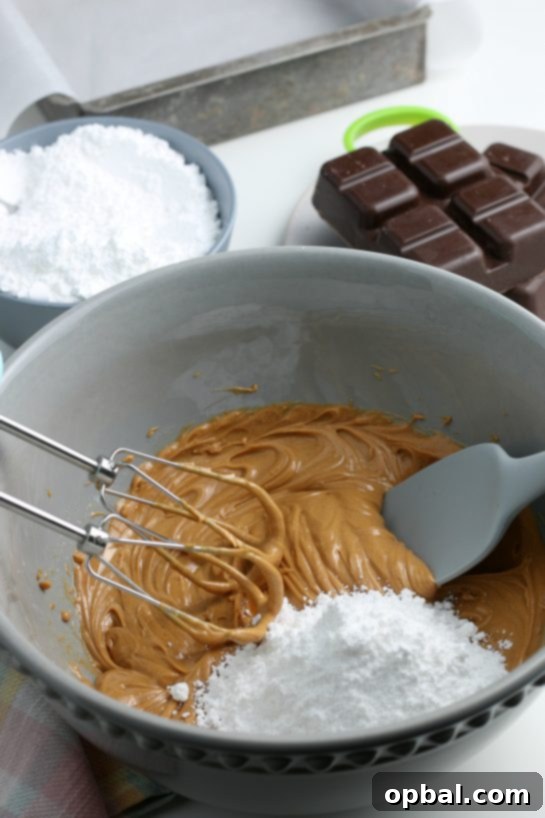
- Gradually Add Powdered Sugar: Slowly add the powdered sugar, about one cup at a time, mixing well after each addition. The mixture will start to thicken considerably and form a dense, pliable dough.
- Achieve Perfect Consistency: The ideal consistency for your peanut butter filling is firm enough to hold its shape when pressed, but still soft and creamy. It shouldn’t be too crumbly (which means it’s too dry) nor too sticky and wet (which means too much butter or not enough sugar). If it’s too crumbly, add a tiny bit more melted butter (about ½ teaspoon at a time). If it’s too wet, gradually add more powdered sugar until it reaches the desired firmness. This stage is crucial for perfectly shaped eggs!
Phase 2: Shaping and Chilling the Peanut Butter Base
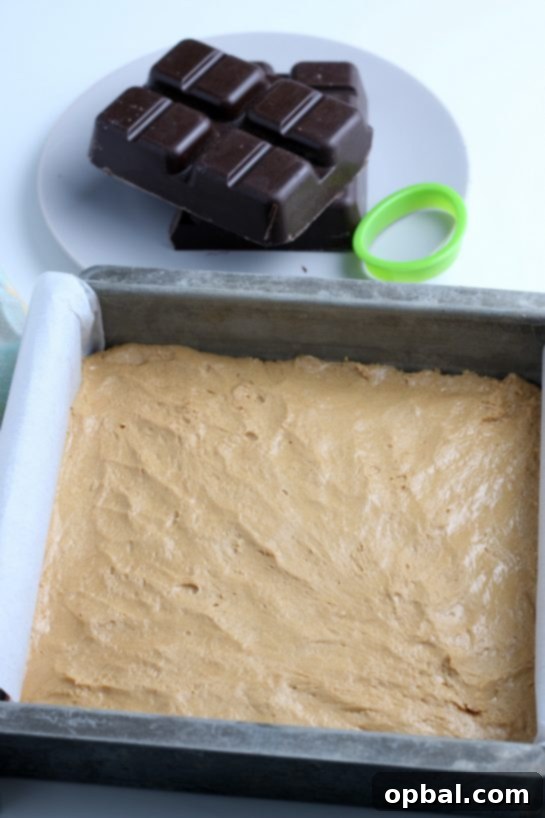
- Prepare Your Pan: Line an 8×8 inch square baking pan with parchment paper. Leave a generous overhang on two sides; this will create “handles” to easily lift the firm peanut butter slab out of the pan later.
- Press and Even Out: Transfer the peanut butter mixture into the prepared pan. Using your hands or the back of a spoon, press it down firmly and evenly across the entire surface of the pan. Ensure the thickness is consistent to guarantee uniform egg shapes.
- First Chill: Place the pan with the peanut butter mixture into the freezer for about 30 minutes. This chilling period is vital as it will firm up the mixture, making it much easier to cut into clean, defined shapes without sticking or crumbling.
Phase 3: Cutting and Second Chill
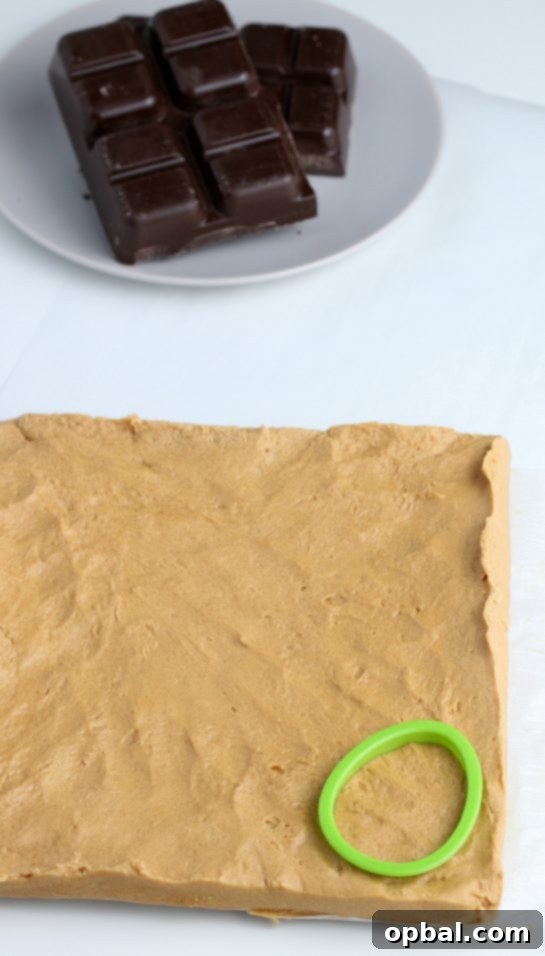
- Remove from Pan: Once firm, take the pan out of the freezer. Use the parchment paper overhang to gently lift the entire peanut butter slab out of the pan and place it on a clean cutting board.
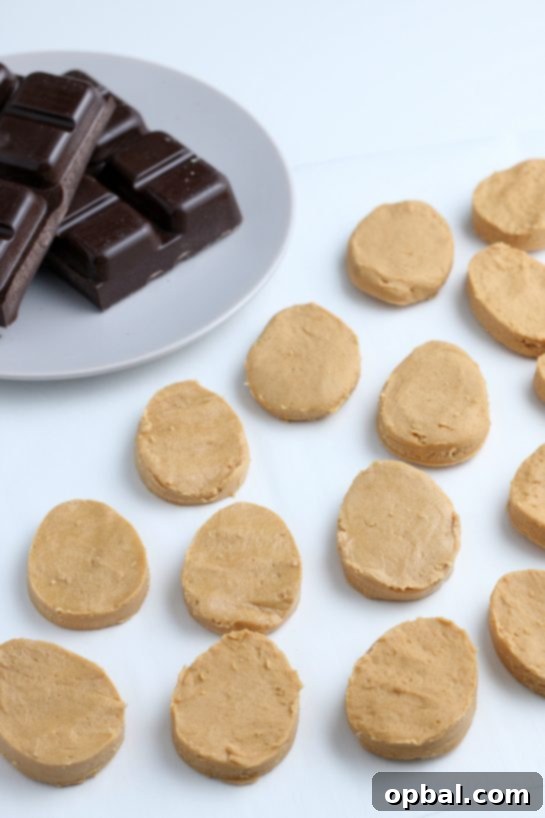
- Cut into Egg Shapes: Now for the fun part! Using an egg-shaped cookie cutter, press down firmly to cut out individual peanut butter eggs. Place these cut-out shapes onto a baking sheet lined with fresh parchment paper.
- Second Chill for Dipping: Gather any remaining peanut butter scraps and press them together to cut out more shapes if possible. Once all your eggs are cut, return the baking sheet with the peanut butter eggs to the freezer for at least 1 hour. This extended chill is critical to ensure the eggs are very firm and cold, which prevents them from melting or collapsing when dipped into the warm chocolate.
Phase 4: Chocolate Coating and Finishing Touches
- Melt the Chocolate: While the peanut butter eggs are enjoying their final chill, prepare your chocolate coating. Break the almond bark (or chosen chocolate) into squares and place them in a microwave-safe bowl. Heat in the microwave on high for 1 minute, then stir well. Continue heating in 30-second intervals, stirring vigorously after each, until the chocolate is mostly melted. Remove from the microwave and continue stirring until completely smooth. The residual heat will melt the remaining pieces and prevent burning.
- Dip the Eggs: Remove the super-chilled peanut butter eggs from the freezer. One by one, gently drop each egg into the melted chocolate. Using a fork or a dipping tool, fully submerge the egg, then lift it out, tapping the fork gently against the side of the bowl to allow excess chocolate to drip off.
- Decorate Immediately: Carefully place the chocolate-coated egg back onto the parchment-lined baking sheet. If you’re adding sprinkles or other decorations, do it immediately after dipping, before the chocolate begins to set. This ensures they adhere properly.
- Allow to Set: Let the chocolate peanut butter eggs sit undisturbed at room temperature for at least 1 hour, or until the chocolate coating is completely firm. You can also place them in the refrigerator for faster setting, especially if your kitchen is warm.
- Store and Enjoy: Once fully set, transfer your homemade chocolate peanut butter eggs to an airtight container. Store them in a cool, dry place or in the refrigerator. They will last for up to 2 weeks (if they last that long!).
Tips for Peanut Butter Egg Perfection
Achieving bakery-quality chocolate peanut butter eggs is easier than you think with these expert tips:
- Use Good Quality Ingredients: While simple, the quality of your peanut butter and chocolate will significantly impact the final taste.
- Don’t Rush the Chilling: Freezing is not optional! It’s crucial for both easy shaping and successful dipping. Cold centers prevent melting in warm chocolate.
- Microwave Chocolate Carefully: Chocolate can burn easily. Heat in short bursts and stir frequently. If it gets too thick, add a tiny bit of coconut oil or shortening to thin it out.
- Work Efficiently When Dipping: Have all your eggs ready and your sprinkles at hand. Dip and decorate quickly before the chocolate starts to set.
- Clean Cuts: For super clean edges when cutting, you can warm your cookie cutter slightly under hot water (and dry it completely!) between cuts.
- Embrace the Scraps: Don’t waste the peanut butter scraps! You can press them together, re-chill, and cut more shapes, or simply roll them into balls and dip them for bonus treats.
Creative Variations & Customizations
While the classic chocolate peanut butter egg is divine, don’t hesitate to get creative! Here are some ideas to make these treats uniquely yours:
- Seasonal Shapes: Beyond eggs, use star-shaped cutters for patriotic holidays, hearts for Valentine’s Day, ghosts for Halloween, or simple squares and circles for everyday indulgence. The possibilities are endless!
- Drizzle Decoration: Instead of full coverage, dip the bottoms of the eggs in chocolate, let set, then drizzle with contrasting white chocolate or another color for an elegant finish.
- Add-ins: Mix mini chocolate chips, finely chopped nuts, or even crushed pretzels into the peanut butter filling for added texture and flavor.
- Flavored Coatings: Experiment with flavored candy melts (peppermint, caramel) for an extra layer of taste.
- Toppings Galore: Beyond sprinkles, consider chopped peanuts, mini M&M’s, a dusting of cocoa powder, or a sprinkle of flaky sea salt on top of the wet chocolate.
Frequently Asked Questions (FAQs)
Can I use natural peanut butter for this recipe?
Yes, but with a caveat! Natural peanut butter often has a different consistency. Ensure it’s very well-stirred to prevent oil separation. You might need to adjust the amount of powdered sugar slightly to achieve the right dough-like consistency – adding more if it’s too wet, or a tiny bit more melted butter if it’s too dry.
How long do these homemade peanut butter eggs last?
When stored in an airtight container in the refrigerator, they can last for up to 2 weeks. They also freeze beautifully for up to 2-3 months. Just thaw them at room temperature before serving.
Can I make these dairy-free?
Absolutely! Simply substitute the butter with a dairy-free butter alternative (like Miyoko’s Kitchen or Earth Balance sticks) and use dairy-free chocolate chips or vegan chocolate melting wafers for the coating. Ensure your peanut butter does not contain dairy. Most standard creamy peanut butter brands are naturally dairy-free.
What if my chocolate becomes too thick while dipping?
If your chocolate starts to thicken as it cools, you can gently reheat it in the microwave for 10-15 seconds, stirring well. If it’s still too thick, add a tiny bit (½ to 1 teaspoon) of coconut oil or shortening and stir until smooth.
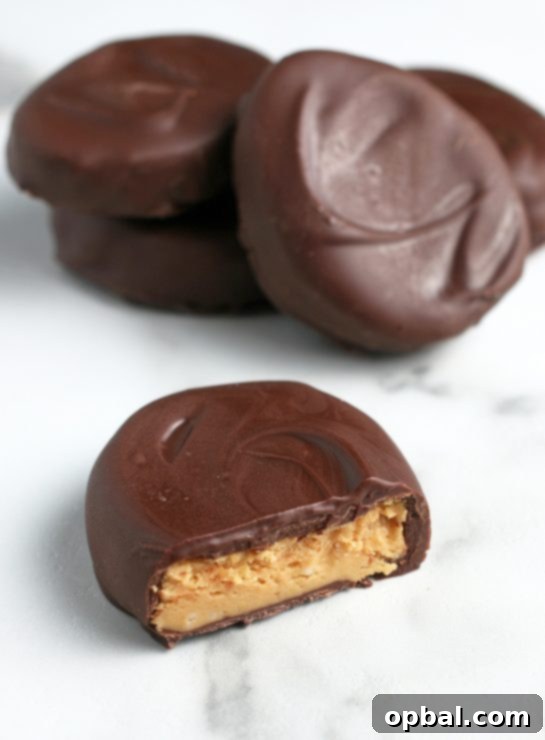
The Ultimate Chocolate Peanut Butter Eggs Recipe Card
Chocolate Peanut Butter Eggs
Recipe Type: Dessert
Cuisine: American
Author: Ashley
Prep time: 30 mins
Total time: 30 mins (Active Prep) + Chilling Time
Yields: Approximately 25 eggs
There’s never a bad time to make these incredible and easy peanut butter eggs. This recipe for homemade chocolate peanut butter eggs is absolutely awesome!
Ingredients
- 1 ½ cups creamy peanut butter
- ¼ cup butter, melted
- 3 cups powdered sugar
- ½ teaspoon salt
- 1 package chocolate Almond Bark
- Colored sprinkles, optional
Instructions
- In a large bowl, combine peanut butter, melted butter, and salt until smooth and creamy.
- Gradually add in powdered sugar, mixing until a firm, pliable dough forms. Adjust with more sugar if too sticky, or a tiny bit more melted butter if too crumbly.
- Line an 8×8 inch square pan with parchment paper, leaving extra overhang on two sides to use as handles.
- Press the peanut butter mixture evenly into the prepared pan.
- Place the pan in the freezer for 30 minutes to firm up.
- Remove from the freezer and lift the entire peanut butter slab out of the pan using the parchment paper handles.
- Using an egg-shaped cookie cutter, cut out egg shapes and place them onto a baking sheet lined with fresh parchment paper.
- Place the cut-out peanut butter eggs back in the freezer for 1 hour to ensure they are very firm for dipping.
- While the eggs are chilling, break the almond bark into squares and add to a microwave-safe bowl.
- Heat in the microwave for 1 minute, then stir well. Continue heating in 30-second intervals, stirring thoroughly after each, until the chocolate is almost completely melted.
- Stir to melt the chocolate completely and achieve a smooth consistency. Avoid overheating.
- Remove the firm eggs from the freezer.
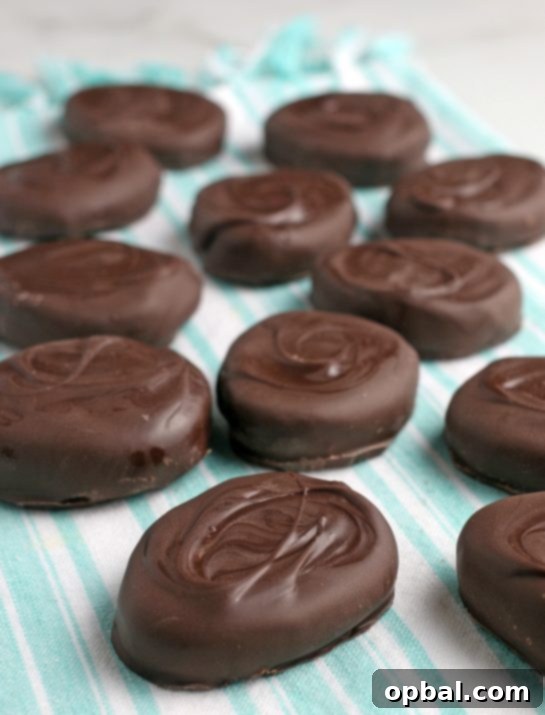
- One by one, dip each peanut butter egg into the melted chocolate, ensuring it’s fully coated. Lift with a fork and gently tap to remove excess chocolate.
- Place the chocolate-dipped eggs back onto the parchment-lined baking sheet.
- Add sprinkles immediately if desired, before the chocolate sets.
- Let the chocolate-coated eggs sit at room temperature (or refrigerate for faster setting) until the chocolate is hard, at least 1 hour.
- Store your homemade chocolate peanut butter eggs in an airtight container.
Final Thoughts on These Delightful Treats
There’s truly nothing quite like the satisfaction of creating something so utterly delicious from scratch, especially when it brings so much joy to those who taste it. These homemade chocolate peanut butter eggs are more than just a recipe; they’re an experience – a delightful journey from simple ingredients to a decadent treat that rivals (and often surpasses) your favorite store-bought candies.
Whether you’re preparing for Easter, a special gathering, or simply want to treat yourself to a moment of pure bliss, this recipe delivers. The creamy, rich peanut butter filling perfectly complemented by a crisp chocolate shell makes for an unforgettable bite every time. So, gather your ingredients, enlist your helpers, and get ready to indulge in the best chocolate peanut butter eggs you’ve ever tasted!