

Easy Edible Cookie Dough Bombs: The Ultimate Egg-Free Holiday Dessert
 Get ready to indulge without guilt! Some recipes just have a way of calling to you, and these easy edible cookie dough bombs are precisely that kind of irresistible treat. Made with no eggs, they offer all the rich, comforting flavor of raw cookie dough, perfectly safe to enjoy. Whether you’re planning a festive spread for Christmas or simply craving a sweet escape, these homemade cookie dough bombs are an absolute game-changer.


Why You’ll Love These Egg-Free Cookie Dough Bombs
Who doesn’t secretly wish they could devour a bowl of raw cookie dough without a second thought? The good news is, with this edible cookie dough recipe, that dream becomes a safe and delicious reality! Unlike traditional cookie dough, our recipe omits eggs entirely, eliminating any concerns about salmonella. This means you can scoop, roll, and enjoy these delectable bites with absolute peace of mind. It’s the perfect solution for satisfying those intense cookie dough cravings without any of the usual worries.
These Edible Cookie Dough Bombs are not just safe; they are incredibly “fantabulous” – a truly delightful culinary experience that might just make you swoon. They capture the nostalgic joy of eating cookie dough straight from the bowl, but in a refined, guilt-free package. This recipe is particularly ideal for holiday dessert trays, bringing a unique, crowd-pleasing option to your Christmas celebrations. Imagine your guests delighting in these vibrant, flavorful treats!
Essential Ingredients for Perfect Edible Cookie Dough
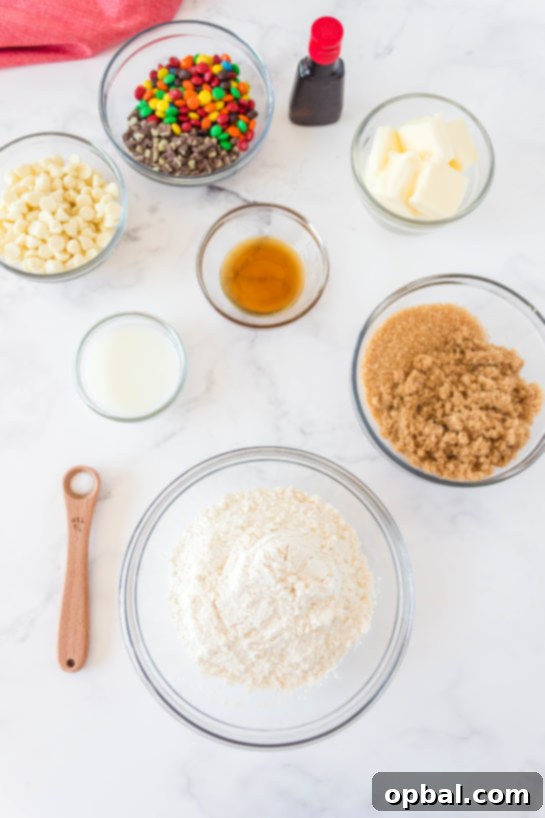
Creating these divine edible cookie dough bombs requires just a handful of pantry staples. You’ll be surprised at how quickly you can gather what you need to start mixing up a batch. The magic begins with softened butter, which provides that rich, melt-in-your-mouth texture. A combination of raw sugar and light brown sugar lends a deep, caramel-like sweetness that’s characteristic of classic cookie dough. Maple syrup adds another layer of flavor and helps achieve the perfect consistency, while a hint of peppermint extract introduces a wonderful festive twist, especially perfect for Christmas.
Milk is incorporated to bind everything together, creating a smooth and creamy dough. All-purpose flour and a touch of salt form the backbone of the recipe, ensuring the right structure. For an extra pop of flavor and texture, Andes Crème de Menthe baking chips and mini M&Ms are stirred in, making each bite an exciting surprise. For the optional glazing, white chocolate chips, red candy melts, and a touch of olive oil are used to create a beautifully uniform coating that adds both visual appeal and an extra layer of sweetness. As you gather these ingredients, you’ll feel the anticipation building for these easy and outrageously good no-bake treats.
Crafting Your No-Bake Edible Cookie Dough Bombs: A Simple Guide
Preparing these delicious edible cookie dough bombs is a straightforward process that yields incredibly satisfying results. Here’s how to make them step-by-step:
1. Preparing the Dough Base
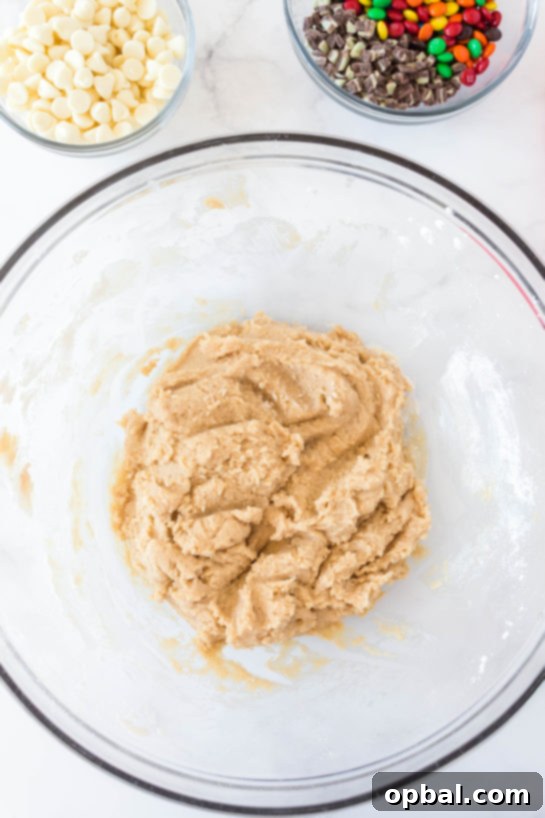
Start by lining a plate or a small cookie sheet with parchment paper; this will make it much easier to handle the dough balls later on, especially after freezing. In a large mixing bowl, combine the softened butter with raw sugar, light brown sugar, maple syrup, and peppermint extract. Ensure your butter is at room temperature – this is a crucial step that allows all the ingredients to blend together smoothly and effortlessly, resulting in a homogenous and creamy mixture. Mix these wet ingredients thoroughly until they are well combined and light.
2. Incorporating Dry Ingredients and Mix-ins
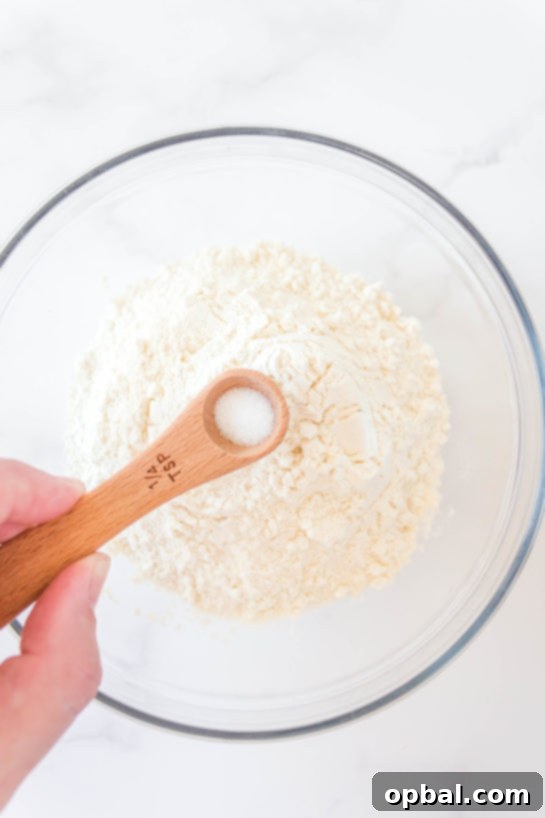
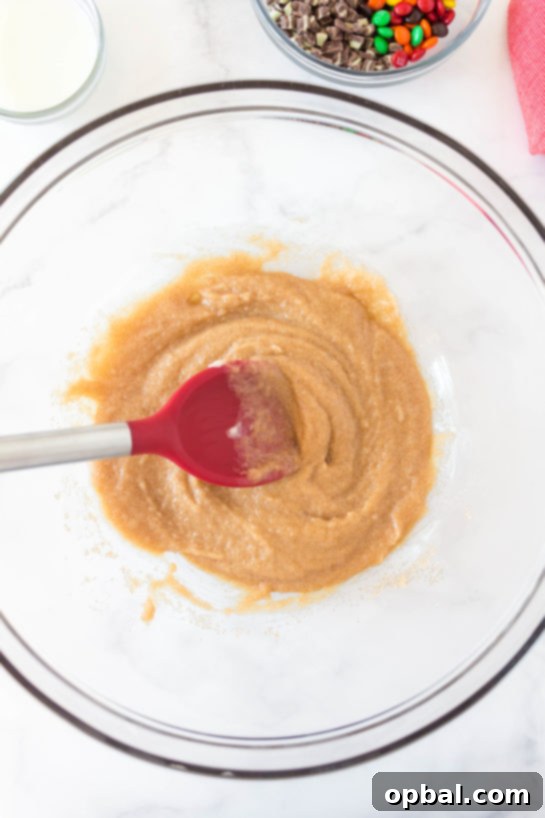
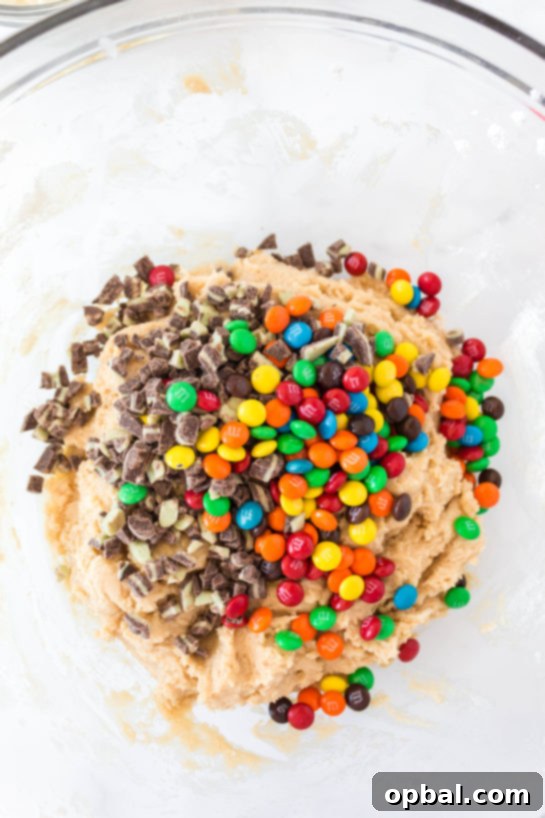
Next, add the milk to your sugar and butter mixture, stirring until everything is fully incorporated. Then, gradually add the all-purpose flour and salt. Mix until the flour is just combined and no streaks remain. Overmixing can lead to a tougher dough, so stop as soon as it comes together. This creates the foundational edible cookie dough. Now comes the fun part: folding in your chosen mix-ins! Stir in the Andes baking chips and mini M&Ms until they are uniformly distributed throughout the dough. These additions provide delightful bursts of flavor and texture, making each cookie dough bomb unique and exciting.

3. Forming and Chilling Your Cookie Dough Bombs
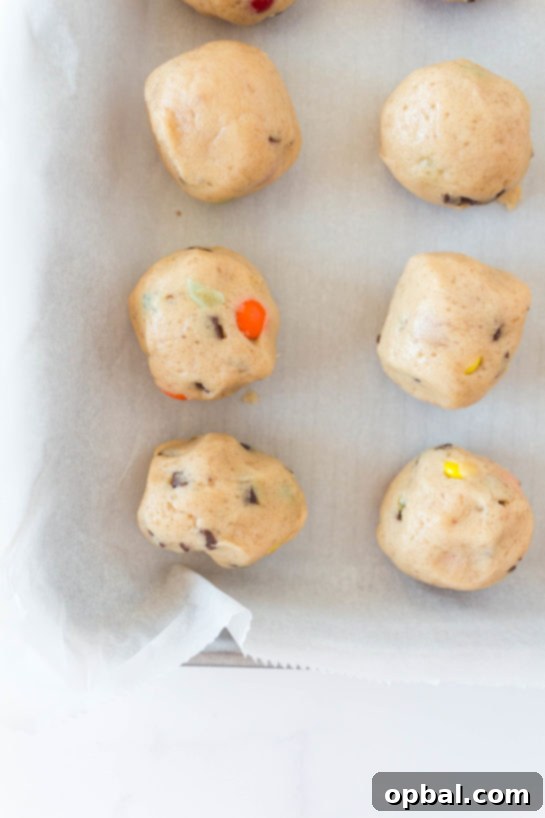
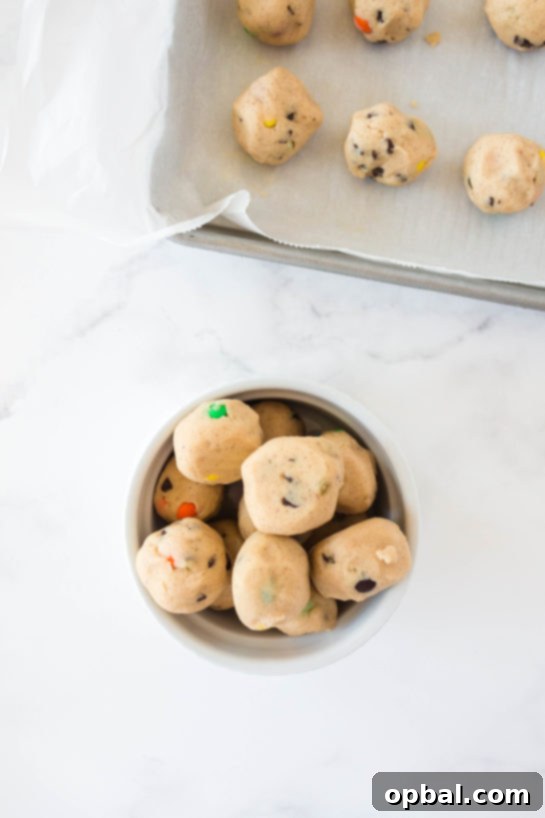
Once your dough is ready, use a mini cookie scoop (a 2-teaspoon size works perfectly) to portion out the dough. Roll each scoop gently between your hands to form neat, round balls. Place these cookie dough balls onto the parchment-lined platter. This rolling step ensures a smooth surface for glazing later. After forming all the balls, transfer the platter to the freezer for about 15 minutes. This chilling period is essential, especially if you plan to glaze them, as it helps the balls firm up and prevents them from melting or losing their shape when dipped into warm chocolate.


4. Preparing and Applying the Glaze
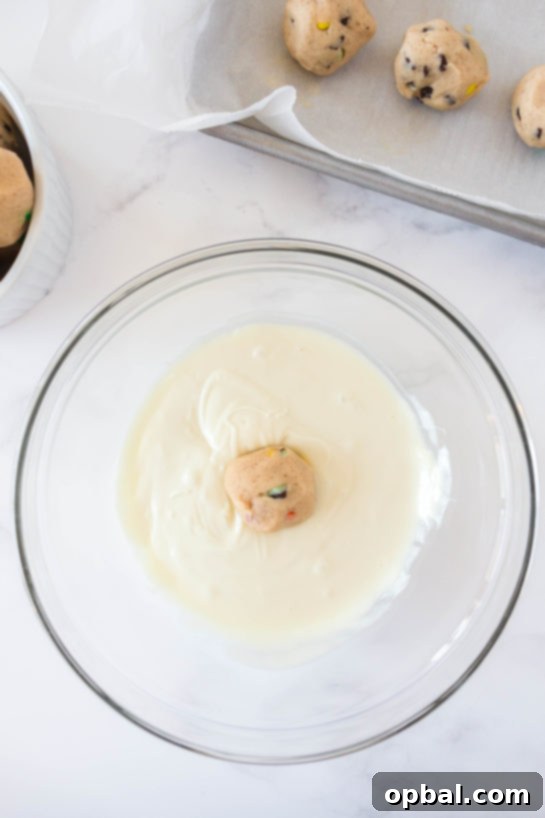
While your cookie dough bombs are chilling, prepare your glaze. In a microwave-safe bowl, combine your white chocolate chips (or candy melts) with one tablespoon of oil. Microwave in 30-second intervals, stirring thoroughly after each interval. As the chocolate begins to melt, reduce your intervals to 10 seconds to prevent scorching. The oil is key here; it thins out the chocolate, creating a smoother, more uniform coating on your cookie dough balls. Once the chocolate is perfectly melted and smooth, remove your frozen cookie dough balls from the freezer.
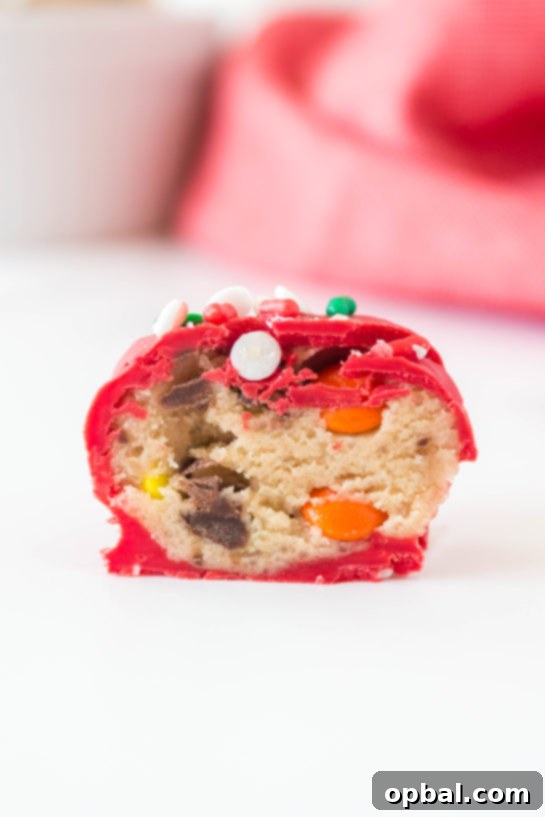
Using two forks, carefully dip each cookie dough ball into the melted chocolate, turning to ensure it’s fully coated. Lift the ball, allowing any excess chocolate to drip back into the bowl before placing it back onto the parchment paper. Repeat this process for all the balls, and if using different colored candy melts, follow the same melting and dipping steps. The contrast between the cold dough and the warm glaze will help the chocolate set quickly, creating a beautiful, glossy finish for your holiday dessert trays.
Frequently Asked Questions About Edible Cookie Dough Bombs
- Why should I cover my plate with parchment paper before freezing the cookie dough balls?
- Lining the plate with parchment paper is a simple trick that prevents the cookie dough balls from sticking. Once they are frozen solid, the parchment paper makes it incredibly easy to remove them without any breakage or mess, ensuring perfectly shaped treats.
- Do I have to glaze the cookie dough balls?
- No, glazing is entirely optional! These edible cookie dough bombs are wonderfully delicious on their own, unglazed. However, if you choose to glaze them, freezing them for about 15 minutes beforehand will give you a much better and smoother result, as the cold dough helps the chocolate set quickly and evenly.
- Why add oil to the chocolate before glazing?
- Adding a small amount of oil (like olive oil or coconut oil) to your melted chocolate or candy melts helps to thin it out. This creates a more fluid consistency, allowing for a thinner, more uniform, and professional-looking chocolate layer on your cookie dough balls. It also makes the dipping process smoother. I also recommend letting the coated ball sit on the fork for a moment to allow any excess chocolate to drip back into the bowl before placing it on the parchment paper.
- How should I store these edible cookie dough bombs?
- Store your finished cookie dough bombs in an airtight container in the refrigerator for up to a week. For longer storage, you can freeze them for up to a month. Just thaw them slightly at room temperature before serving for the best texture.
- Can I use different mix-ins or extracts?
- Absolutely! This recipe is incredibly versatile. Feel free to swap out the Andes Crème de Menthe and M&Ms for chocolate chips (milk, dark, or white), sprinkles, chopped nuts, toffee bits, or even mini marshmallows. You can also experiment with other extracts like vanilla, almond, or orange to create different flavor profiles for your edible cookie dough.
Tips for Perfect Edible Cookie Dough Bombs Every Time
Achieving bakery-worthy edible cookie dough bombs is simple with a few key tips. Firstly, ensure your butter is truly at room temperature. This isn’t just a suggestion; it’s vital for a smooth, lump-free dough. Cold butter will result in a clumpy mixture that’s hard to work with, while overly melted butter can make the dough too soft. Another important tip is to heat-treat your flour if you’re concerned about raw flour. While not always necessary for commercial flour, a quick bake in the oven (spread on a baking sheet at 300°F/150°C for 5-10 minutes, then cooled) can eliminate any potential bacteria.
When mixing, always combine the wet ingredients thoroughly before gradually adding the dry. This prevents overmixing, which can lead to a dense dough. Don’t be shy with the mix-ins! While the recipe suggests Andes chips and M&Ms, feel free to customize. Chocolate chips, sprinkles, chopped nuts, or even crushed candies can elevate your edible cookie dough bombs. Finally, take your time with the glazing process. Melting chocolate slowly in short intervals prevents burning, and adding a touch of oil ensures a smooth, even coating. A consistent chill before dipping is also crucial for the chocolate to set beautifully without streaks or drips. Following these tips will guarantee deliciously perfect, no-bake cookie dough treats every time.
Beyond Christmas: Versatile Edible Cookie Dough for Any Occasion
While these Edible Cookie Dough Bombs shine brightly on Christmas dessert trays, their appeal extends far beyond the holiday season. Their no-bake nature makes them a perfect year-round treat, especially when you need a quick dessert without turning on the oven. They are fantastic for last-minute gatherings, potlucks, or simply as an indulgent snack to keep in your fridge for when a craving strikes. Consider making them for birthday parties, baby showers, or as a thoughtful homemade gift.
Their versatility also allows for endless flavor variations. Imagine a summer version with lemon extract and white chocolate chips, or a fall-inspired batch with a hint of cinnamon and caramel bits. For chocolate lovers, swap out the peppermint for pure vanilla extract and use a medley of milk, dark, and white chocolate chips. You can even roll them in different toppings after glazing – think crushed nuts, coconut flakes, or more sprinkles – to match any theme or personal preference. These safe-to-eat cookie dough treats truly offer a blank canvas for your culinary creativity, ensuring they’ll be a favorite for any occasion.
- ½ cup (1 stick) butter, room temperature
- – ¼ cup of raw sugar
- – ½ cup light brown sugar, packed
- – 2 teaspoons maple syrup
- – ½ teaspoon peppermint extract
- – 2 tablespoons milk
- – 1 ¼ cup all-purpose flour
- – 1/8 teaspoon salt
- For the balls glazed with white chocolate
- – 1 cup white chocolate chips
- – 2 tablespoons olive oil
- For the balls glazed in red
- – ½ bag of red candy melt (I used candy melts from Wilton)
- – 2 tablespoons oil
- – ¼ cup Andes Crème the Menthe baking chips
- – ¼ cup mini M&Ms
- *BAKER’S NOTES
- 1. The butter at room temperature makes it easier for you to mix all ingredients
- 2. Raw sugar can be substituted with white sugar.
- 3. Can substitute milk with cream for richer taste or water. However, with water, it will not be as silky as if you made it with milk.
- 4. Andes Crème the Menthe and M&Ms can be replaced with chocolate chips.
- 5. Before putting the glaze on I freeze them for about 15 minutes
- Line a plate or small cookie sheet with parchment paper. Set aside.
- In a large mixing bowl, mix raw sugar, brown sugar, maple syrup, butter, and peppermint extract.
- Add milk. Mix until you get a homogenous mixture.
- Add flour and salt. Mix until all ingredients are incorporated.
- Add Andes baking chips and m&ms.
- Mix well so the baking chips and the m&ms are uniformly throughout the dough.
- With a mini cookie scoop (OXO 2 teaspoons), scoop the dough into balls. Roll them between your hands and place them on a platter covered with parchment paper.
- Put them in the freezer for 15 minutes.
- In a microwave-safe bowl, melt the chocolate chip with 1 tablespoon of oil. In 30 seconds, interval mixing in between each. Once your chocolate is almost all melted, decrease your interval to 10 seconds.
- With the help of 2 forks coat each cookie dough ball with the chocolate.
- For candy melt repeat steps 1 and 2 with the candy melt of your choice.

These Edible Cookie Dough Bombs are a testament to how simple ingredients can create something truly extraordinary. With their ease of preparation, irresistible flavor, and egg-free safety, they are destined to become a beloved staple in your dessert repertoire, especially for those special Christmas gatherings. So go ahead, whip up a batch, and enjoy the pure, unadulterated bliss of safe-to-eat cookie dough!