
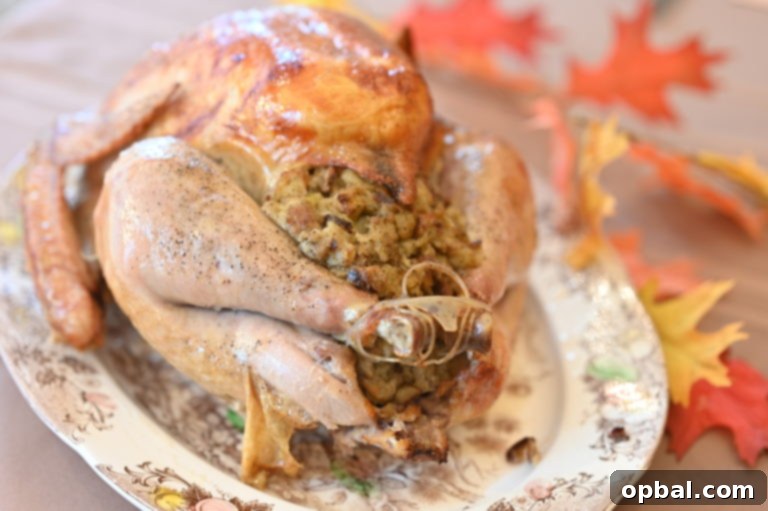
Craft the Ultimate Holiday Centerpiece: Your Guide to a Classic Stuffed Turkey
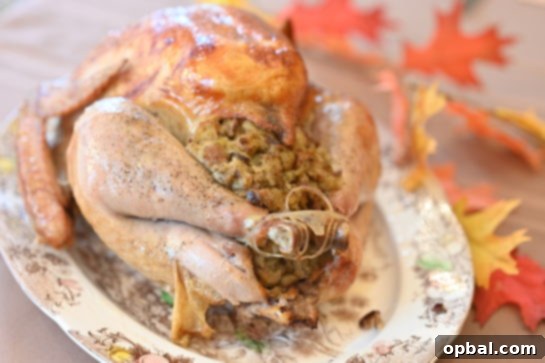
There’s an unmistakable aroma that signifies the arrival of the holiday season, and it’s almost certainly the scent of a perfectly roasted turkey filling your home. This year, elevate your festive feast with our definitive Classic Stuffed Turkey Recipe. It’s more than just a meal; it’s a show-stopping centerpiece, a tradition in the making, and the heart of your holiday gathering. Prepare for your kitchen to transform into the most inviting place on earth, promising a memorable dining experience for everyone at your table.
While the holidays often bring fond memories of large family gatherings, recent times have reminded us of the importance of adaptability and cherished moments, whether in person or virtually. Regardless of how your family chooses to celebrate, the quality of your holiday meal remains paramount. This Classic Stuffed Turkey recipe is designed to deliver consistent, exceptional results, ensuring that every bite is filled with flavor, tenderness, and that irresistible crispy skin we all crave.
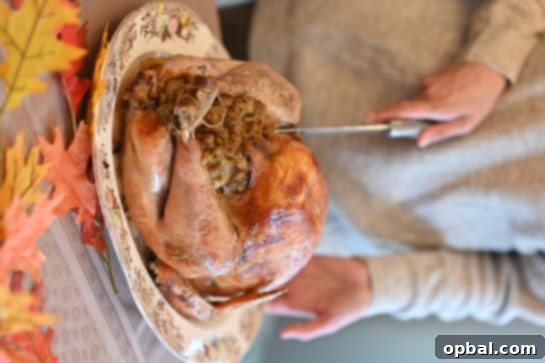
This recipe provides the flexibility you need. If you’re hosting a smaller, intimate gathering, feel free to scale the recipe to suit a smaller turkey. Even with a more modest bird, the principles remain the same, guaranteeing a succulent roast. Plus, don’t forget the joy of leftovers! A perfectly cooked turkey yields incredible meat that can be transformed into delicious secondary meals, like our recommended Turkey Fiesta Soup, extending the festive flavors beyond the main event.
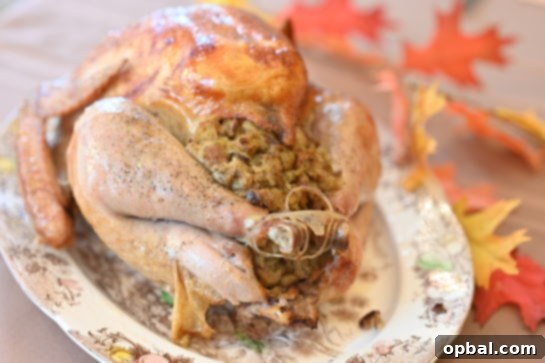
The anticipation of the holidays is often intertwined with seeing loved ones, sometimes those we only connect with a few times a year. While circumstances may sometimes alter traditional plans, the spirit of togetherness and gratitude always prevails. This year, let the act of preparing a truly magnificent Classic Stuffed Turkey be a focal point of your celebration, a testament to joy and the enduring power of delicious food to bring comfort and happiness. It’s an opportunity to create new memories around a timeless dish, no matter the size or style of your gathering.
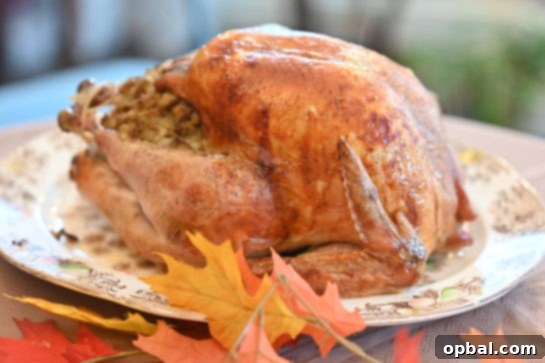
Achieving a perfectly roasted turkey might seem daunting, but with our straightforward guide, you’ll find it’s incredibly achievable. This Classic Stuffed Turkey recipe promises an exquisitely flavorful bird, roasted to golden perfection with skin that boasts an irresistible crispness. The meat, from breast to thigh, will be remarkably juicy and tender, seasoned impeccably throughout. While roasting a turkey does require a bit of time and patience, the process itself is surprisingly simple, and the results are consistently outstanding. This method ensures every holiday dinner is not just a meal, but a culinary triumph that will be talked about long after the plates are cleared.
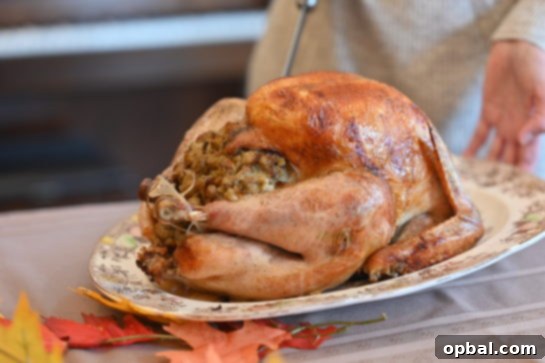
For many, this preparation method quickly becomes a favorite for Thanksgiving and Christmas, earning its place as a reliable go-to for any special occasion. The combination of succulent meat, savory stuffing, and crispy skin creates an unforgettable sensory experience. We’ve meticulously outlined each step, from initial preparation to carving, to ensure your success. Don’t be intimidated; you are fully capable of creating this masterpiece. Once you experience the superior flavor and texture achieved with this recipe, you’ll likely never want to prepare your turkey any other way. If you’re curious about alternative preparation methods, such as brining, you can also explore our detailed guide on How to Brine a Turkey.
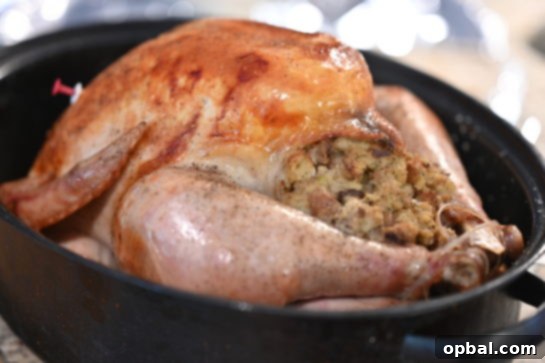
Classic Stuffed Turkey Recipe
Recipe Type: Dinner
Cuisine: American
Author: Ashley
Prep time:
Cook time:
Total time:
Serves: 8
Craft the ultimate holiday centerpiece with this Classic Stuffed Turkey Recipe! Perfectly seasoned, incredibly juicy, and boasting irresistibly crispy golden skin, it’s the recipe that promises flawless results every time, making your festive meal unforgettable.
Ingredients
- 1 (12-pound) turkey
- Stuffing recipe of your choosing
- Approximately 8 cups warm Turkey Stock
- 4 tablespoons unsalted butter, softened, plus additional, melted
- 2 teaspoons salt
- Freshly ground black pepper, to taste
- 6 tablespoons all-purpose flour
Instructions
- Position your oven rack in the lowest slot and preheat the oven to 325°F (160°C).
- Lightly butter an 8-inch square baking dish or a 2-quart casserole dish. Then, lightly brush a roasting rack with vegetable or canola oil and place it into a sturdy roasting pan.
- Carefully remove the giblets and neck from the turkey. Remove the turkey from its packaging and rinse it thoroughly under cold water, both inside and out. Pat the turkey completely dry with paper towels; this crucial step helps achieve crispy skin.
- Loosely fill the small (neck) cavity of the turkey with your chosen stuffing. Fold the neck skin under the body and secure it with a metal skewer, kitchen twine, or toothpicks. Proceed to fill the larger body cavity loosely with stuffing. Remember, stuffing expands during cooking, so avoid overpacking.
- If you have any remaining stuffing, transfer it to the buttered baking dish. Drizzle with 1/4 cup of turkey stock. Cover the dish tightly with aluminum foil and refrigerate until you are ready to bake it later.
- Place the turkey, breast-side up, onto the prepared rack in the roasting pan. Tuck the wing tips underneath the breast and loosely tie the drumsticks together with kitchen twine. Generously rub the entire turkey with softened butter and season all over with salt and freshly ground black pepper.
- To prevent the breast from drying out, tightly cover the breast area with aluminum foil, leaving the wings, thighs, and drumsticks exposed. This technique helps to slow down the cooking of the breast meat, ensuring it remains juicy.
- Roast the turkey for 45 minutes. After this initial period, baste the turkey with the pan juices (gently lift the foil to access the breast area). Continue roasting, basting approximately every 45 minutes, for an additional 1 1/2 hours (total roasting time so far: 2 hours 15 minutes).
- Baste again and add 1 cup of warm turkey stock to the pan if needed to maintain moisture and create more drippings for gravy.
- Continue roasting for another 45 minutes (total roasting time so far: 3 hours). At this point, remove the foil from the breast area, baste the turkey once more, and add additional stock to the pan if necessary. Continue roasting until an instant-read thermometer inserted into the thickest part of the thigh (ensuring it does not touch the bone) registers 180°F (82°C). This final stage usually takes about 1 hour more (total roasting time: approximately 4 hours, depending on turkey size and oven).
- Once the turkey has reached its desired internal temperature, insert an instant-read thermometer into the center of the stuffing in the body cavity. The stuffing should register 165°F (74°C). If it does not, carefully scoop the stuffing out of the cavity, transfer it to a microwave-safe baking dish, and microwave on high until it reaches 165°F (about 3 minutes for every 10 degrees needed). Cover the stuffing and keep it warm.
- Carefully transfer the roasted turkey to a large serving platter or cutting board. This next step is crucial: allow the turkey to rest for about 20-30 minutes before carving. Do not skip this! Resting allows the juices to redistribute throughout the meat, ensuring a wonderfully moist and tender turkey.
- While the turkey rests, it’s the perfect time to bake any extra stuffing and prepare your homemade gravy. Increase your oven temperature to 350°F (175°C).
- Pour the pan juices from the roasting pan into a measuring cup or a gravy separator. Let it stand for 1 to 2 minutes to allow the fat to rise to the top. Skim off and reserve the fat, or if using a separator, carefully pour the juices into a measuring cup, reserving the separated fat.
- Transfer the foil-covered dish of extra stuffing to the preheated 350°F oven and bake for 10 minutes. Meanwhile, add enough remaining turkey stock to the pan juices to total 4 cups. If necessary, add melted butter to the skimmed fat to total 6-7 tablespoons.
- Place the roasting pan across two burners on medium-low heat. Add the reserved fat to the pan. Whisk in the flour, scraping up any browned bits from the bottom of the pan to incorporate all the flavor, then cook, whisking constantly, for 1 minute to create a roux. Gradually whisk in the pan juice–stock mixture and bring it to a boil, whisking often. Reduce the heat to moderately low and simmer, whisking occasionally, until the gravy thickens to your desired consistency, about 5 minutes. Whisk in the remaining salt and 1/2 teaspoon of pepper, then keep the gravy warm.
- After the extra stuffing has baked for 10 minutes covered, remove the foil and bake uncovered until it is heated through and the top is lightly golden, about another 10 minutes. Pour the finished gravy through a fine-mesh sieve into a large bowl, then transfer it to a gravy boat. Carve the rested turkey and serve with the warm gravy and stuffing alongside.
Expert Tips for a Perfectly Roasted Turkey
- Choosing Your Turkey: For the best flavor and texture, we strongly recommend purchasing a fresh, “all natural” turkey. Many frozen or pre-brined turkeys are injected with a saline solution, which can negatively impact flavor and create a mushy texture. Always check the label for additives. Terms like “free-range,” “organic,” or “heritage” can also indicate excellent quality birds.
- Storage and Defrosting: If buying a fresh turkey, aim to purchase it no more than two days before Thanksgiving. If a frozen turkey is your only option, ensure it’s defrosted safely in the refrigerator. Allow a full 24 hours for every 5 pounds of turkey, placing it in a pan to catch any drips.
- Stuffing Safety First: Warm, moist stuffing inside the turkey creates an ideal environment for bacteria growth. To minimize risk, prepare your stuffing just before placing it into the bird so it goes in warm, helping it cook faster through the “danger zone” (temperatures where bacteria thrive). Always verify the stuffing’s internal temperature reaches 165°F (74°C) before serving. If it falls short, remove it from the turkey and microwave it as directed in the recipe until safe.
- Optimal Stuffing Techniques: Avoid overpacking the turkey cavities, as stuffing expands during cooking. Fill loosely, then bake any extra stuffing in a separate casserole dish (no more than 2 inches deep) after the turkey comes out of the oven. Remember to refrigerate extra stuffing until baking to prevent bacterial growth. Drizzle the casserole dish portion with extra stock for added moisture. For very moist stuffing inside the turkey, you can cover the exposed portion with a small piece of aluminum foil.
- To Stuff or Not to Stuff: Some culinary experts prefer not to stuff the bird, citing concerns about uneven cooking. If you choose an unstuffed turkey, fill the cavities with a fragrant mixture of chopped vegetables and herbs (like onion, celery, carrot, parsley, rosemary, sage, and thyme) to impart flavor to the meat and pan juices. An unstuffed bird will generally cook 15 to 30 minutes faster than a stuffed one. Discard the vegetable mixture after roasting, as it may not reach a safe internal temperature.
- Scaling the Recipe: This recipe is easily adjustable for different turkey sizes. A good rule of thumb is to estimate about 1 to 1 1/2 pounds of turkey per person. Approximate cooking times for a stuffed bird roasted at 325°F (160°C) until the thigh reaches 180°F (82°C) are:
- Up to 12 pounds: 3 to 3 1/2 hours
- Up to 14 pounds: 3 1/2 to 4 hours
- Up to 18 pounds: 4 to 4 1/4 hours
- Up to 20 pounds: 4 1/4 to 4 3/4 hours
- Up to 24 pounds: 4 3/4 to 5 1/4 hours
- Achieving Perfect Doneness: While this recipe recommends cooking dark meat to 180°F (82°C) for optimal flavor and texture (as believed by the recipe creator, Rick Rodgers), some experts suggest 170°F (77°C) for a slightly pinker, moister result, which is also perfectly safe. If you opt for 170°F and have stuffed your turkey, it’s highly likely the stuffing will not reach its safe temperature of 165°F (74°C). In this scenario, always check the stuffing’s temperature after removing the turkey and microwave it if necessary.
- The Essential Resting Period: Allowing the turkey to rest for at least 20-30 minutes after it comes out of the oven is non-negotiable. During roasting, the juices migrate to the outer edges of the meat. Resting gives these juices time to redistribute throughout the entire bird, resulting in a much more succulent and tender turkey. As an added bonus, this provides an excellent window to finalize your gravy and reheat any side dishes. Resist the urge to cover the bird during this time, as covering it could soften that glorious, crispy skin you worked so hard to achieve!
This Classic Stuffed Turkey recipe is more than just instructions; it’s an invitation to create lasting holiday memories, infused with the incomparable taste of a perfectly prepared meal. Embrace the tradition, savor the flavors, and enjoy the joyous celebrations with your loved ones!