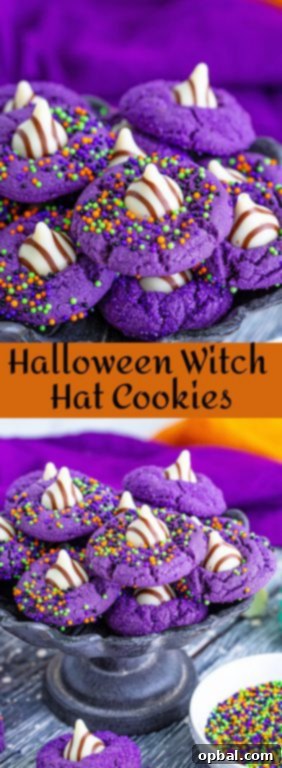
Easy & Adorable Halloween Witch Hat Cookies: The Perfect Spooky Treat Recipe
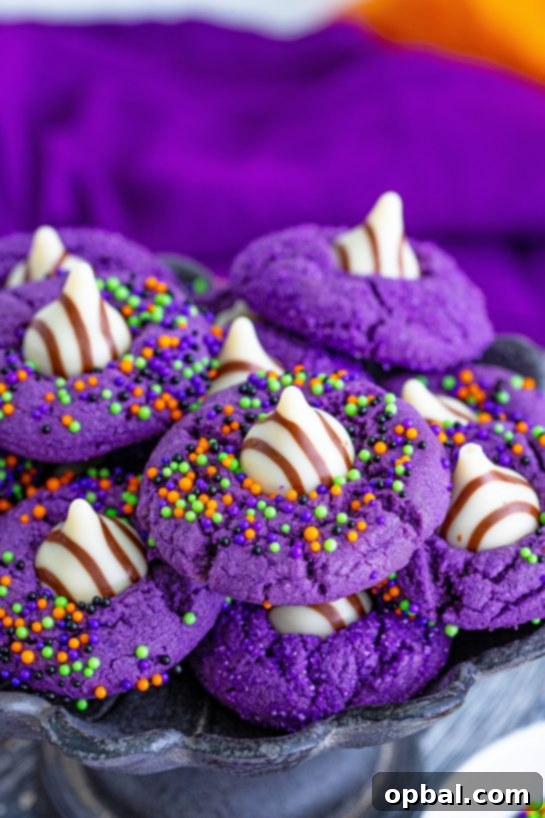
As Halloween draws near, the air buzzes with excitement, anticipation, and the sweet scent of seasonal baking. If you’re searching for a dessert that perfectly captures the spirit of the holiday – a little spooky, a lot adorable, and utterly delicious – look no further than these incredible Halloween Witch Hat Cookies. They are not just a treat; they’re an experience, perfect for bakers of all ages, from tiny hands eager to help to seasoned home chefs looking for a festive delight.
Why These Witch Hat Cookies Are Your Go-To Halloween Treat
What makes these cookies stand out in a sea of Halloween desserts? It’s their unique combination of simplicity, visual appeal, and mouth-watering flavor. Forget elaborate techniques or hard-to-find ingredients; these charming witch hats come together with common pantry staples like peanut butter cookies, iconic Hershey’s Kisses, a touch of vibrant frosting, and a sprinkle of magic (or just, well, sprinkles!). They are designed to be fun, approachable, and incredibly rewarding to make and share.
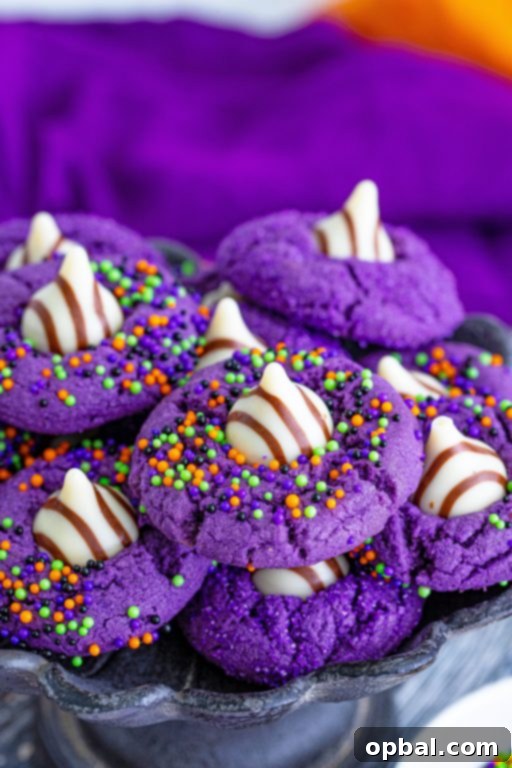
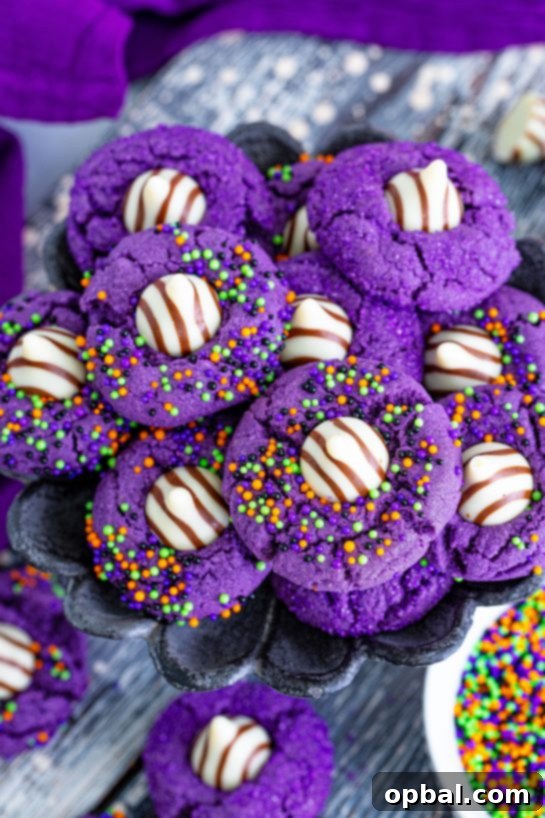
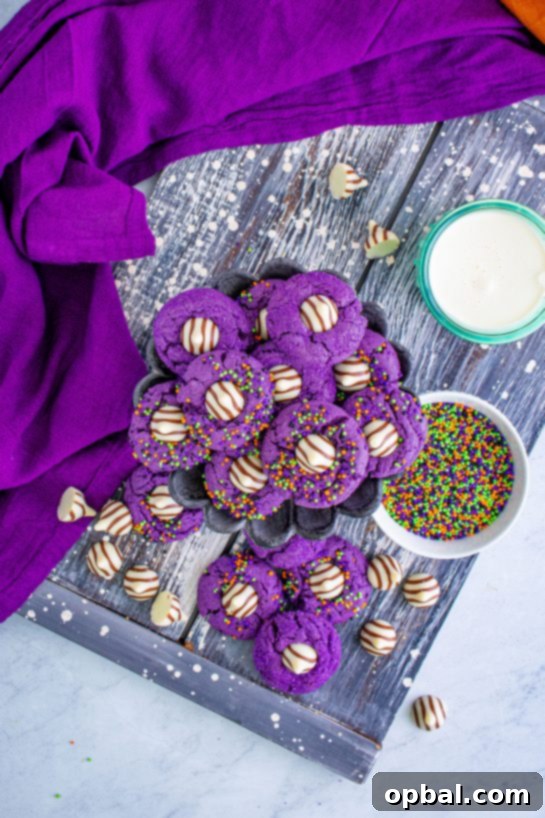
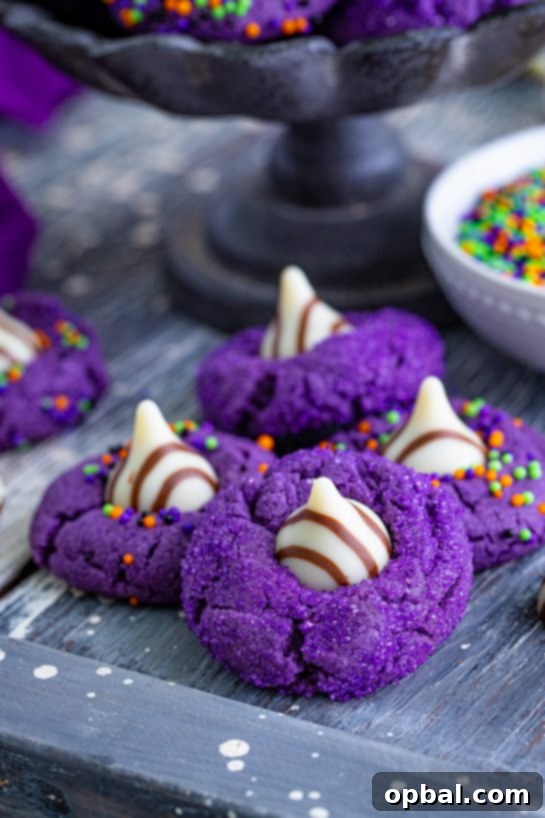
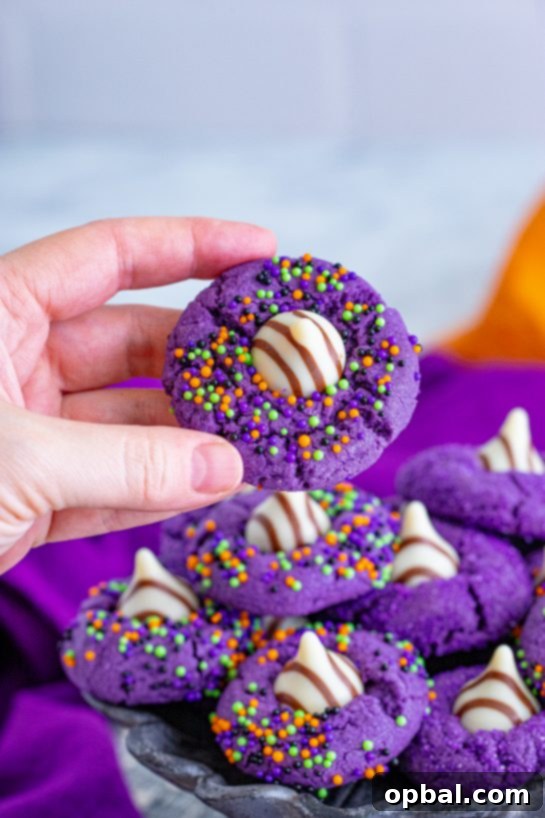
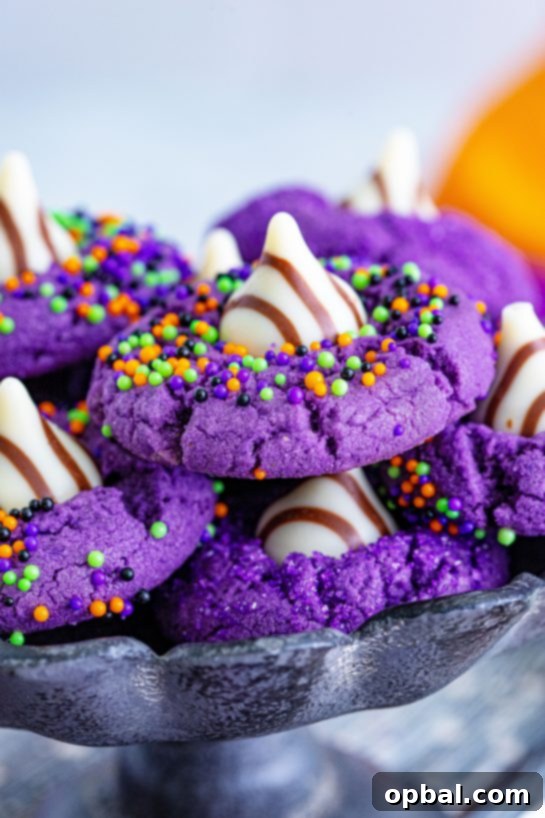
Their visual impact is undeniable. Each cookie features a classic peanut butter cookie base, adorned with a jaunty chocolate kiss that forms the “hat” and a ring of colorful frosting, creating the perfect miniature witch’s hat. They’re guaranteed to elicit “oohs” and “aahs” at any Halloween gathering, from school parties to intimate family celebrations. Best of all, they’re wonderfully suited for baking with children. The steps are straightforward, allowing kids to participate in mixing, rolling, and decorating, fostering cherished memories along with delicious cookies.
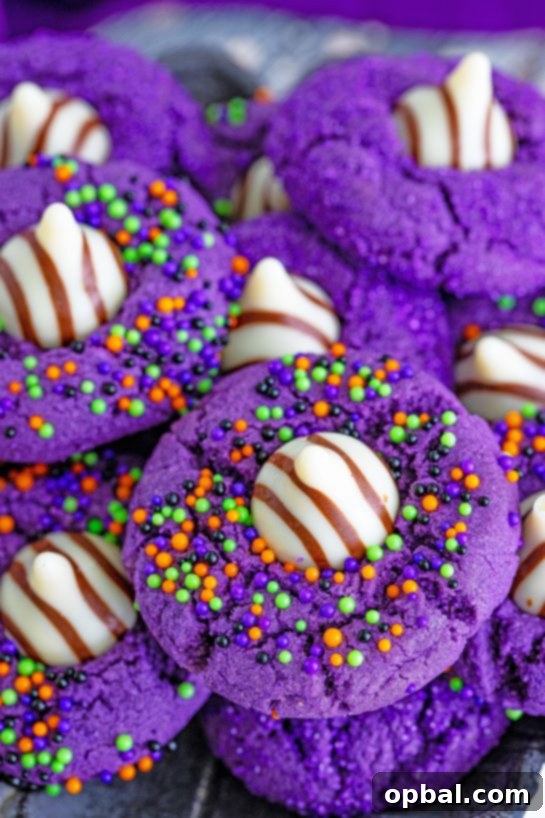
The Simple Magic Behind Every Bite
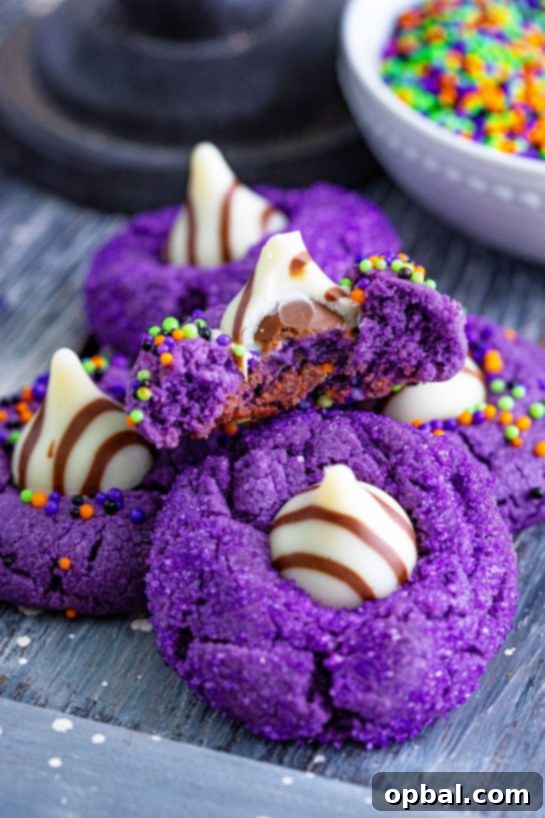
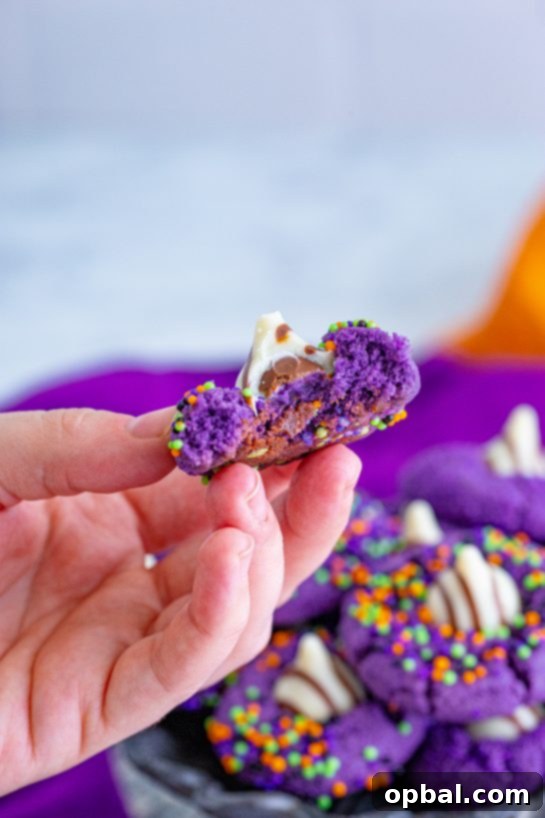
The secret to these cookies lies in their straightforward, yet impactful, components. The base is a soft, chewy peanut butter cookie, a classic favorite that brings warmth and comfort to any bite. We enhance this with a hint of cornstarch, ensuring a wonderfully tender texture that melts in your mouth. Then comes the witch hat itself: a delightful Hershey’s Kiss. Placed atop the warm cookie, it melts just enough to adhere, forming a perfect, miniature chocolate cone.
But what truly brings these cookies to life is the vibrant decoration. A ring of purple gel frosting acts as the hat band, giving it that unmistakable witchy flair. And for a final flourish, a roll in Halloween sprinkles or dazzling purple sanding sugar adds sparkle and a delightful crunch. This playful combination of textures and flavors – the soft, nutty cookie, the creamy chocolate, the sweet, slightly crunchy exterior – makes for a truly irresistible treat that everyone will adore. It’s the kind of cookie that looks incredibly impressive but is deceptively easy to assemble, making you look like a seasoned Halloween baking wizard!
Getting Ahead: The Joy of Early Holiday Baking
One of the perks of being a food blogger (or just an enthusiastic home baker!) is the joy of immersing yourself in holiday preparations long before they officially arrive. I’ve been known to be eating Pretzel Spider Webs in the heat of summer, and these very Witch Hat Cookies, along with my beloved Mummy Oreo Pops, were whipped up back in August! There’s something incredibly satisfying about having your festive treats ready to go, allowing you to relax and enjoy the actual holiday season when it rolls around.
While I admit Christmas baking often steals my heart (and my kitchen schedule), Halloween treats hold a special place. Crafting “scary” yet cute desserts, like my Halloween Boo Meringues, is an annual tradition. This year, the excitement is amplified as it will be my daughter Eliza’s very first time trick-or-treating! After missing out due to chilly weather a couple of years ago and attending a party last year, I’m eagerly anticipating creating new memories with her as she experiences the magic of knocking on doors and collecting candy for the first time. These Witch Hat Cookies will certainly add to that special memory.
Beyond the Spooky: Desserts That Deliver on Flavor
Many Halloween desserts focus heavily on elaborate decorations, sometimes at the expense of taste. While I absolutely adore a visually stunning treat that makes you exclaim, “OMG, how cute!”, I believe a truly great Halloween dessert should also be incredibly delicious, leaving you craving more. These Halloween Witch Hat Cookies perfectly strike that balance. They are undeniably fun, funky, colorful, and cute, capturing all the playful essence of Halloween.
But their spectacular flavor is what truly sets them apart. The rich, savory-sweet peanut butter base combined with the smooth chocolate and the subtle crunch of the sugar coating creates a harmony that tantalizes the taste buds. Each bite offers a delightful experience, ensuring that your guests won’t just admire them, they’ll devour them. It’s this commitment to both aesthetics and taste that makes these cookies a staple in my Halloween baking repertoire. They are the epitome of a crowd-pleasing Halloween treat.
Tips for Perfect Witch Hat Cookies Every Time
- Chill Time is Key: Don’t skip the chilling step for the cookie dough. This helps prevent the cookies from spreading too much in the oven, ensuring they maintain their round, plump shape, which is essential for placing the chocolate hats. Overnight chilling is ideal for best results.
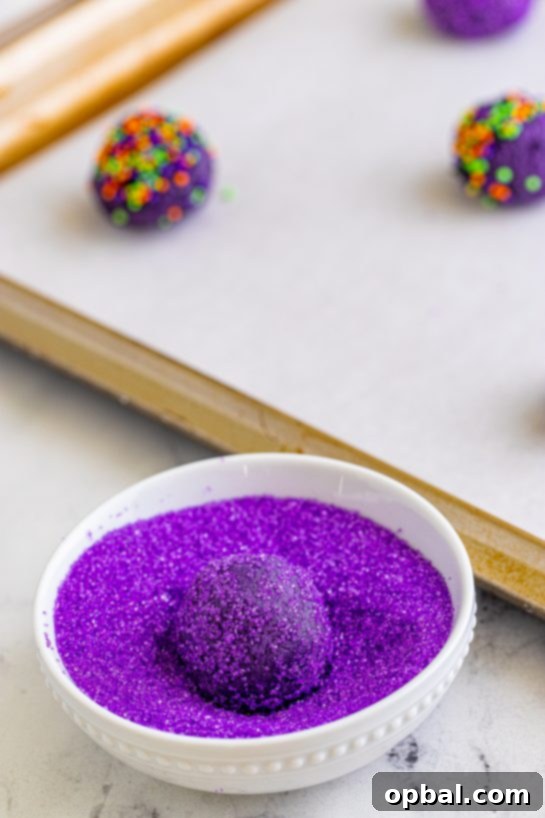
- Sanding Sugar vs. Sprinkles: While both work, sanding sugar generally adheres better and provides a more consistent sparkly texture. If using sprinkles, gently press the dough into them while rolling to ensure they stick well.
- Soft & Chewy Secret: The touch of cornstarch in the recipe is your secret weapon for exceptionally soft and chewy cookies. It’s a game-changer!
- Swift Hat Placement: Once the cookies come out of the oven, act quickly to place the Hershey’s Kisses. The residual warmth helps the chocolate melt slightly and adhere firmly to the cookie.
- Preventing Melts: A quick 10-minute stint in the freezer after adding the Kisses prevents the chocolate from becoming too soft or melting completely, especially if you have more batches to bake.
Variations to Spark Your Creativity
While the classic purple witch hat is iconic, feel free to get creative! Here are a few ideas to customize your batch:
- Cookie Base: Experiment with different cookie doughs! A chocolate cookie base would create a darker, more mysterious hat, while a sugar cookie could offer a blank canvas for more colorful designs.
- Frosting Colors: Don’t limit yourself to purple. Green, orange, black, or even a mix of colors for the “hat band” can add variety.
- Chocolate Kisses: Use different flavors of Hershey’s Kisses or Hugs to change up the chocolate experience. White chocolate or dark chocolate versions could be fun.
- Extra Details: Use edible glitter for extra sparkle, or tiny edible candy eyes on the frosting for a truly “spooky cute” effect.
These witch hat cookies are simply too cute and delicious to pass up. They are guaranteed to be a conversation starter and a favorite treat at any fall or Halloween celebration. Pair them alongside my Pumpkin Patch Dirt Cups for a full-fledged festive spread. I wholeheartedly plan to make these year after year, cementing their place as a cherished Halloween tradition.
Happy Halloween, everyone! May your holiday be filled with delightful treats, spooky fun, and plenty of cherished memories.

Halloween Witch Hat Cookies
Pin Recipe
Cook Times
Type: Dessert
Yield:
Ingredients
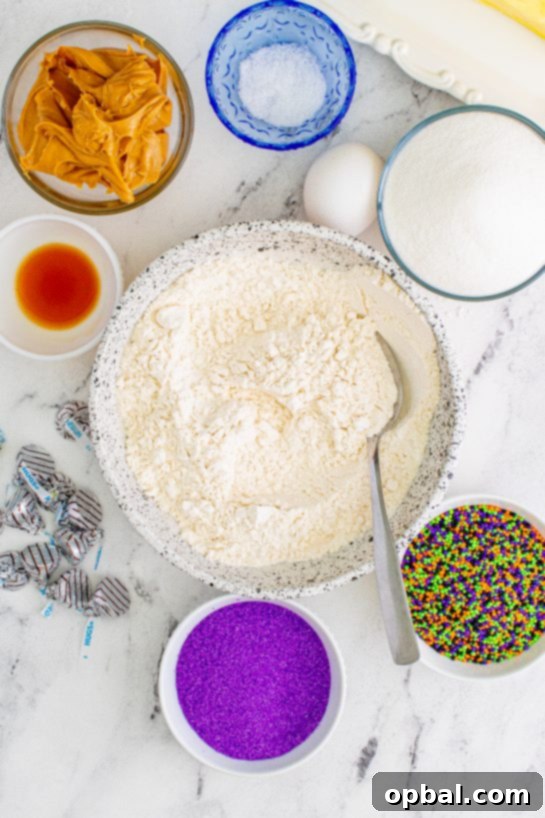
- 1 & 1/2 cups all-purpose flour
- 2 teaspoons cornstarch
- 1/2 teaspoon baking soda
- 1/4 teaspoon baking powder
- 1/8 teaspoon fine sea salt
- 1/2 cup unsalted butter softened
- 1 cup granulated sugar
- 1 large egg
- 3/4 cup creamy peanut butter
- 1 teaspoon vanilla extract
- purple gel food coloring
- Halloween sprinkles or purple sanding sugar
- 33 Hugs candies or chocolate kisses unwrapped
Instructions
-
Line a sheet pan with parchment paper, then set aside. In a large mixing bowl, combine the flour, cornstarch, baking soda, baking powder, and salt. Stir well until all dry ingredients are thoroughly mixed, then set this mixture aside.
-
In a separate large mixing bowl, using an electric hand mixer or a stand mixer fitted with the paddle attachment, cream the softened butter with the granulated sugar for approximately 2 minutes until light and fluffy. Beat in the large egg until fully incorporated. Next, add the creamy peanut butter and vanilla extract, mixing until smooth and combined. Scrape down the sides of the bowl as needed to ensure everything is well mixed.
-
Gradually add the reserved dry mixture to the wet ingredients, stirring until just combined. Be careful not to overmix. Now, add purple gel food coloring a little at a time until you achieve your desired shade of purple. I recommend a few good stirs by hand at the end to ensure the color is evenly distributed throughout the dough.
-
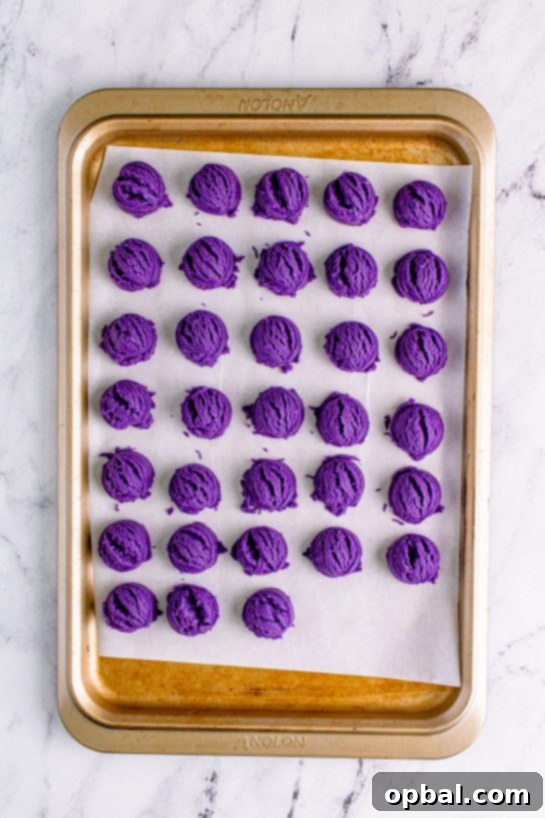
Using a 1 tablespoon cookie scoop, portion out scoops of the dough onto the prepared sheet tray, leaving a little space between each but placing them relatively close together. Cover the tray tightly with plastic wrap and refrigerate for at least 2 hours to chill the dough thoroughly. Chilling overnight is ideal for the best texture and shape.
-
When ready to bake, preheat your oven to 350°F (175°C). Line fresh sheet pans with parchment paper and set them aside.
-
Pour the Halloween sprinkles or purple sanding sugar into a small, shallow bowl. Take a portion of the chilled cookie dough, roll it into a smooth ball, then roll it gently but firmly in the sprinkles/sugar until evenly coated. Place the coated cookie dough balls about 2 inches apart on the prepared sheet trays. Bake for 9-11 minutes, or until the cookies are puffed up, the edges are lightly golden, and they begin to show small cracks on the surface.
-
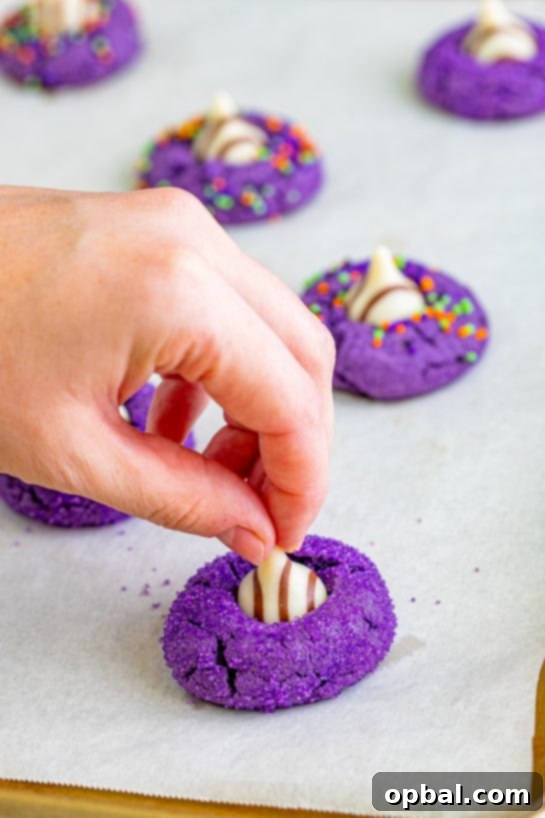
Once baked, remove the sheet tray from the oven and let the cookies cool on the tray for 5 minutes. While still warm, gently press an unwrapped Hugs candy or chocolate kiss into the center of each cookie. The warmth of the cookie will help the chocolate adhere. Immediately transfer the entire tray into the freezer for 10 minutes. This quick chill will set the chocolate and prevent it from melting further. After 10 minutes, transfer the cookies to a wire rack to cool completely while you bake any remaining batches.
Notes
You’ll love the combination of peanut buttery flavor with a satisfying crunch from the sugar or sprinkles on the outside.
It is generally easier to use sanding sugar as it adheres more readily to the cookie dough. If using sprinkles, you’ll need to press them firmly into the dough while rolling.
These are the sprinkles I often use:
https://www.amazon.com/dp/B08BXJYRWT?psc=1&ref=ppx_yo2_dt_b_product_details
This is the sanding sugar I used:
https://www.amazon.com/Wilton-Purple-Sprinkles-3-25-oz/dp/B0000AE5ZD/
For the purple gel food coloring, I recommend a shade like violet. Approximately half of a standard container was used to achieve the vibrant purple color seen in the photos:
https://www.amazon.com/Wilton-Icing-Colors-8-Count/dp/B0000CFMU7/
Related Recipes
Tried this recipe?
Let us know how it was!